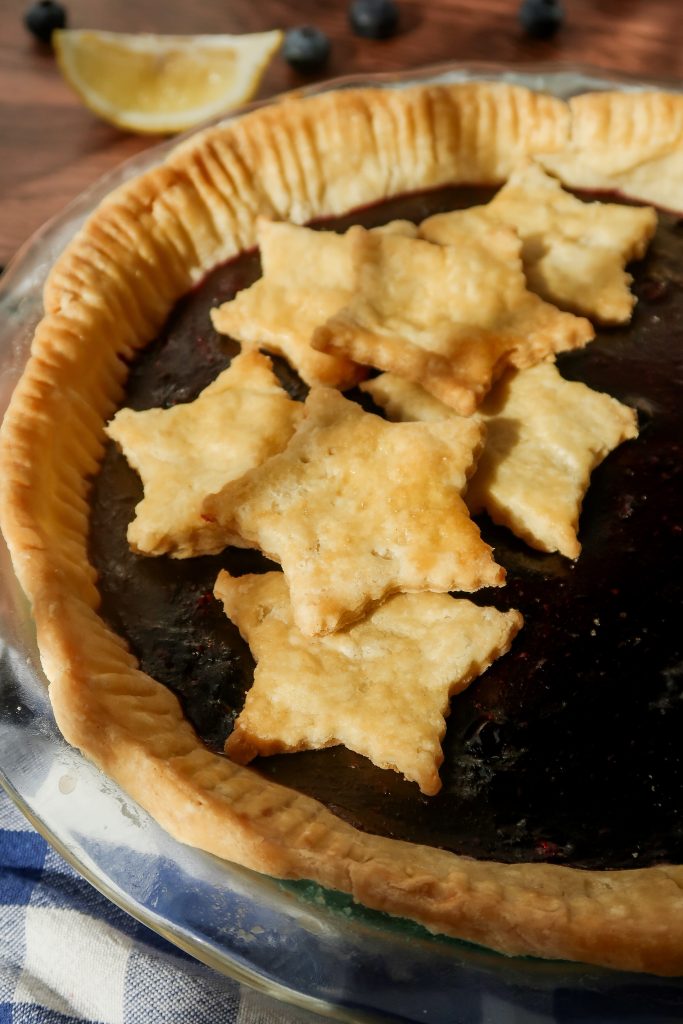
This Gluten Free Blueberry Pie tastes just like the summer classic. Fresh-picked blueberries are simmered down into a juicy, thick sauce. Homemade gluten-free pie crust is perfectly golden brown and actually flaky.
I first heard of blueberry pie in Maine, a beautiful state famous for its wild blueberries that pop up everywhere in July. While I was able to hunt down a gluten-free lobster roll during my time there, I couldn't find a gluten-free blueberry pie and have been craving one ever since. Well, I live on the Eastern Shore of Maryland, where U-Pick farms are plentiful. My husband and I have picked blueberries every summer since we moved in, and heck we even have two mature wild blueberry bushes in our backyard! Thus, I've finally satisfied my craving for fresh, homemade blueberry pie.
Jump to Recipe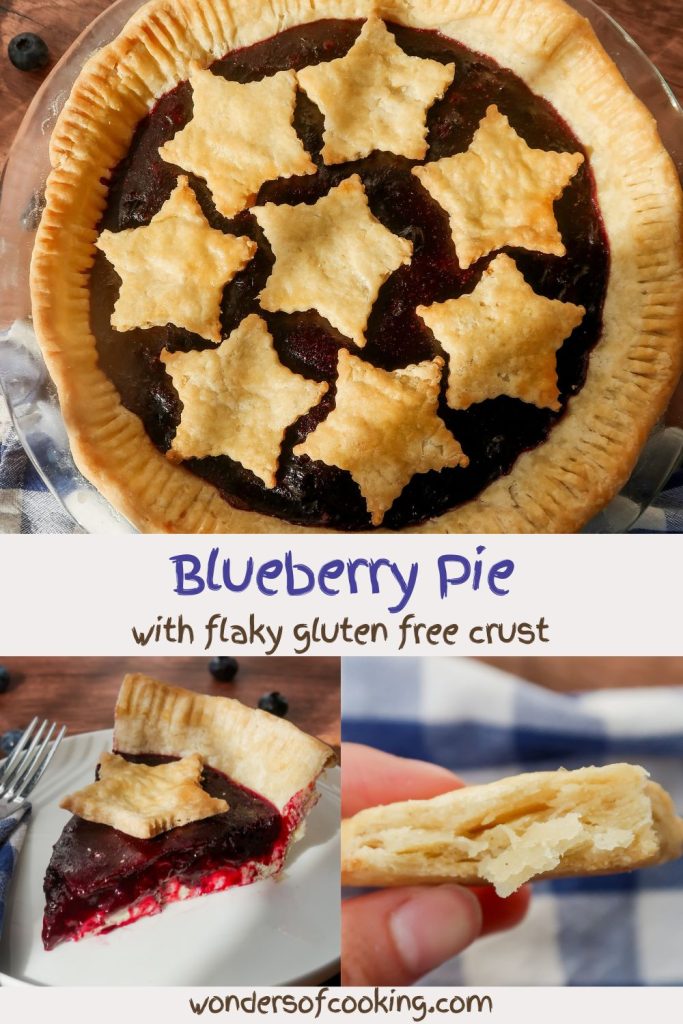
As an Amazon Associate, I earn from qualifying purchases. This post contains affiliate links for products I use and love. You can read my full disclosure here. All thoughts and opinions expressed are my own. Thank you for supporting Wonders of Cooking so that I can continue to provide you with free gluten-free recipes.
Looking for more Gluten Free Summer Desserts?
- Strawberry Crisp | Easy Summer Dessert | Gluten Free
- Blueberry Oatmeal Bars – Easy Breakfast Bars Recipe
- Strawberry Cream Cheese Icing for Cake | Easy, Gluten Free
- Gluten Free Fruit Pizza – Mini Fruit Pizza Recipe
- Chocolate Pudding Pie with Gluten Free Pie Crust Recipe
- Gluten Free Strawberry Shortcake – Homemade Whipped Cream Recipe
- The Best No Bake Cheesecake Recipe - Vanilla Bean with Gluten Free Graham Cracker Crust
What makes Gluten Free Blueberry Pie so delicious?
- It uses summer blueberries at their peak ripeness. You get bonus points for using fresh-picked or fresh from the farmer's market.
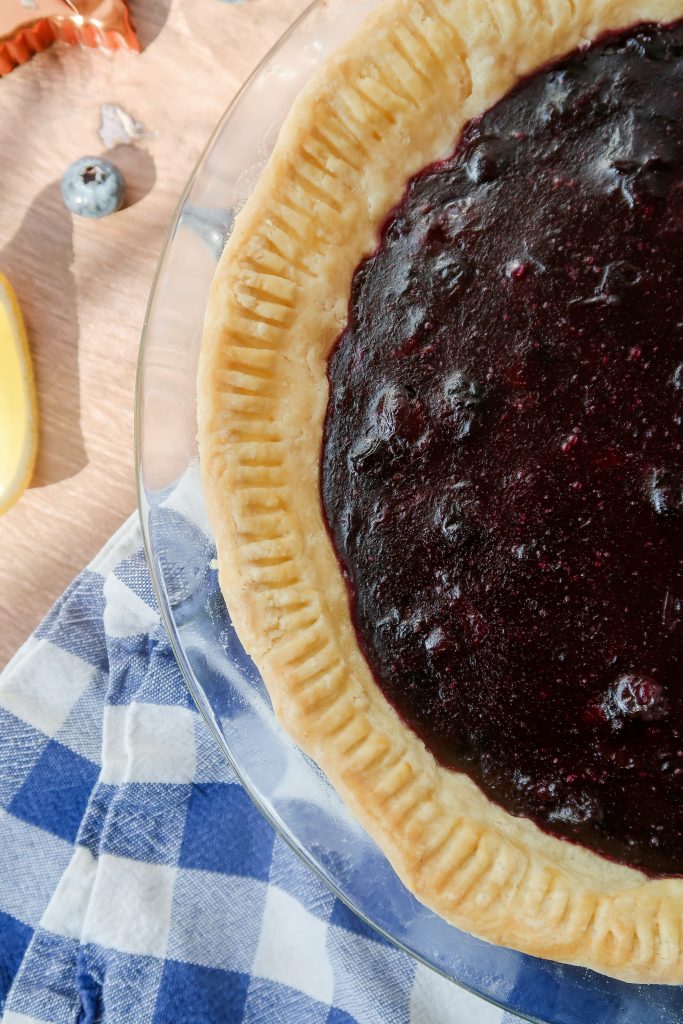
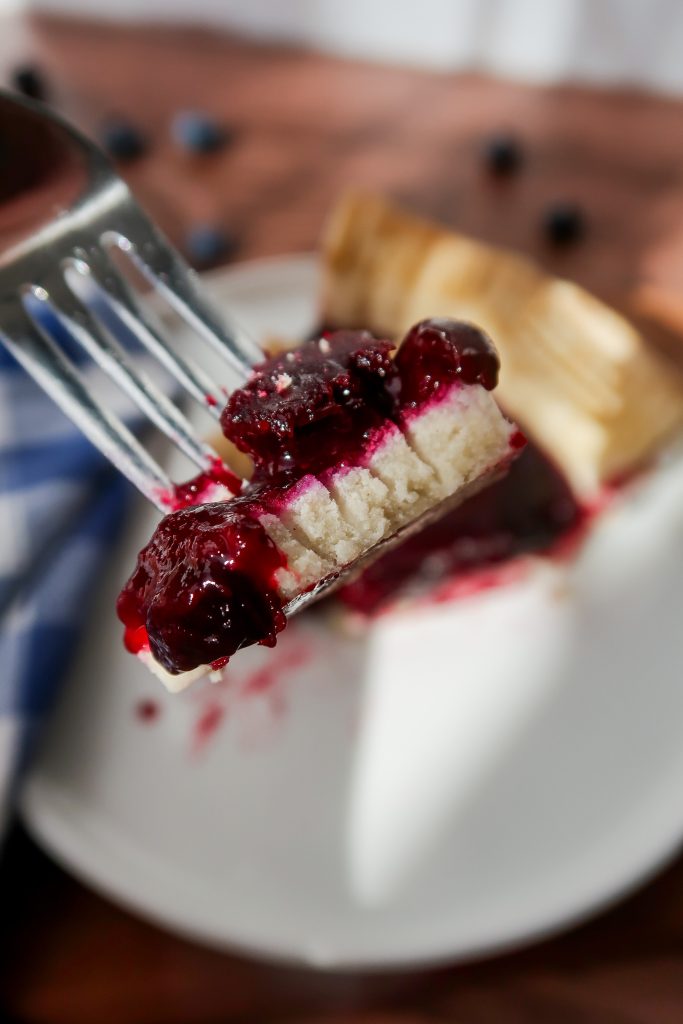
- The blueberry filling is perfectly jammy and thick. You can simmer the blueberries to your liking. Prefer to bite into a lot of whole blueberries? Simmer a few minutes less. Prefer most of the blueberries burst and the filling to be more like a jam? Simmer a couple of extra minutes.
- It has a super easy gluten-free pie crust that actually turns out flaky!
You can adjust the amount of sugar in this recipe depending on how sweet or tart your blueberries are. Peak blueberries won't need much sugar at all, about ½ cup. While off-season, tart blueberries may need more sugar, about ¾ cup. You could also omit the lemon juice in the filling in the case of tart blueberries.

Ingredients for Gluten Free Blueberry Pie
For the Gluten Free Pie Crust:
- High-quality gluten-free all-purpose flour mix containing xanthan gum. I used Bob's Red Mill GF 1:1 (the blue bag).
- Granulated sugar
- Butter
- Eggs
- Milk
- Lemon Juice
- Salt
- Egg wash: Egg beaten with milk
- (Optional) Coarse sugar for sprinkling
The combination of milk and lemon juice in this recipe make a sort of buttermilk. These two ingredients help make this crust flaky. If dairy-free, you can use DF milk such as almond milk. However, I have not personally tested replacing the butter with DF butter.
For the Blueberry Pie Filling:
- Fresh blueberries. You can also use frozen, but the pie will turn out juicier/not set up as firm. You may need to up the cornstarch by 1 tbsp.
- Granulated sugar
- Cinnamon, trust me on this one. A lot of award-winning blueberry pies have a touch of cinnamon! It just adds a little depth and brings out the flavor of the blueberries.
- Water
- Cornstarch + additional water to make a slurry
- Lemon juice, optional. (Omit if blueberries are already tart.)
How to make Gluten Free Blueberry Pie:
For the Blueberry Pie Filling:


- In a large Dutch oven or skillet, add the blueberries, sugar, cinnamon, water, and (optional) lemon juice. Cook over medium-low heat, stirring frequently, until syrupy and half of the blueberries have burst, about 6-8 minutes.


- Meanwhile, combine the cornstarch with the additional water and stir until smooth to make a slurry. Pour into the blueberry mixture while stirring constantly.

- Reduce the heat to low and simmer for 2-3 minutes, or until the filling has thickened. It will also thicken more as it cools.
- Remove the blueberry pie filling from the heat and allow to cool.
For the Gluten Free Pie Crust:

- Add the gluten-free flour, sugar, and salt to a large mixing bowl. Whisk until well combined.
- Add in the cubes of cold butter. Using a pastry cutter, work the butter into the flour mixture until it resembles fine crumbs the size of peas.
- In a small mixing bowl, add the eggs, milk, and lemon juice. Whisk until well combined. Then, pour the wet ingredients into the dry. Stir/mix until the dough starts to come together into a ball. I like to use my hands to form it into a ball, giving it patting motions. Avoid kneading motions so that air stays in the dough and that the butter doesn't get crushed - we want these pockets to later form flaky layers.
- Preheat oven to 400 F. Grease a pie dish with butter or nonstick spray. Set aside.


- Once the dough has formed a ball, cut two large pieces of parchment or wax paper. Lay the first piece of parchment paper on the countertop, and place the dough ball on top of it. Using a dough cutter, cut the ball into two halves. One half is for the bottom crust, the other half is for the top crust and/or pie crust decorations. Set aside one of the halves.

- Then, using the palms of your hands, carefully roll the dough half into a ball and place on the parchment paper. Lay the second piece of parchment paper over top. Use a French rolling pin to roll out the dough until it's about ¼-inch in thickness or 10 inches across, length and width.

- Place the bottom crust into the greased pie dish. Trim the edges until they are neat and up the sides of the pie dish. You can also use the back of a fork to imprint a design.

- Pour the cooled blueberry pie filling into the pie dish.

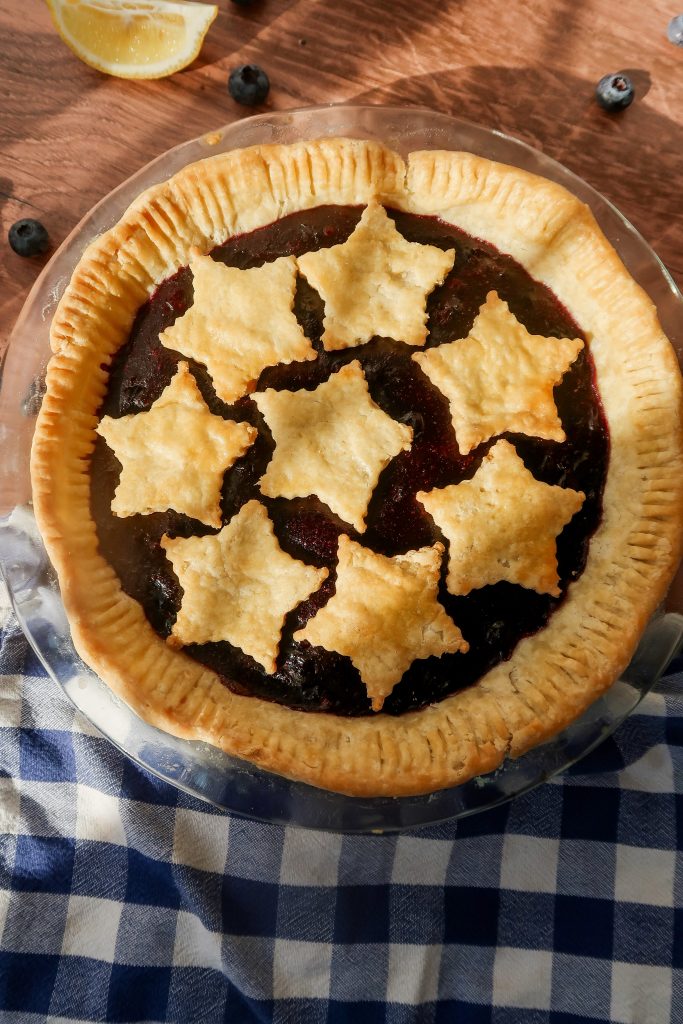
- Optional: Repeat the rolling with the top pie crust and lay over top of the pie filling, pinching the edges together and venting the top with a few cuts OR roll out the top pie crust into ¼-inch thickness and use cookie cutters to cut out fun shapes. Important: If making shapes; do not place them onto the pie filling. The shapes need to be baked separately on a cookie sheet. Otherwise, they will sink into the filling.
- Brush the egg wash over the top and/or edges of the pie crust. Sprinkle the top with coarse sugar, if using.
- Bake for 20 minutes at 400 F. Then, turn the oven down to 350 F and, depending on the size and thickness of your pie dish, bake an additional 10-20 minutes. The filling should be bubbling in the center and look thick, not watery. If the edges of the pie crust are browning too quickly, you can tent them with foil.
- Brush the pie crust cutout shapes with the egg wash. Bake at 400 F for 5 minutes, then turn the oven down to 350 F and bake an additional 10-12 minutes, or until golden brown.
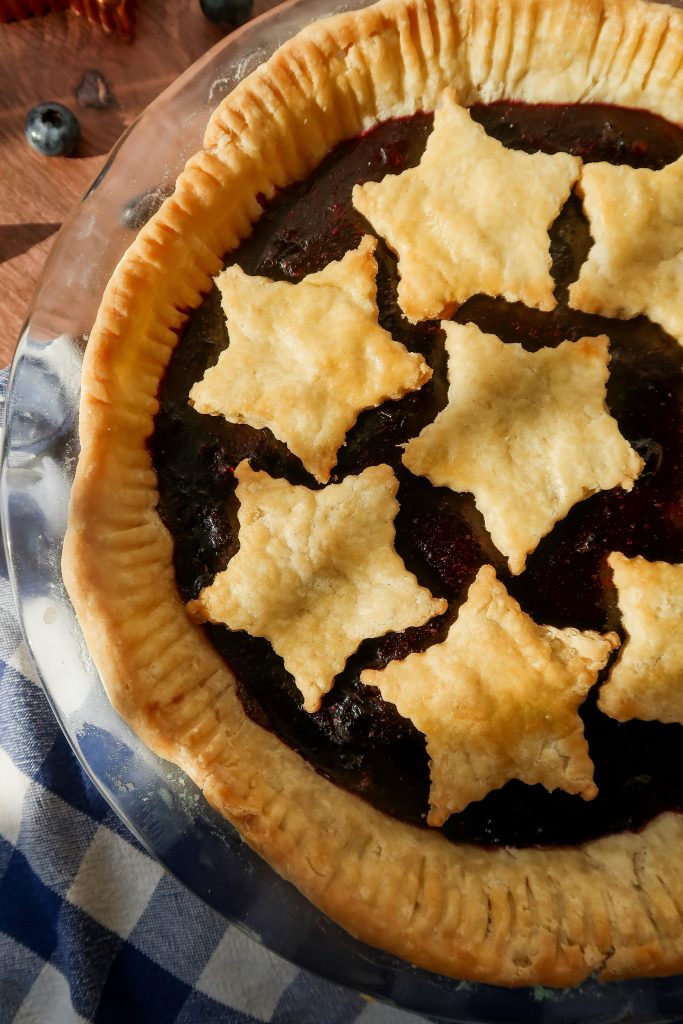
- Remove the pie from the oven and allow to cool completely before serving. The pie will set up and be easier to cut if left to cool 4+ hours. You can decorate the top with the pie crust shapes after it's cooled for about 30 minutes. The top should be set enough to be able to arrange the shapes without disturbing the filling.
- Enjoy! Serve with vanilla ice cream for the ultimate pairing.

Equipment
My recipes typically don't require much equipment, and you can certainly make this recipe without any special tools. However, pies do take some work to make so it would be helpful to have:
- Dough cutter. This tool just helps cut the dough ball in half. Mine even has a handy ruler imprinted on it, so I can hold it up to the dough to see if it's ¼-inch thick.
- French rolling pin. This helps roll the dough out to an even thickness. I recommend French rolling pins for gluten-free baking because they have tapered ends, meaning it won't leave any imprints on the dough. There's also much less for the dough to get stuck on, and we all know how painstaking it can be to work with GF dough.
- Parchment paper. I recommend using parchment paper when rolling out the dough. This eliminates any chance of the dough sticking to your counters or the rolling pin. You can simply pick up the parchment paper to transfer it straight to your greased pie dish.
- Cookie cutters, if cutting out shapes. I like to cut out stars because it makes this classic American blueberry pie even more festive for holidays like Fourth of July, Memorial Day, or Labor Day.
- Pie dish. A standard 9.5-inch pan should do. Just be sure the depth is at-least 3-4 inches so there is enough room for all of the filling. If you're unsure, you can always place the pie dish on a cookie sheet when baking. If anything bubbles out, the cookie sheet will catch it.

Storage
Keep this gluten free blueberry pie covered and in the refrigerator for up to 4-5 days.


Notes
- If you don't have a pastry cutter, just use your fingers to break the butter into smaller bits and combine with the flour. This is more time-consuming, but still produces good results.
- Important: If making shapes; do not place onto the pie filling. The shapes need to be baked separately on a cookie sheet. Otherwise, they will sink into the filling.
- If the edges of the pie crust are browning too quickly, you can tent them with foil.
- Serve with vanilla ice cream for the ultimate pairing.
- For rolling out the dough, you can either use a floured work surface or two pieces of parchment paper. I recommend the parchment paper for placing on top of the dough before rolling to prevent the dough from sticking to the rolling pin.
- The combination of milk and lemon juice in this recipe make a sort of buttermilk. These two ingredients help make this crust flaky. If dairy-free, you can use DF milk such as almond milk. However, I have not personally tested replacing the butter with DF butter.
Tried this Gluten Free Blueberry Pie recipe? Leave a 5-Star Rating Below!
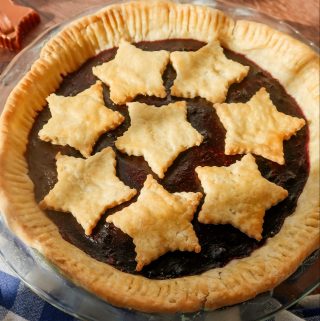
Gluten Free Blueberry Pie | The Best Gluten Free Pie Crust
Your rating helps support the making of more tested, delicious gluten-free recipes.
Equipment
- 9 or 10-inch pie dish greased with butter or nonstick cooking spray
- cookie cutters optional, such as star shapes
Ingredients
For the Blueberry Pie Filling:
- 4 cups fresh blueberries* If using frozen, see Notes
- ½ cup granulated sugar** See Notes
- ¼ cup water
- 2 teaspoon freshly-squeezed lemon juice** See Notes
- ⅛ teaspoon ground cinnamon
- 3 tablespoon cornstarch + 2 tablespoon water to make a slurry
For the Gluten Free Pie Crust:
- 3 cups high quality gluten-free all-purpose flour containing xanthan gum I used Bob's Red Mill GF 1:1 (the blue bag)
- 1 tablespoon granulated sugar
- ½ teaspoon salt omit if using salted butter
- 2 sticks of unsalted butter cold, (about 1 cup)
- 2 large eggs
- 2 teaspoon freshly-squeezed lemon juice
- ½ cup milk (add up to ¼ cup additional milk if the dough isn't coming together enough to form a ball)
- coarse sugar for sprinkling optional
Egg Wash for Pie Crust:
- 1 tablespoon milk
- 1 large egg
Instructions
For the Blueberry Pie Filling:
- In a large Dutch oven or skillet, add the blueberries, sugar, cinnamon, water, and (optional) lemon juice. Cook over medium-low heat, stirring frequently, until syrupy and half of the blueberries have burst, about 6-8 minutes.
- Meanwhile, combine the cornstarch with the additional water and stir until smooth to make a slurry. Pour into the blueberry mixture while stirring constantly.
- Reduce the heat to low and simmer for 2-3 minutes, or until the filling has thickened. It will also thicken more as it cools.
- Remove the blueberry pie filling from the heat and allow to cool.
For the Gluten Free Pie Crust:
- Add the gluten-free flour, sugar, and salt to a large mixing bowl. Whisk until well combined.
- Add in the cubes of cold butter. Using a pastry cutter, work the butter into the flour mixture until it resembles fine crumbs the size of peas.
- In a small mixing bowl, add the eggs, milk, and lemon juice. Whisk until well combined. Then, pour the wet ingredients into the dry. Stir/mix until the dough starts to come together into a ball. I like to use my hands to form it into a ball, giving it patting motions. Avoid kneading motions so that air stays in the dough and that the butter doesn't get crushed - we want these pockets to later form flaky layers.
- Preheat oven to 400 F. Grease a pie dish with butter or nonstick spray. Set aside.
- Once the dough has formed a ball, cut two large pieces of parchment or wax paper. Lay the first piece of parchment paper on the countertop, and place the dough ball on top of it. Using a dough cutter, cut the ball into two halves. One half is for the bottom crust, the other half is for the top crust and/or pie crust decorations. Set aside one of the halves.
- Then, using the palms of your hands, carefully roll the dough half into a ball and place on the parchment paper. Lay the second piece of parchment paper over top. Use a French rolling pin to roll out the dough until it's about ¼-inch in thickness or 10 inches across, length and width.
- Place the bottom crust into the greased pie dish. Trim the edges until they are neat and up the sides of the pie dish. You can also use the back of a fork to imprint a design.
- Pour the cooled blueberry pie filling into the pie dish.
- Optional: Repeat the rolling with the top pie crust and lay over top of the pie filling, pinching the edges together and venting the top with a few cuts OR roll out the top pie crust into ¼-inch thickness and use cookie cutters to cut out fun shapes. Important: If making shapes; do not place them onto the pie filling. The shapes need to be baked separately on a cookie sheet. Otherwise, they will sink into the filling.
For the Egg Wash:
- Beat ingredients in a small bowl. Brush the egg wash over the top and/or edges of the pie crust. Sprinkle the top with coarse sugar, if using.
- Bake for 20 minutes at 400 F. Then, turn the oven down to 350 F and, depending on the size and thickness of your pie dish, bake an additional 10-20 minutes. The filling should be bubbling in the center and look thick, not watery. If the edges of the pie crust are browning too quickly, you can tent them with foil.
- (optional) Brush the pie crust cutout shapes with the egg wash. Bake at 400 F for 5 minutes, then turn the oven down to 350 F and bake an additional 10-12 minutes, or until golden brown.
- Remove the pie from the oven and allow to cool completely before serving. The pie will set up and be easier to cut if left to cool 4+ hours. You can decorate the top with the pie crust shapes after it's cooled for about 30 minutes. The top should be set enough to be able to arrange the shapes without disturbing the filling.
- Enjoy! Serve with vanilla ice cream for the ultimate pairing.
Notes
- The combination of milk and lemon juice in this recipe make a sort of buttermilk. These two ingredients help make this crust flaky. If dairy-free, you can use DF milk such as almond milk. However, I have not personally tested replacing the butter with DF butter.
- Storage Instructions: Keep this gluten free blueberry pie covered and in the refrigerator for up to 4-5 days.


Leave a Reply