Gluten Free Rice Krispies Treats have arrived, and they’re every bit as sweet, gooey, and irresistible as the ones you grew up with.
Made with crispy gluten-free rice cereal, corn syrup–free melted marshmallows, pure vanilla extract, and a touch of butter, this no-bake dessert is a nostalgic classic with a gluten-free twist. Soft, chewy, and easy to dress up with sprinkles, they’re perfect for birthday parties, holidays, lunchbox snacks, or even cake decorating.

As an Amazon Associate, I earn from qualifying purchases. This post contains affiliate links for products I use and love. You can read my full disclosure here. All thoughts and opinions expressed are my own. Thank you for supporting Wonders of Cooking so that I can continue to provide you with free gluten-free recipes.
Whether you call them gluten free rice krispie squares or gluten free rice crispy treats, one thing’s for sure: you won’t be able to stop at just one.
Looking For More Gluten Free Desserts?
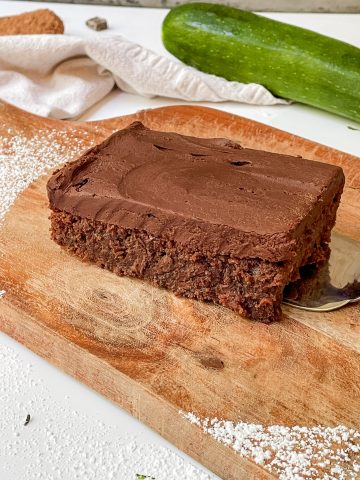
- Gluten Free Brownie Recipe - Easy Chewy, Fudgy Brownies
- Sourdough Discard Brownies | Best Gluten Free Sourdough Discard Recipes
- Gluten Free Chocolate Donuts with Easy Glaze
- Sourdough Chocolate Chip Cookies | Gluten Free Sourdough Discard Recipes
- Chocolate Mug Cake - Gluten Free Mug Cake Recipe, Vegan
- Chocolate Banana Bread - Gluten Free Banana Bread Recipe
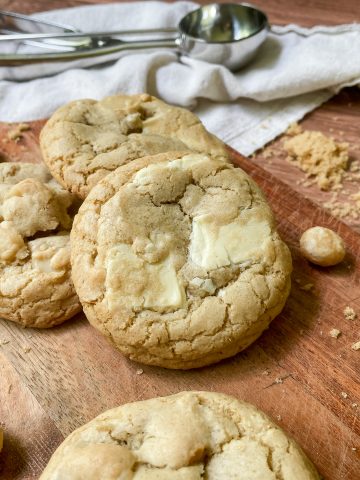
- Gluten Free Chocolate Chip Cookies - Best Soft Baked Cookies
- Energy Balls - Peanut Butter Chocolate Chip | Gluten Free
- Gluten Free Chocolate Chip Muffins - Gluten Free Breakfast
- The Best No Bake Cheesecake Recipe - Vanilla Bean with Gluten Free Graham Cracker Crust


Are Rice Krispies Gluten Free?
No, Kellogg’s Rice Krispies are infamously not gluten-free, despite what you might expect. Since they’re made from rice, you’d think they’d be safe, right? But here’s the catch: they contain “malt flavor,” which is derived from barley, a gluten-containing grain. So unfortunately, they’re off-limits for anyone avoiding gluten.
It can be pretty difficult to find a brand of rice cereal that is gluten-free. I used One Degree Organic Foods Gluten Free Sprouted Brown Rice Crisps. I buy them much cheaper from Thrive Market (Get 40% off your first order + sometimes a gift).

Can I Use Regular Rice Krispies Instead?
Yes, you can easily transform this recipe back to the classic by swapping out the gluten-free rice cereal for Kellogg's Rice Krispies.

What Do I Need To Make Gluten Free Rice Krispies Treats?
You only need four ingredients:
- Gluten-free rice crispy cereal
- Your favorite marshmallows, mini or regular. I used Dandies Corn Syrup-Free Marshmallows.
- Pure vanilla extract
- Melted butter. To make this recipe vegan, use plant-based butter.

How To Make Gluten Free Rice Krispies Treats:
- Prepare the pan: Line an 8x8 or 9x13-inch pan with parchment paper. (Use 8x8 for thicker treats, 9x13 for thinner.)
- If using regular marshmallows, cut into halves with kitchen scissors for faster melting.
- In a large nonstick pot over low heat, melt the butter.

- Add all but one cup of the marshmallows and stir constantly until completely melted and smooth, about 5 to 6 minutes.

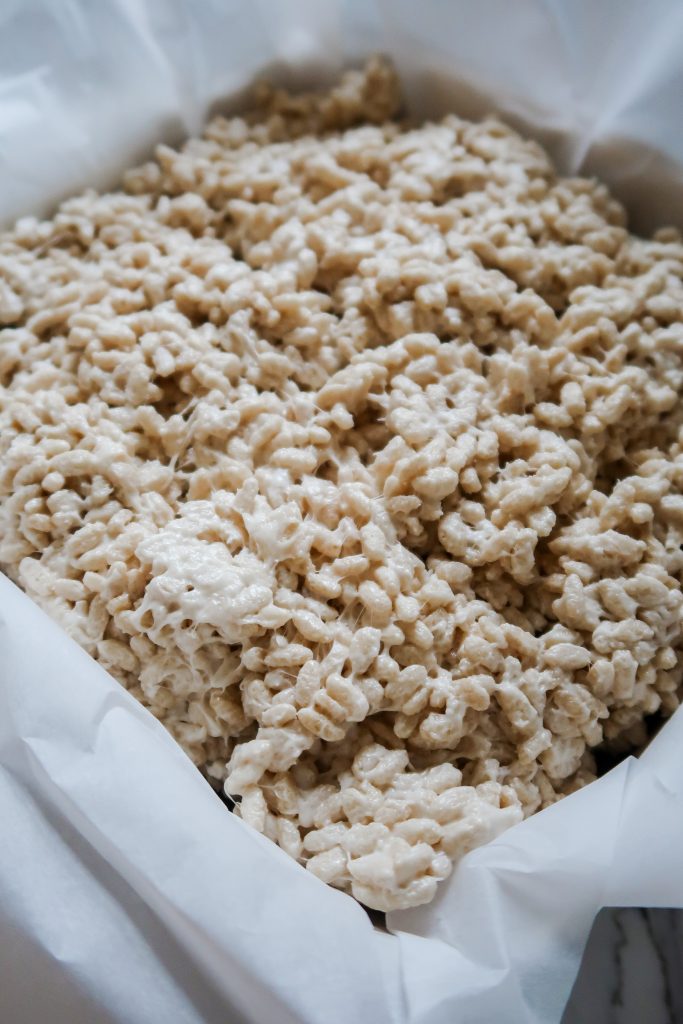
- Remove from heat and stir in vanilla. Fold in the rice cereal and the remaining cup of marshmallows. Stir until combined, being careful to not compact the mixture.

- Transfer the mixture to your prepared pan. Use a silicone spatula or buttered hands to gently press it down into an even layer. Don’t pack too tightly or the treats may be too firm.
- (Optional) While still warm, top with sprinkles for a festive look.
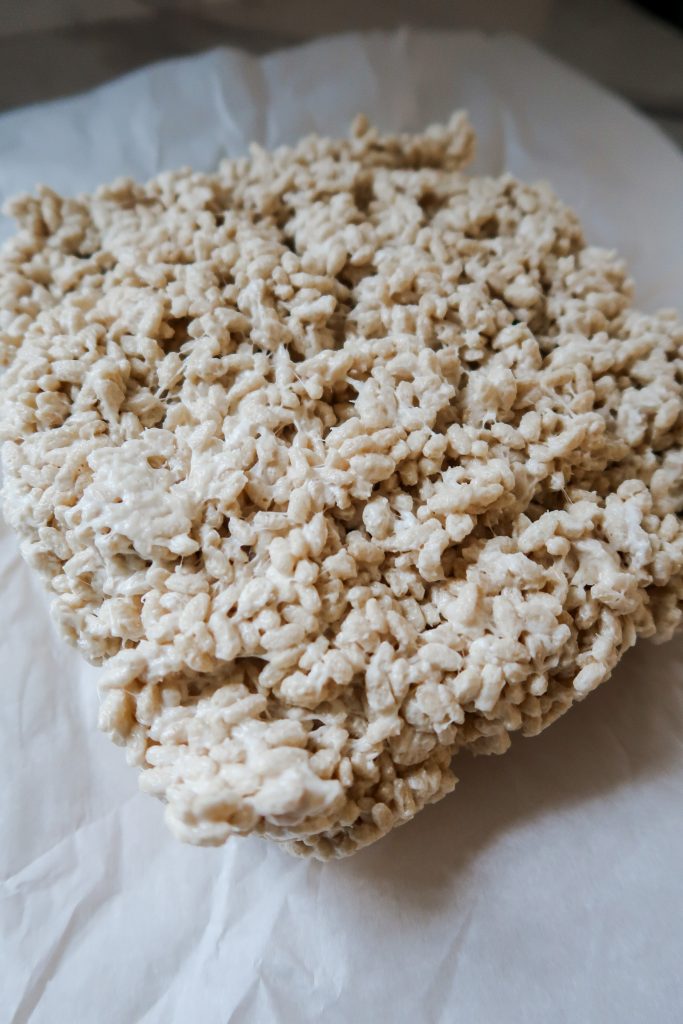
- Let sit at room temperature for about one hour, then cut into squares and enjoy!

How to Store Gluten Free Rice Crispy Treats:
Store your gluten-free rice krispies treats in an airtight container at room temperature for up to 3 days. To prevent sticking, place a piece of parchment or wax paper between layers.
If you want to keep them longer, you can freeze them: wrap each square tightly in plastic wrap, place them in a freezer-safe bag, and freeze for up to 6 weeks. Thaw at room temperature before enjoying.


Did You Make These Gluten Free Rice Krispies Treats? Leave a 5-Star Rating Below!

Gluten Free Rice Krispies Treats
Your rating helps support the making of more tested, delicious gluten-free recipes.
Equipment
- 9x13 pan
- Dutch oven optional
Ingredients
- 16 oz. marshmallows (mini or regular cut into smaller pieces) I used Dandies corn syrup-free marshmallows
- 6 cups gluten-free rice cereal I used One Degree Organic Foods
- 6 tablespoon unsalted butter *Only use salted butter if the rice cereal doesn't contain any
- 1 teaspoon pure vanilla extract
- sprinkles if using Supernatural brand is free of artificial dyes
Instructions
- Prepare the pan: Line an 8x8 or 9x13-inch pan with parchment paper. (Use 8x8 for thicker treats, 9x13 for thinner.)
- If using regular marshmallows, cut into halves with kitchen scissors for faster melting.
- In a large nonstick pot over low heat, melt the butter.6 tablespoon unsalted butter
- Add all but one cup of the marshmallows and stir constantly until completely melted and smooth, about 5 to 6 minutes.16 oz. marshmallows (mini or regular cut into smaller pieces)
- Remove from heat and stir in vanilla. Fold in the rice cereal and the remaining cup of marshmallows. Stir until combined, being careful to not compact the mixture.1 teaspoon pure vanilla extract, 6 cups gluten-free rice cereal
- Transfer the mixture to your prepared pan. Use a silicone spatula or buttered hands to gently press it down into an even layer. Don’t pack too tightly or the treats may be too firm.
- Optional: While still warm, top with sprinkles for a festive look.sprinkles if using
- Let sit at room temperature for about one hour, then cut into squares and enjoy!


Leave a Reply