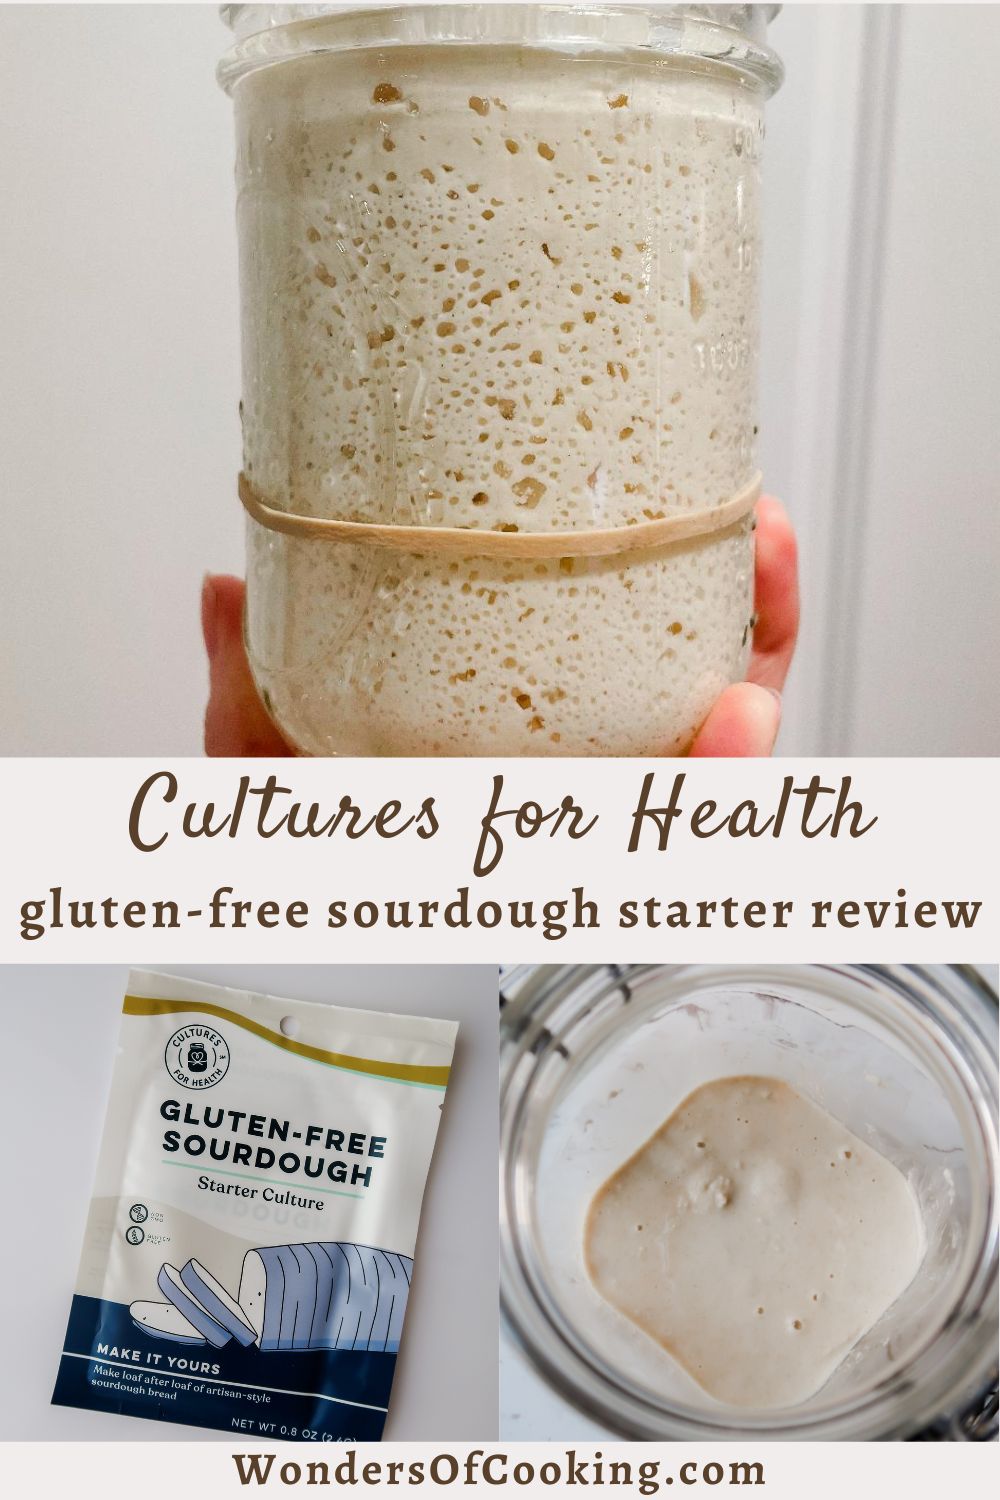
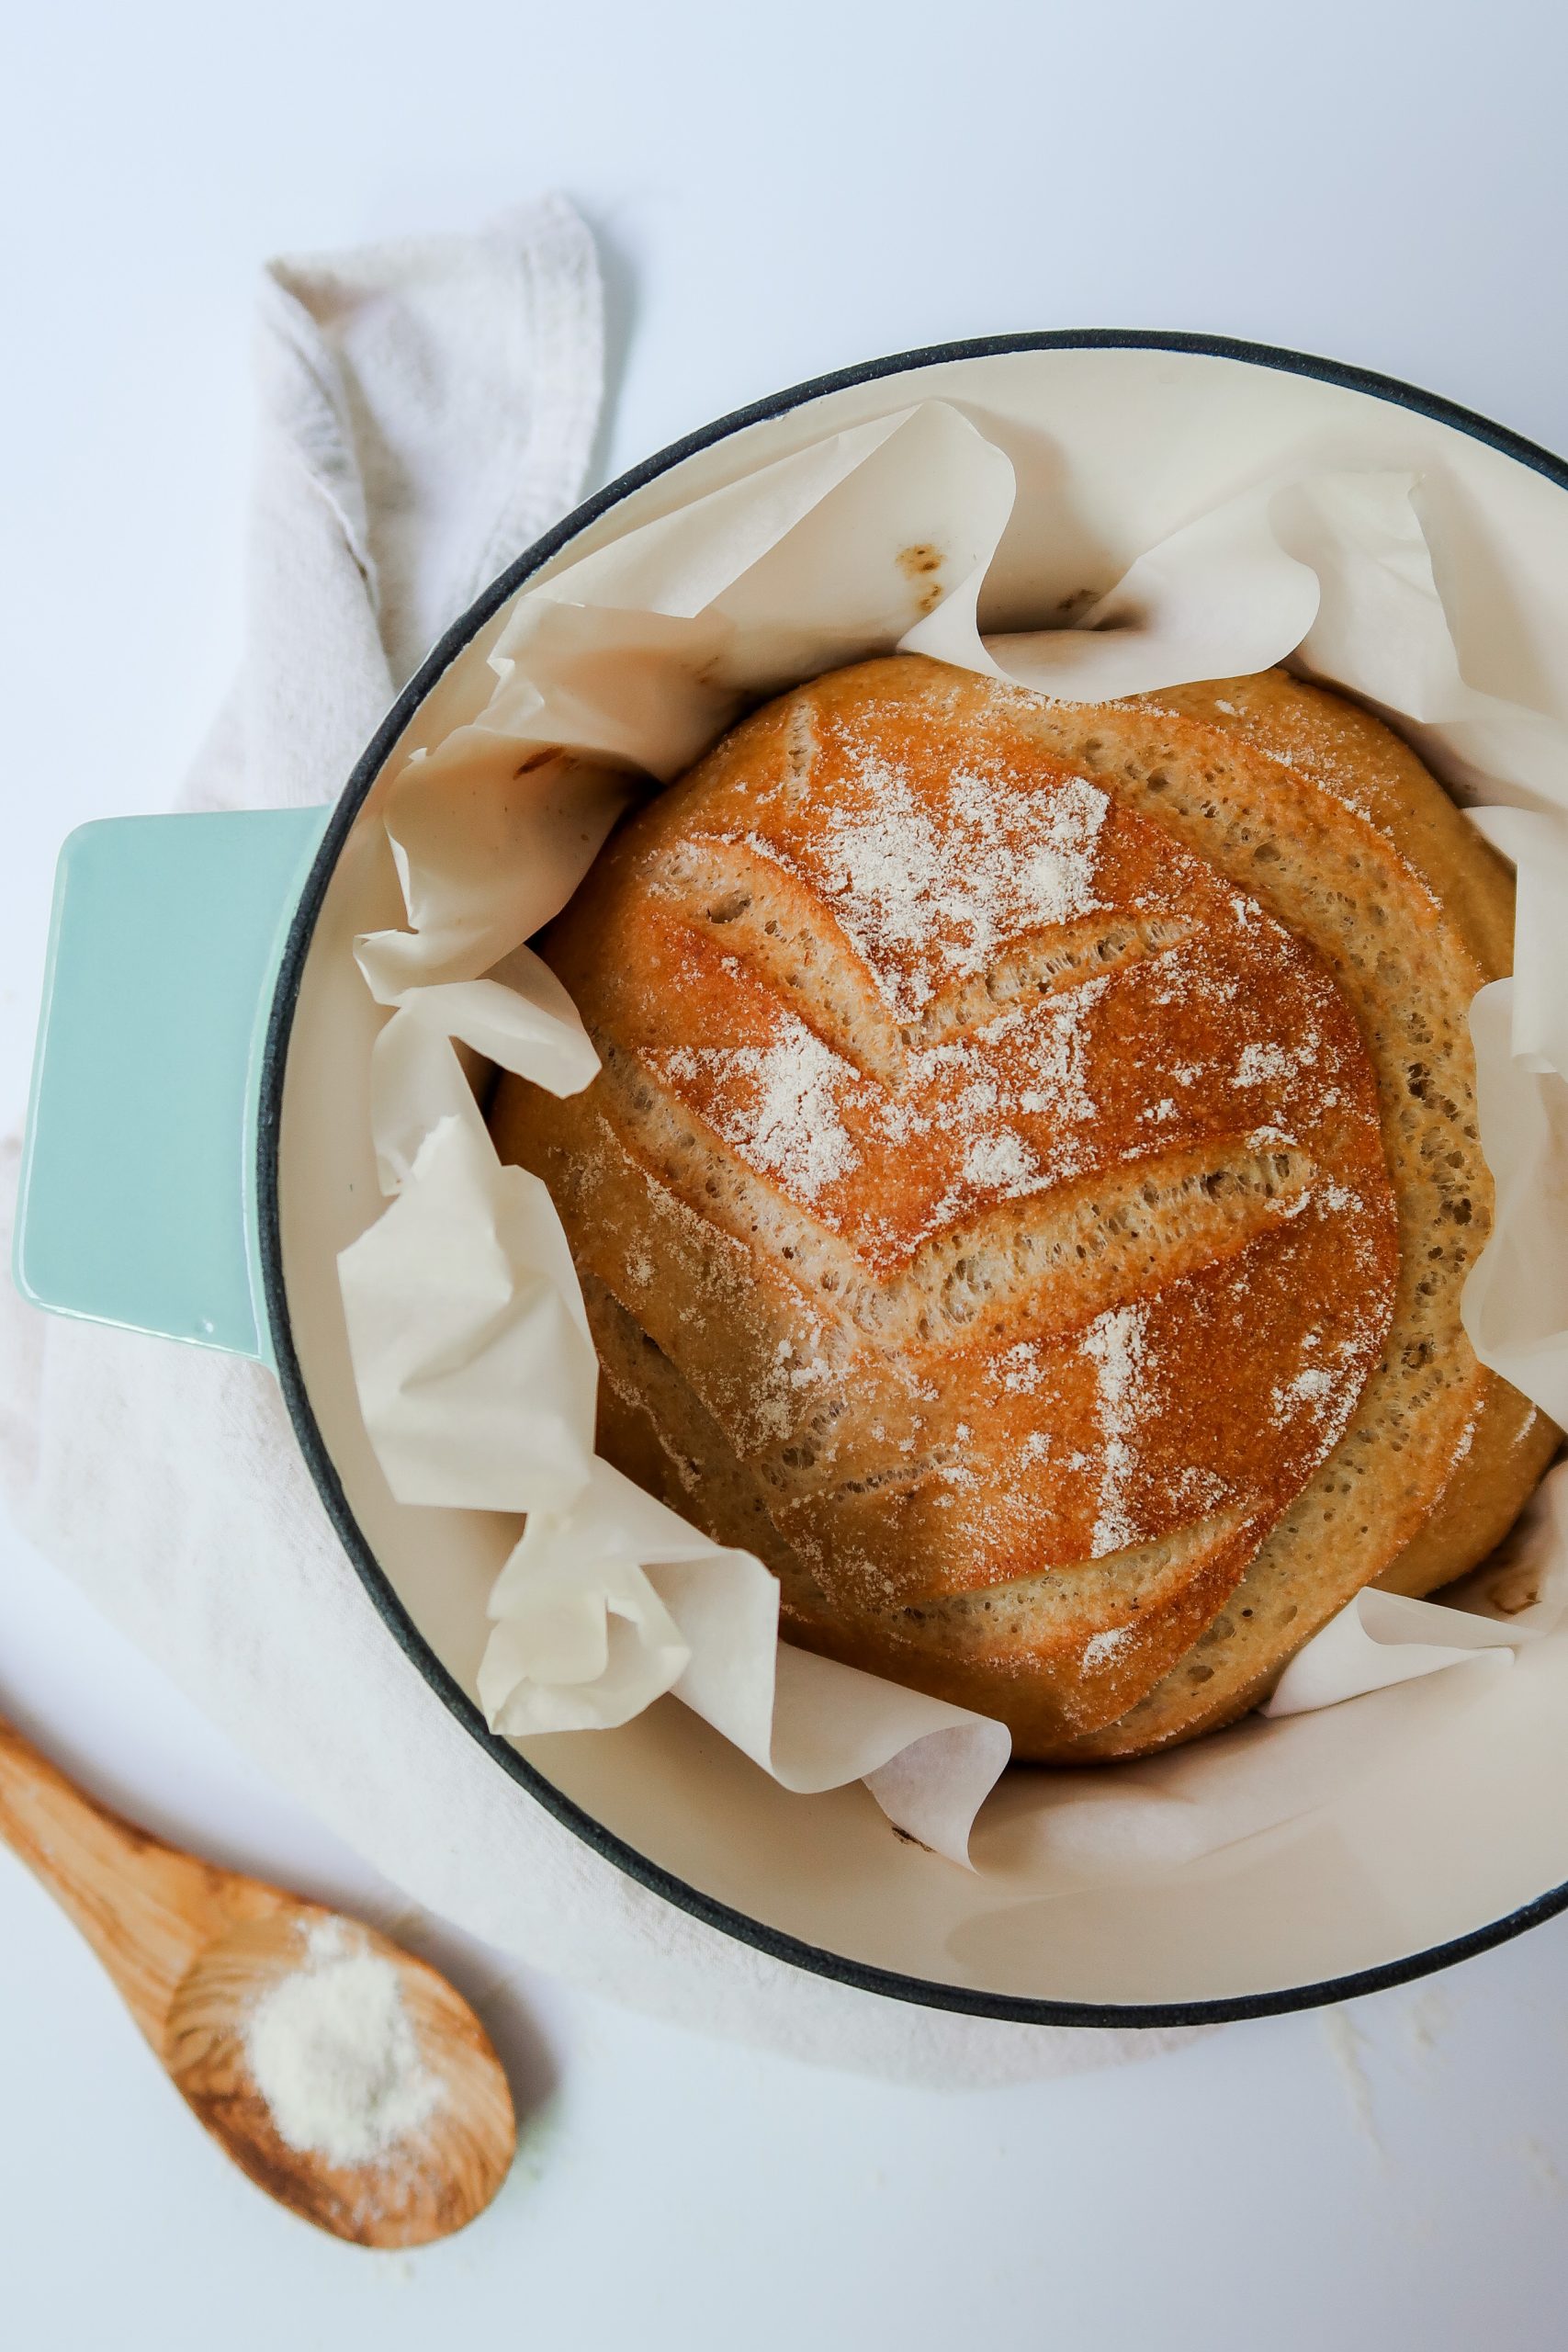
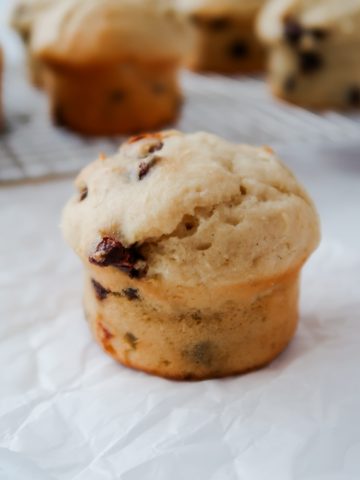
Making a Gluten Free Sourdough Starter is a highly rewarding process. You get to enjoy fresh, homemade gluten-free bread at a fraction of the cost of store-bought as well as endless sourdough discard recipes that turn out so amazingly close to their gluten counterparts you'll want to turn everything into sourdough.
While I originally made my own brown rice starter from scratch, I've been eyeing the Cultures for Health Gluten Free Sourdough Starter packet for months. It comes with a packet of dehydrated gluten free sourdough starter, what I'll refer to frequently as the "mother" or "mother culture". What this means is this product could potentially cut the time of making a starter from 2 weeks down to just 3 to 7 days.
I reached out to Cultures for Health to see if they could send me their product in exchange for a review, and here we go!
As an Amazon Associate, I earn from qualifying purchases. This post contains affiliate links for products I use and love. You can read my full disclosure here. All thoughts and opinions expressed are my own. Thank you for supporting Wonders of Cooking so that I can continue to provide you with free gluten-free recipes.
What to Expect:
In this post, I'll:
- Walk you through what comes inside the Cultures for Health Gluten Free Sourdough Starter, as well as what materials you'll need to supply yourself.
- Relay the included instructions and feeding routine
- Document my personal experience reviving the gluten free sourdough starter, giving step-by-step photos
- Advise you of any changes I made to the included instructions, as well as offer suggestions
- Determine the pros and cons (if any) of using a dehydrated gluten free sourdough starter
Use the code WONDERS15X on Cultures For Health's website to get 15% off! The gluten free sourdough starter is also available for purchase on Amazon here.
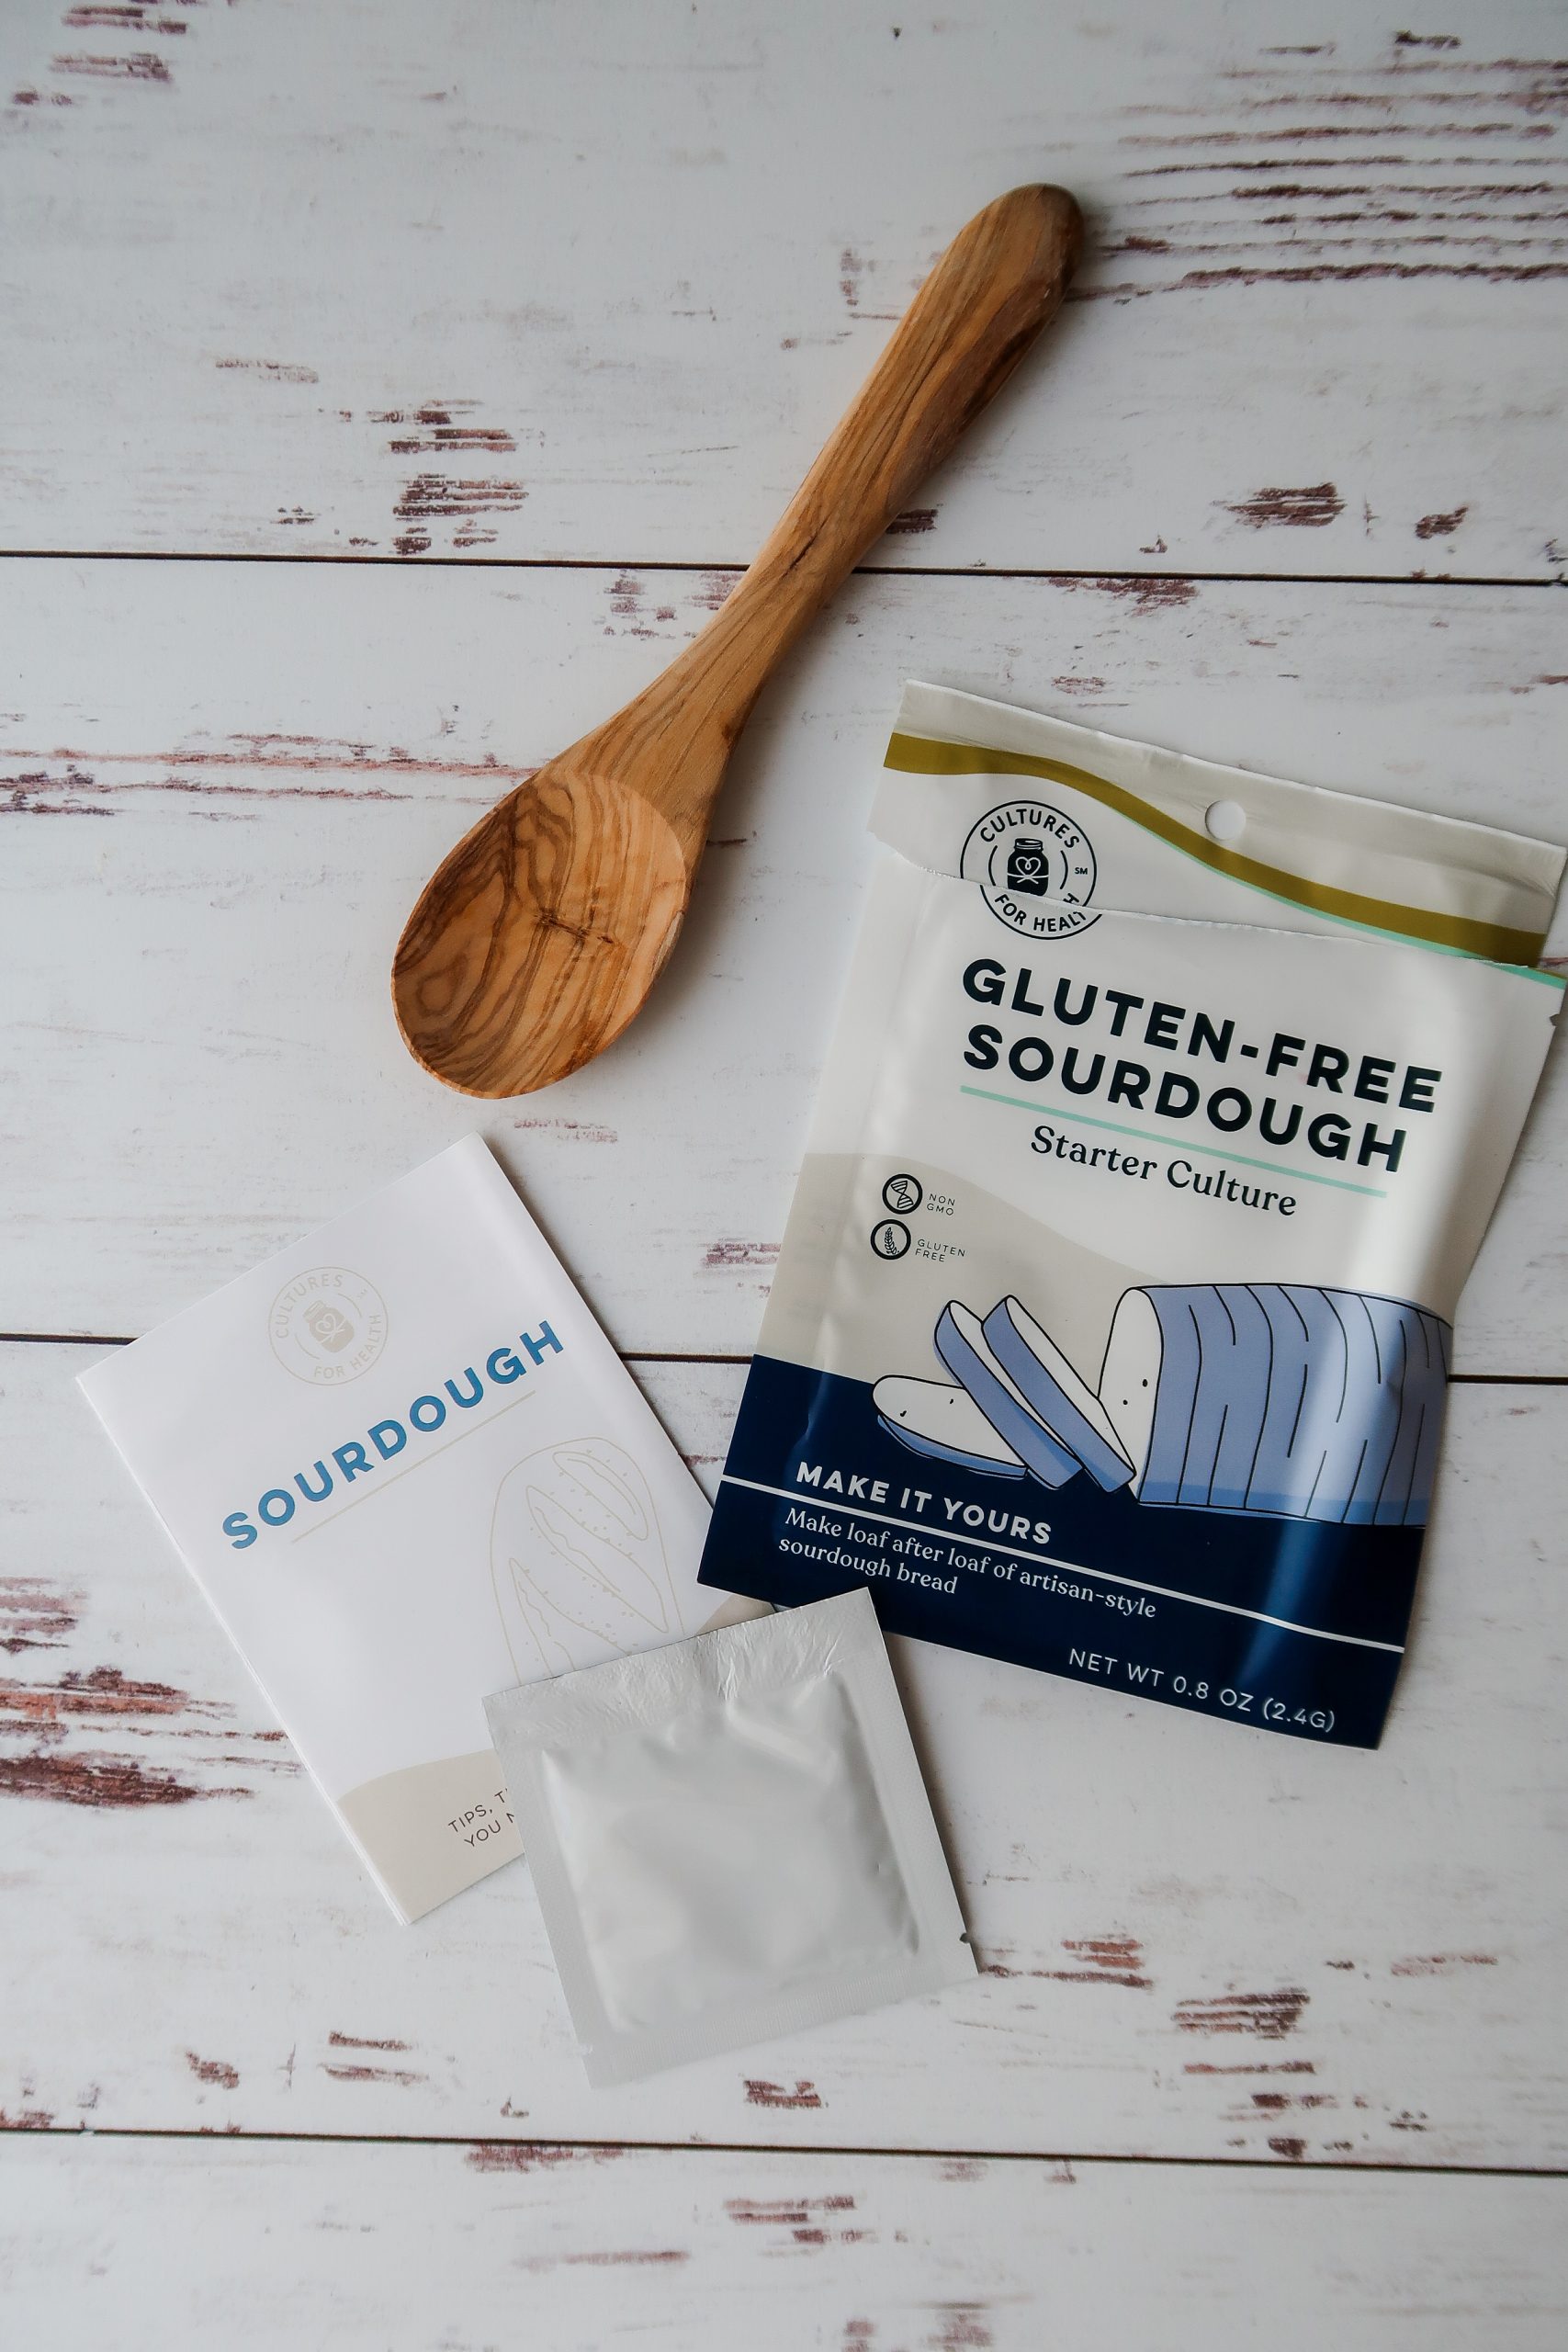
Cultures for Health Gluten Free Sourdough Starter Unboxing
(Or un-packeting in this case?)
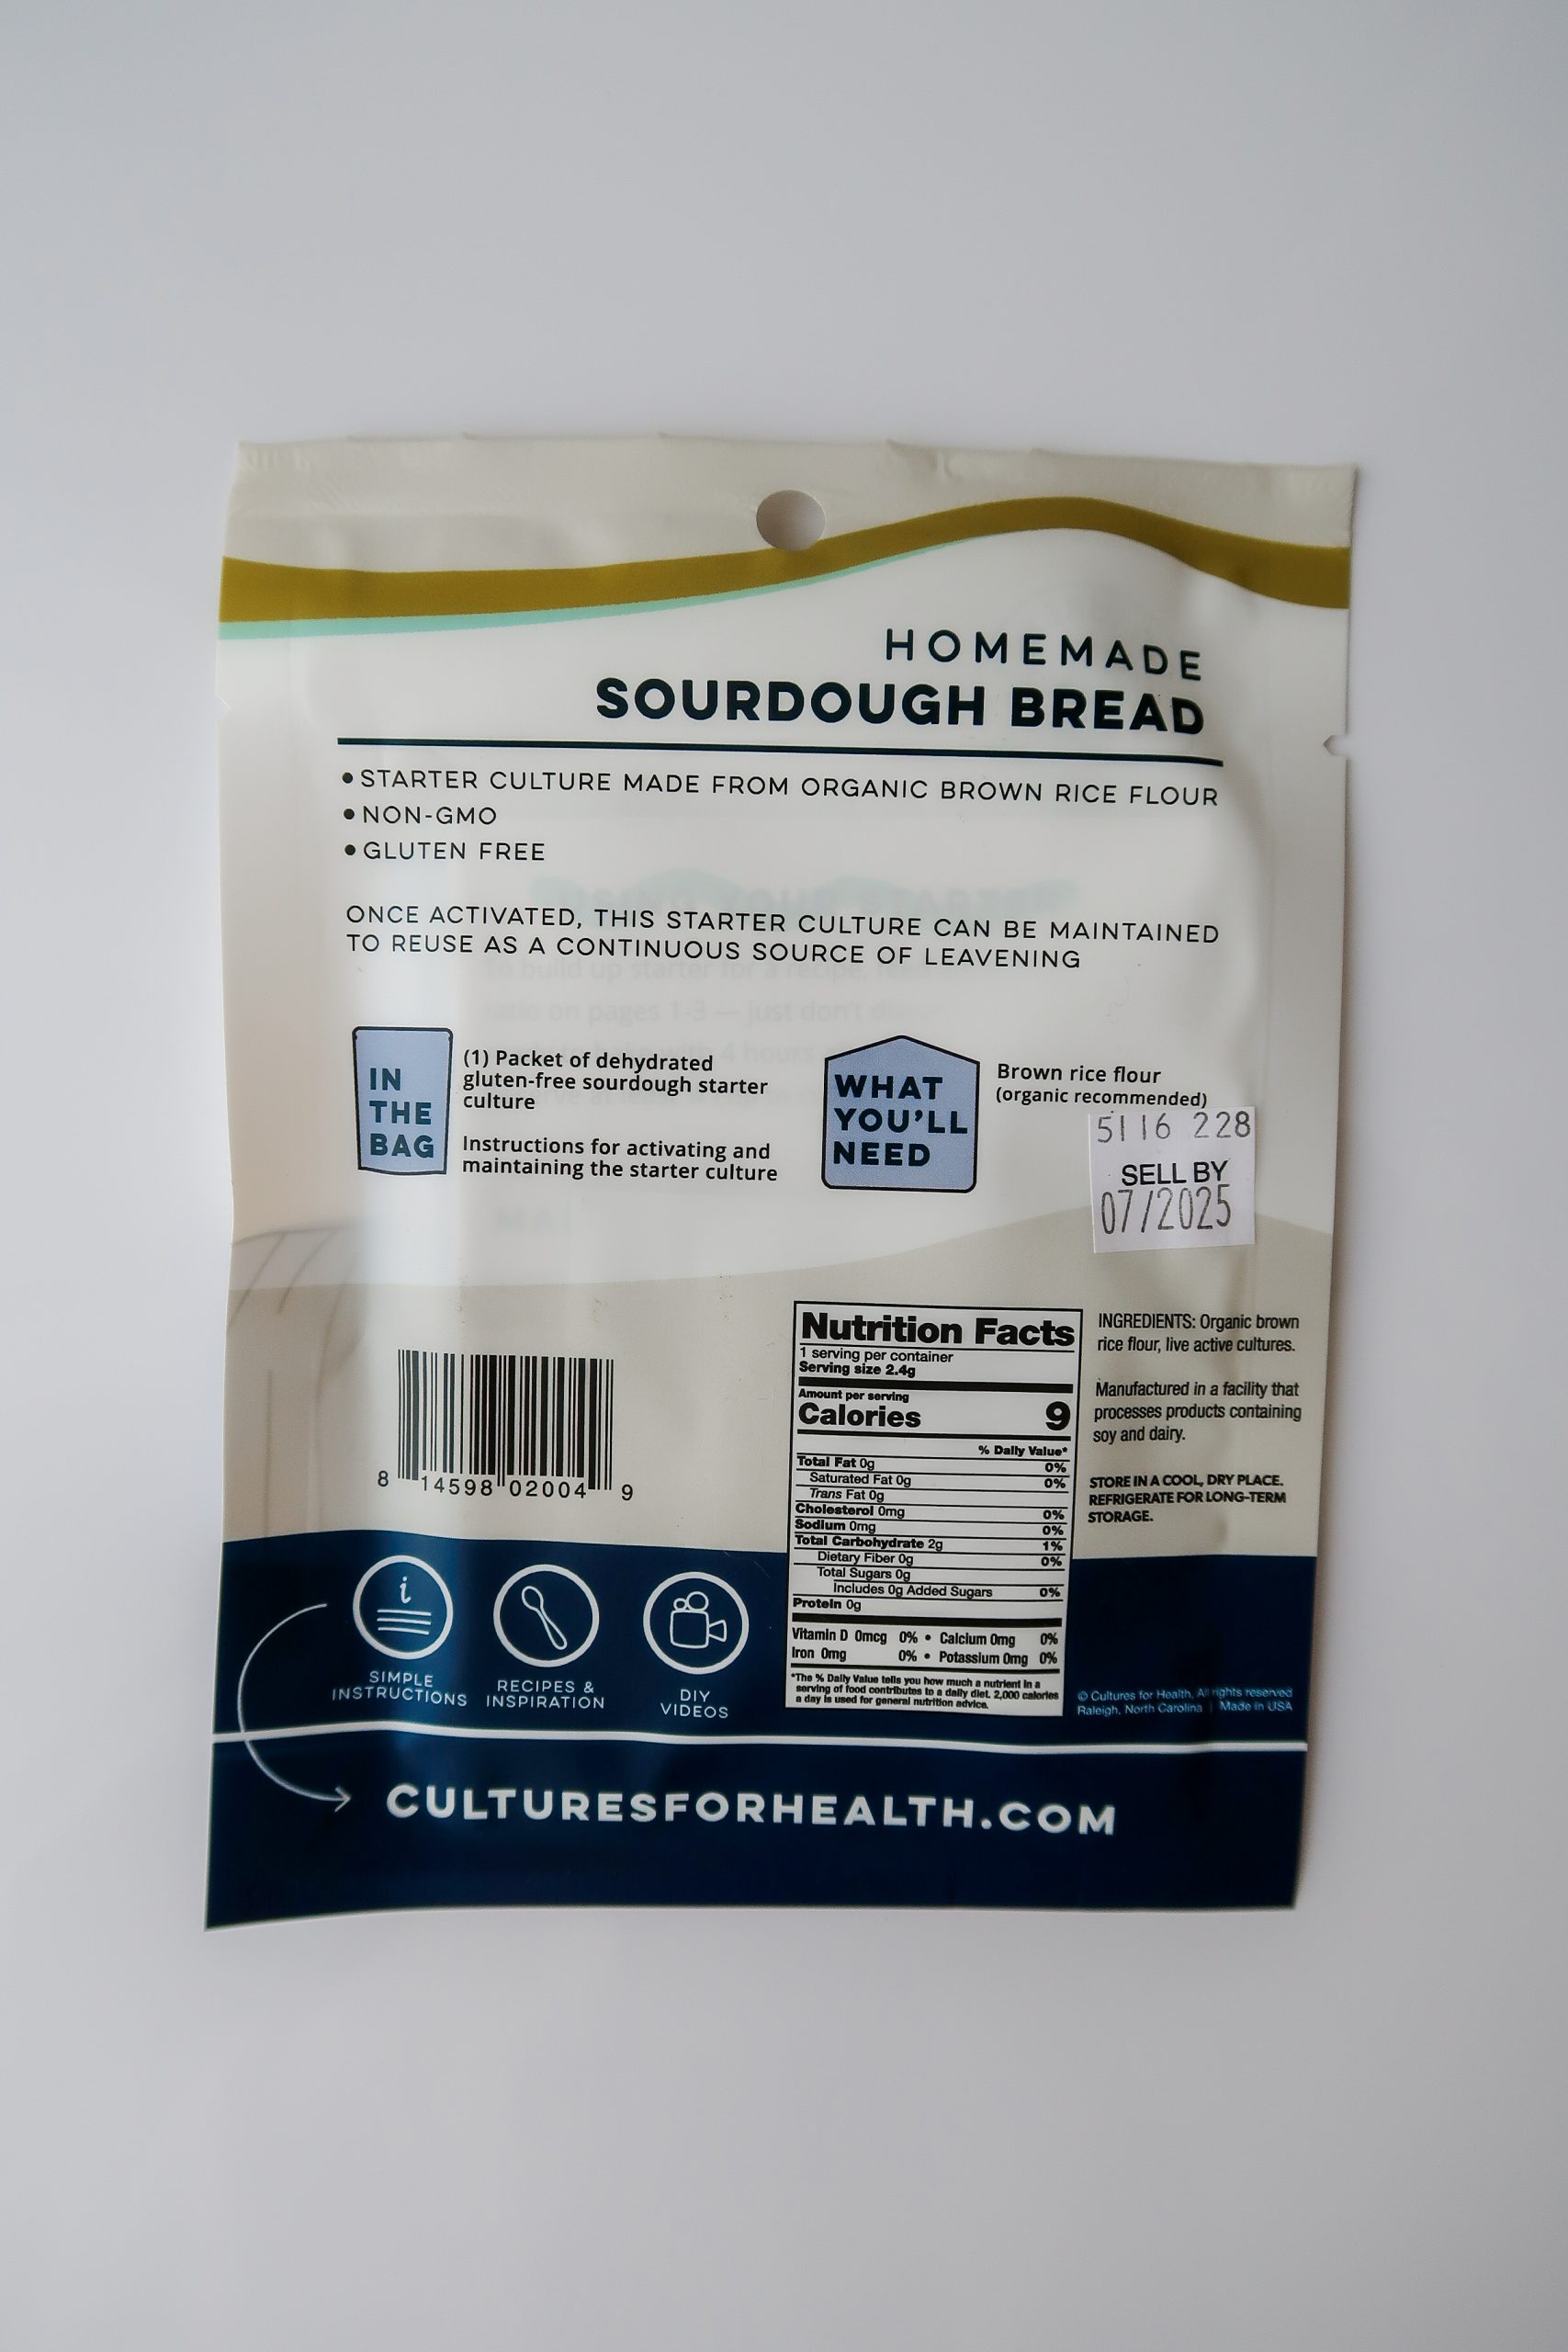
What's Included:
- One packet of dehydrated gluten free sourdough starter from the mother culture
- Instructions for activating the starter (Note: While the packaging mentions instructions for "maintaining the sourdough stater", there aren't explicit directions on what to do after Day 7. I wanted to point this out as I've seen others ask about it. I think it's safe to assume that you simply continue on with the given feeding instructions. More on this later.)
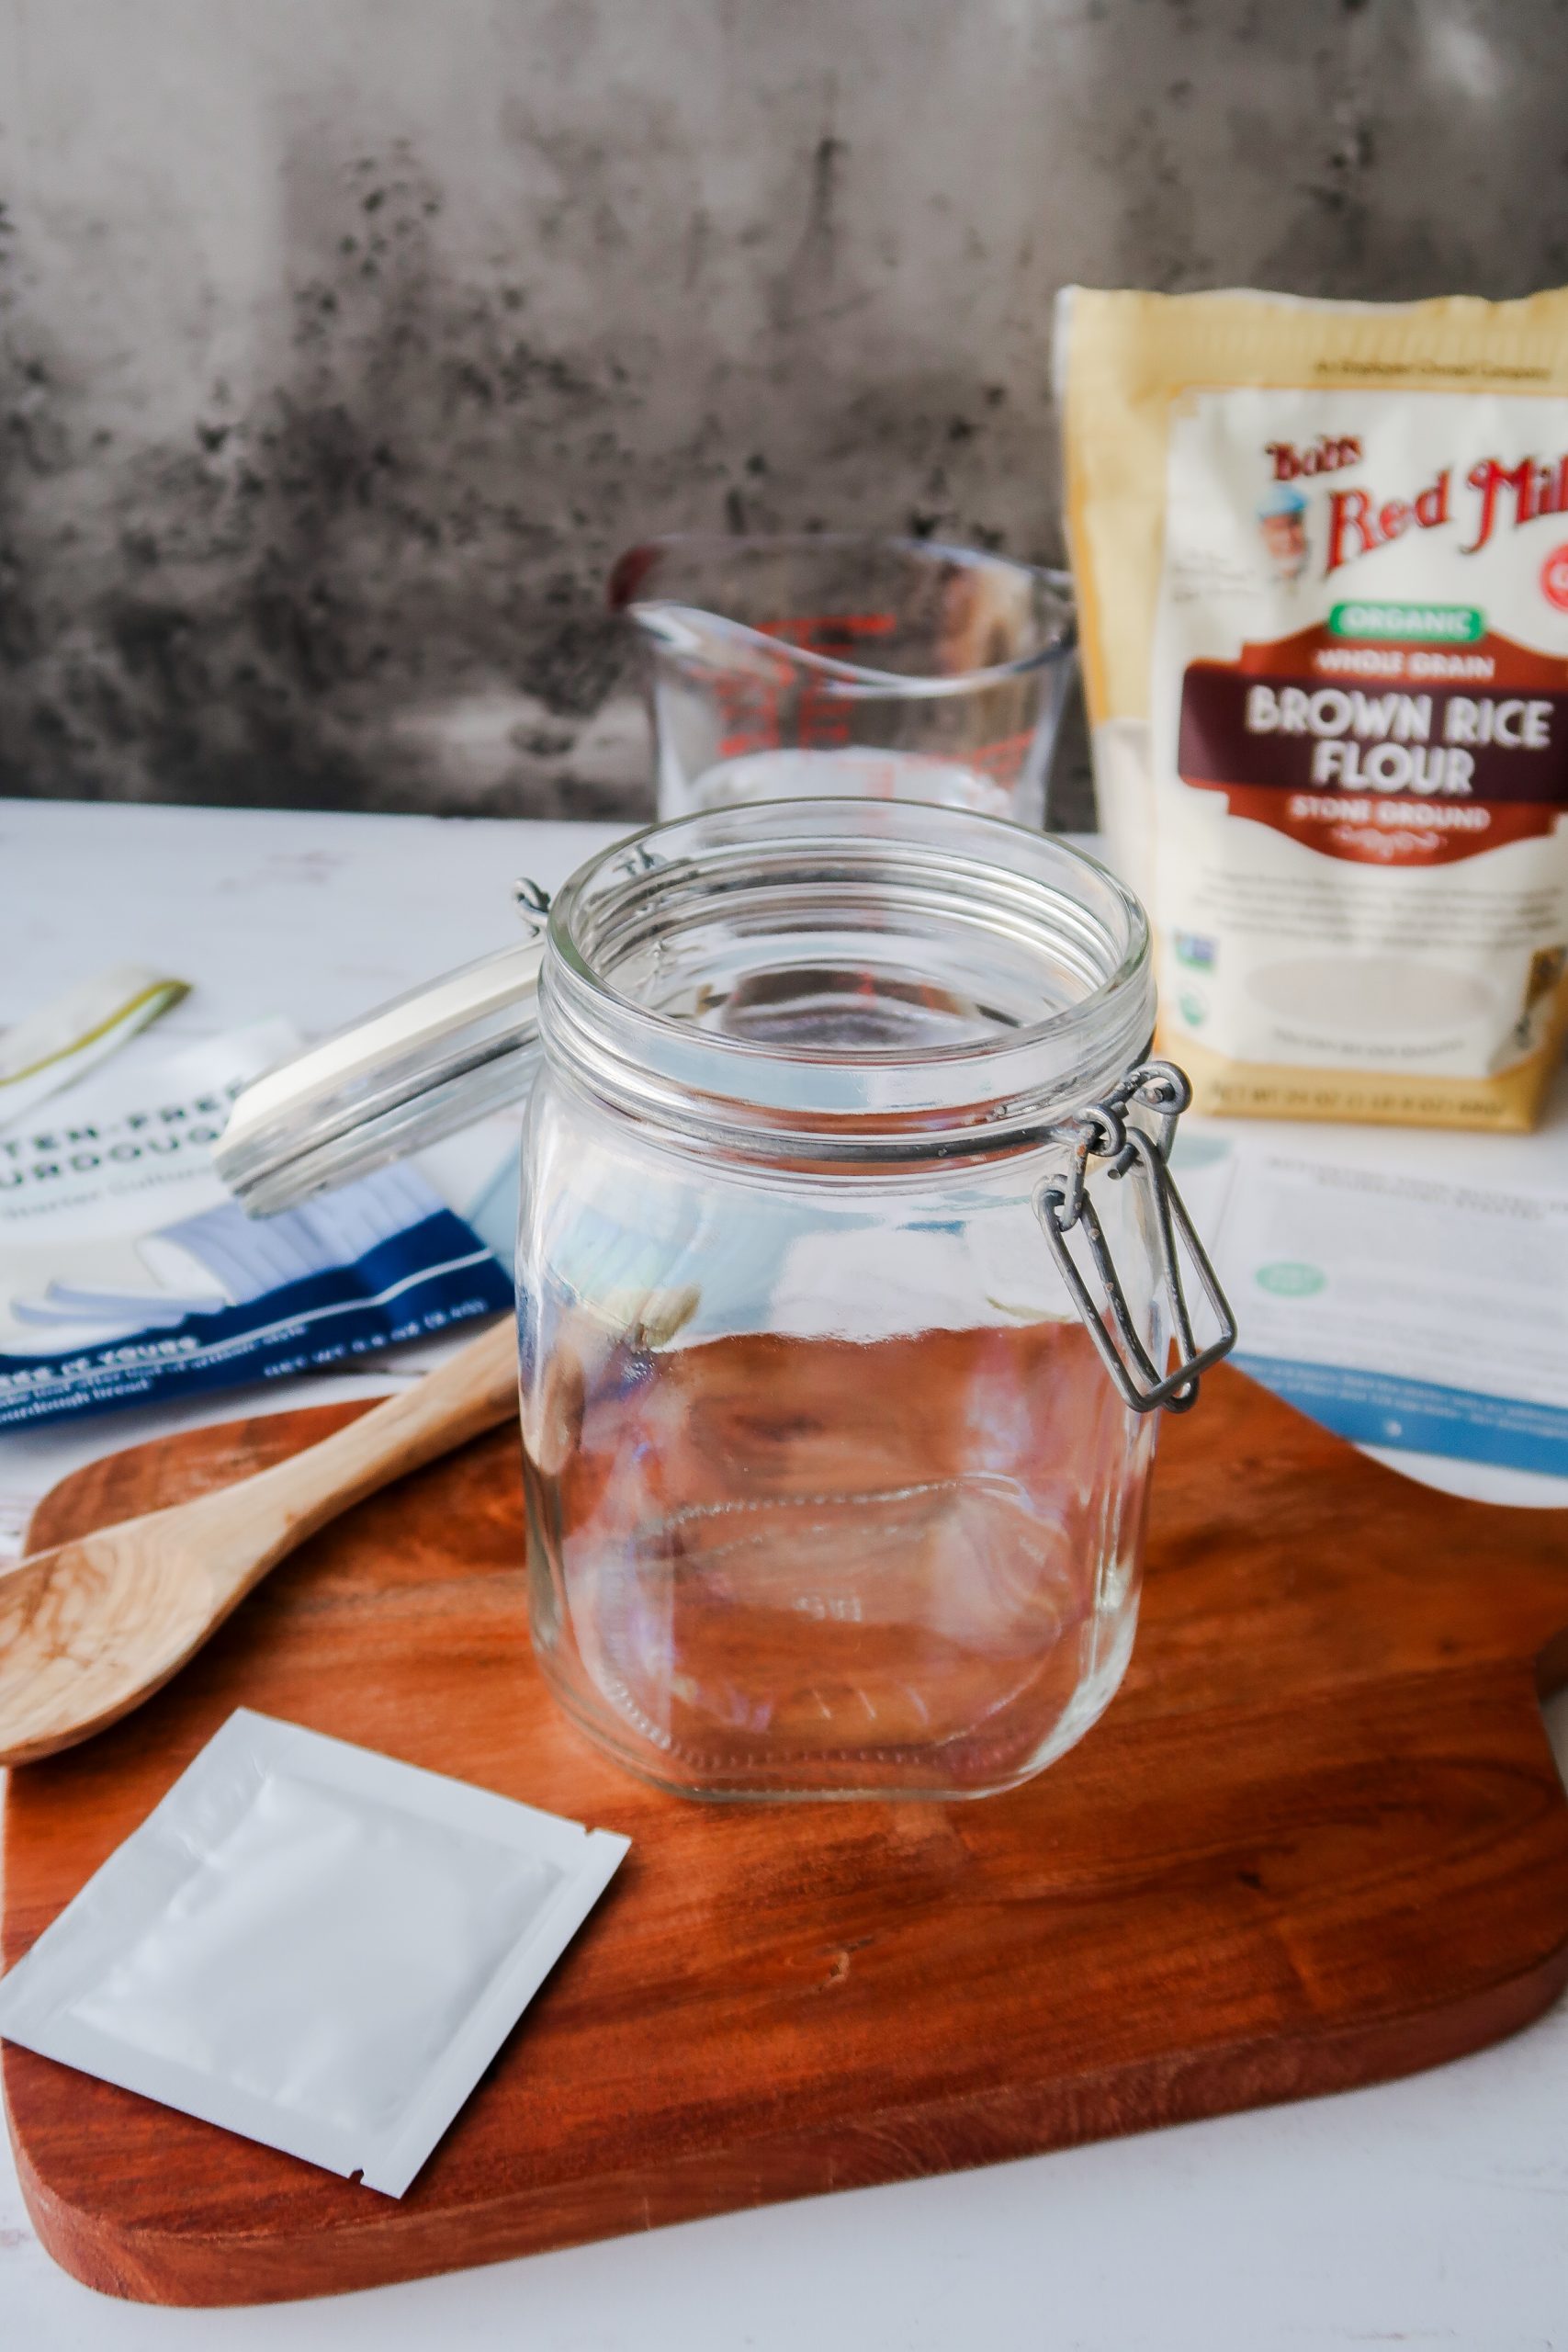
What You'll Need to Supply:
- A glass jar (one quart)
- A mixing utensil. I highly recommend using a non-reactive material. Wood, stainless steel, and silicone are all good options. Copper and aluminum are a no-go. You could also use a Danish dough whisk.
- A small silicone spatula to scrape down the sides of the jar. I highly recommend this to prevent mold growth.
- A coffee filter or scrap of tight-weaved cloth. I used an old tea towel I cut into squares. If you use a coffee filter, be sure to swap it for a clean one every day.
- A rubber band to keep the fabric/filter in place. You may want a second rubber band to keep track of the starter's rise and fall pattern.
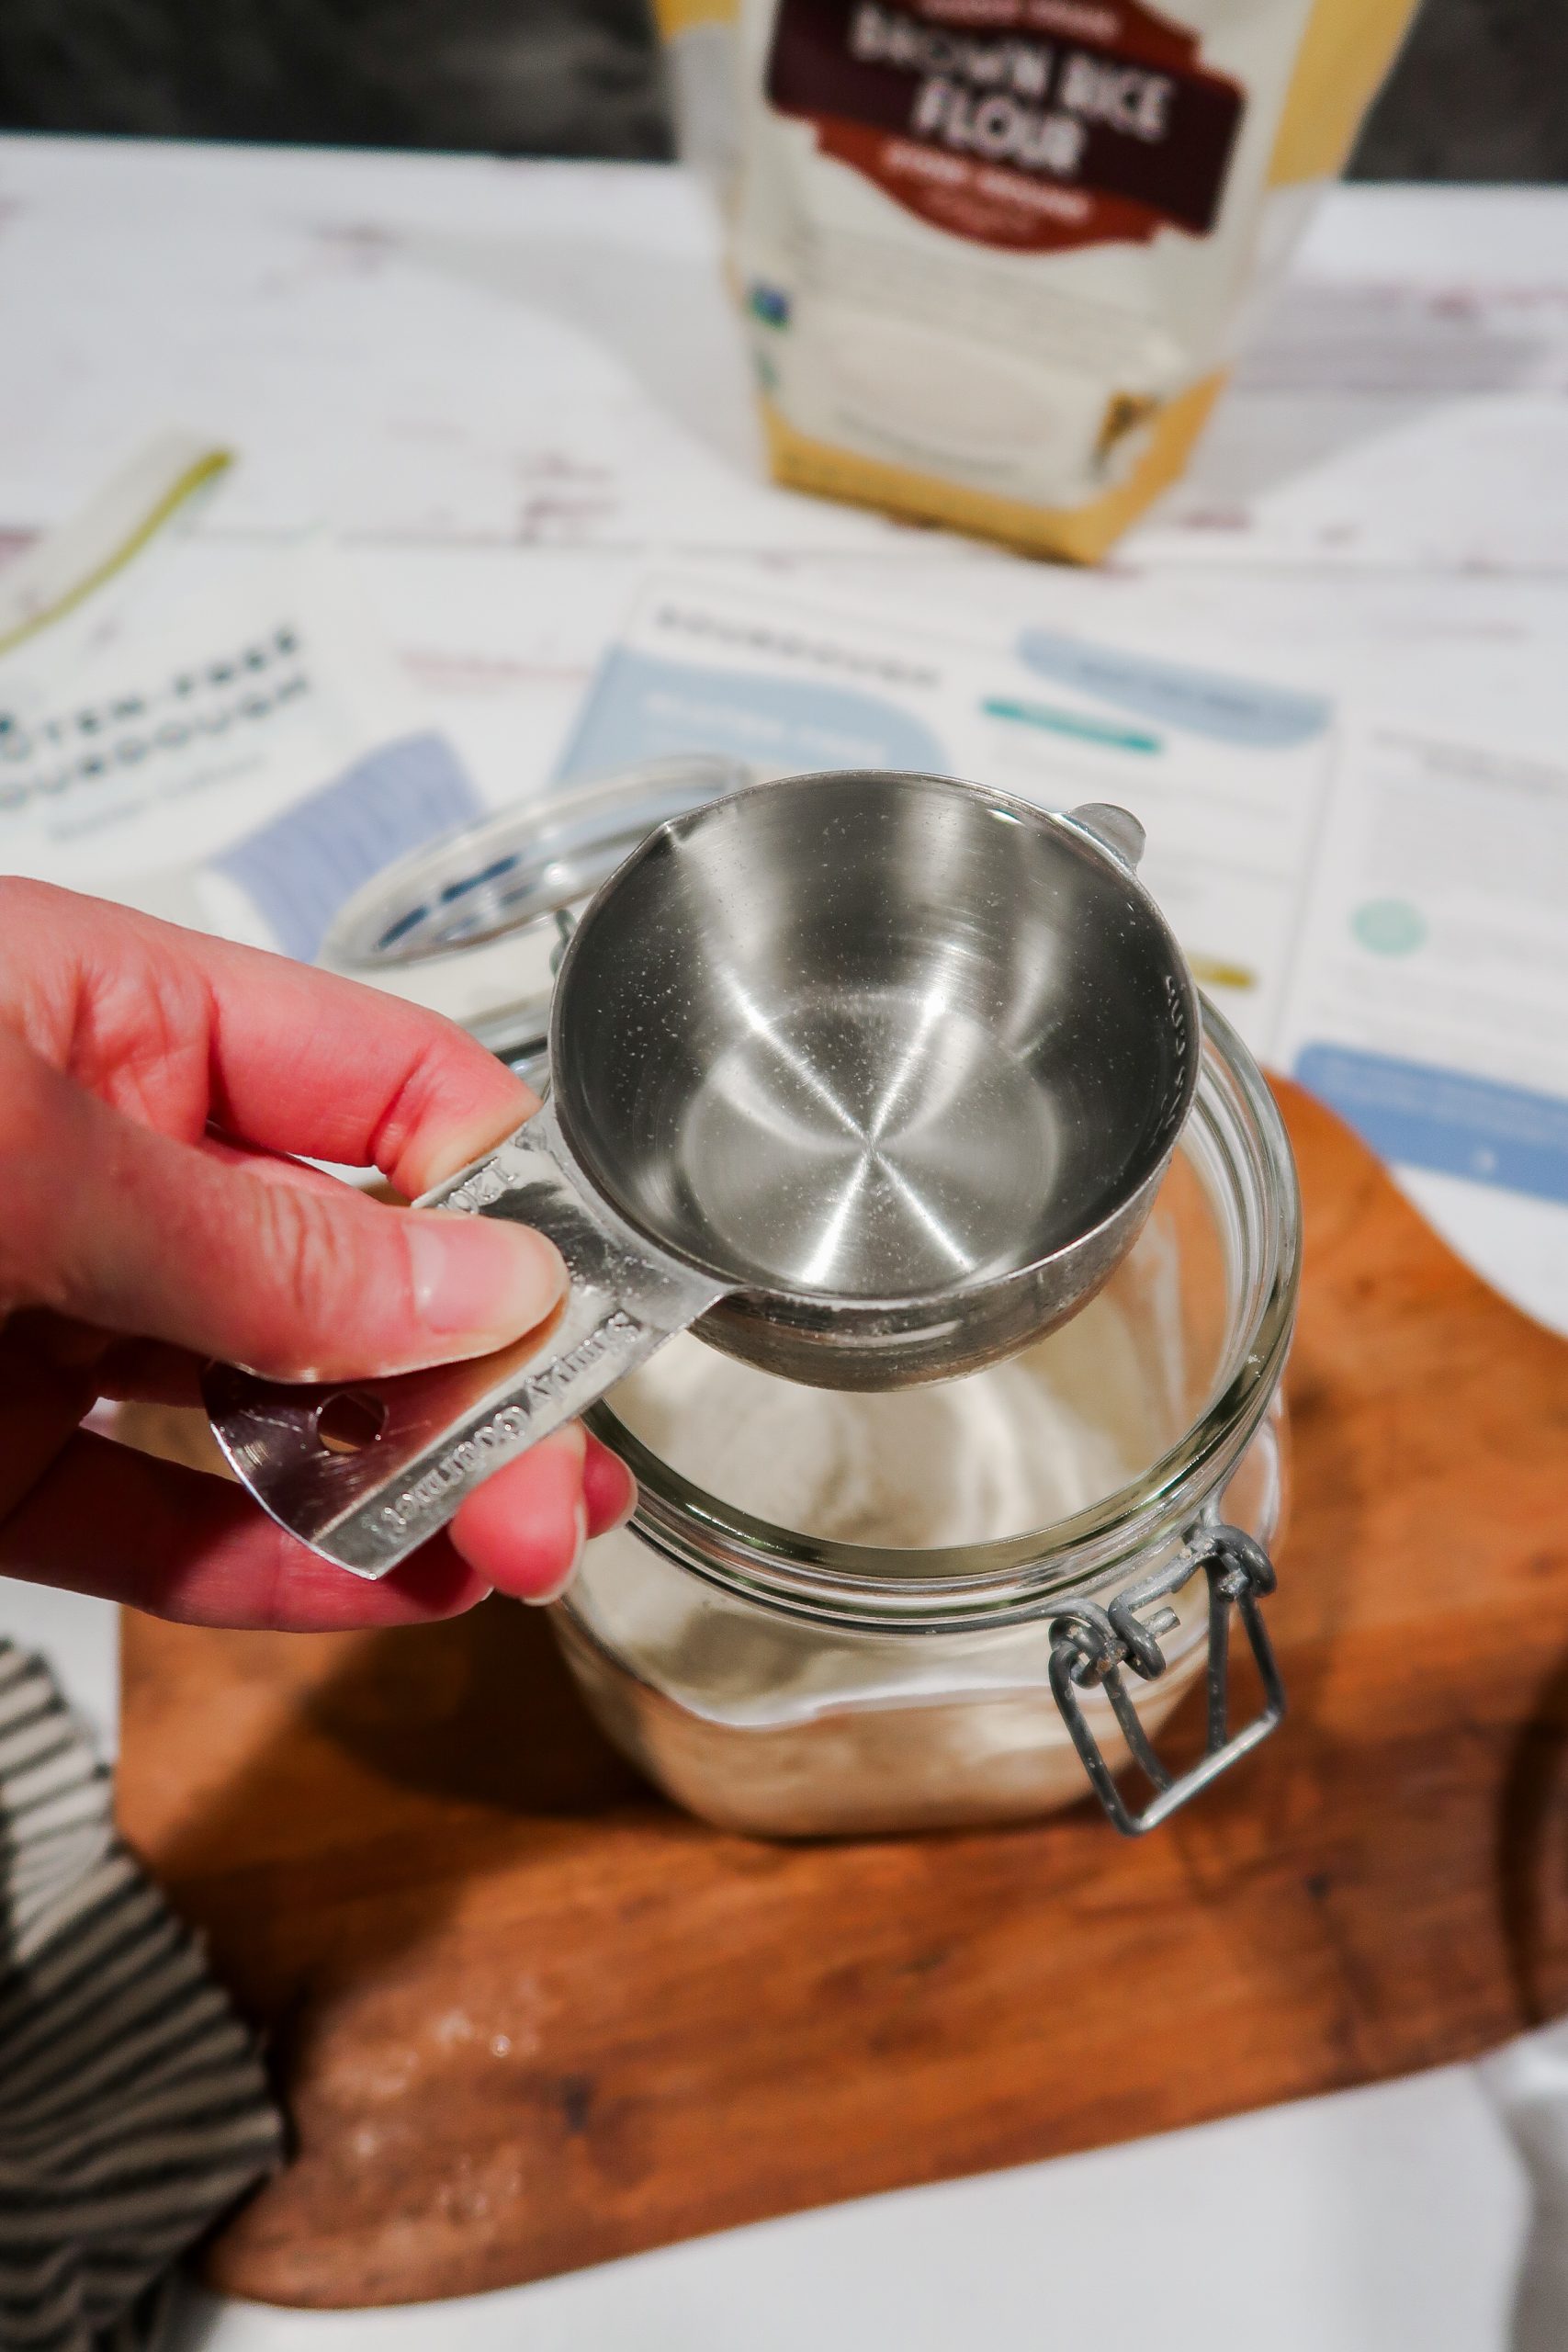
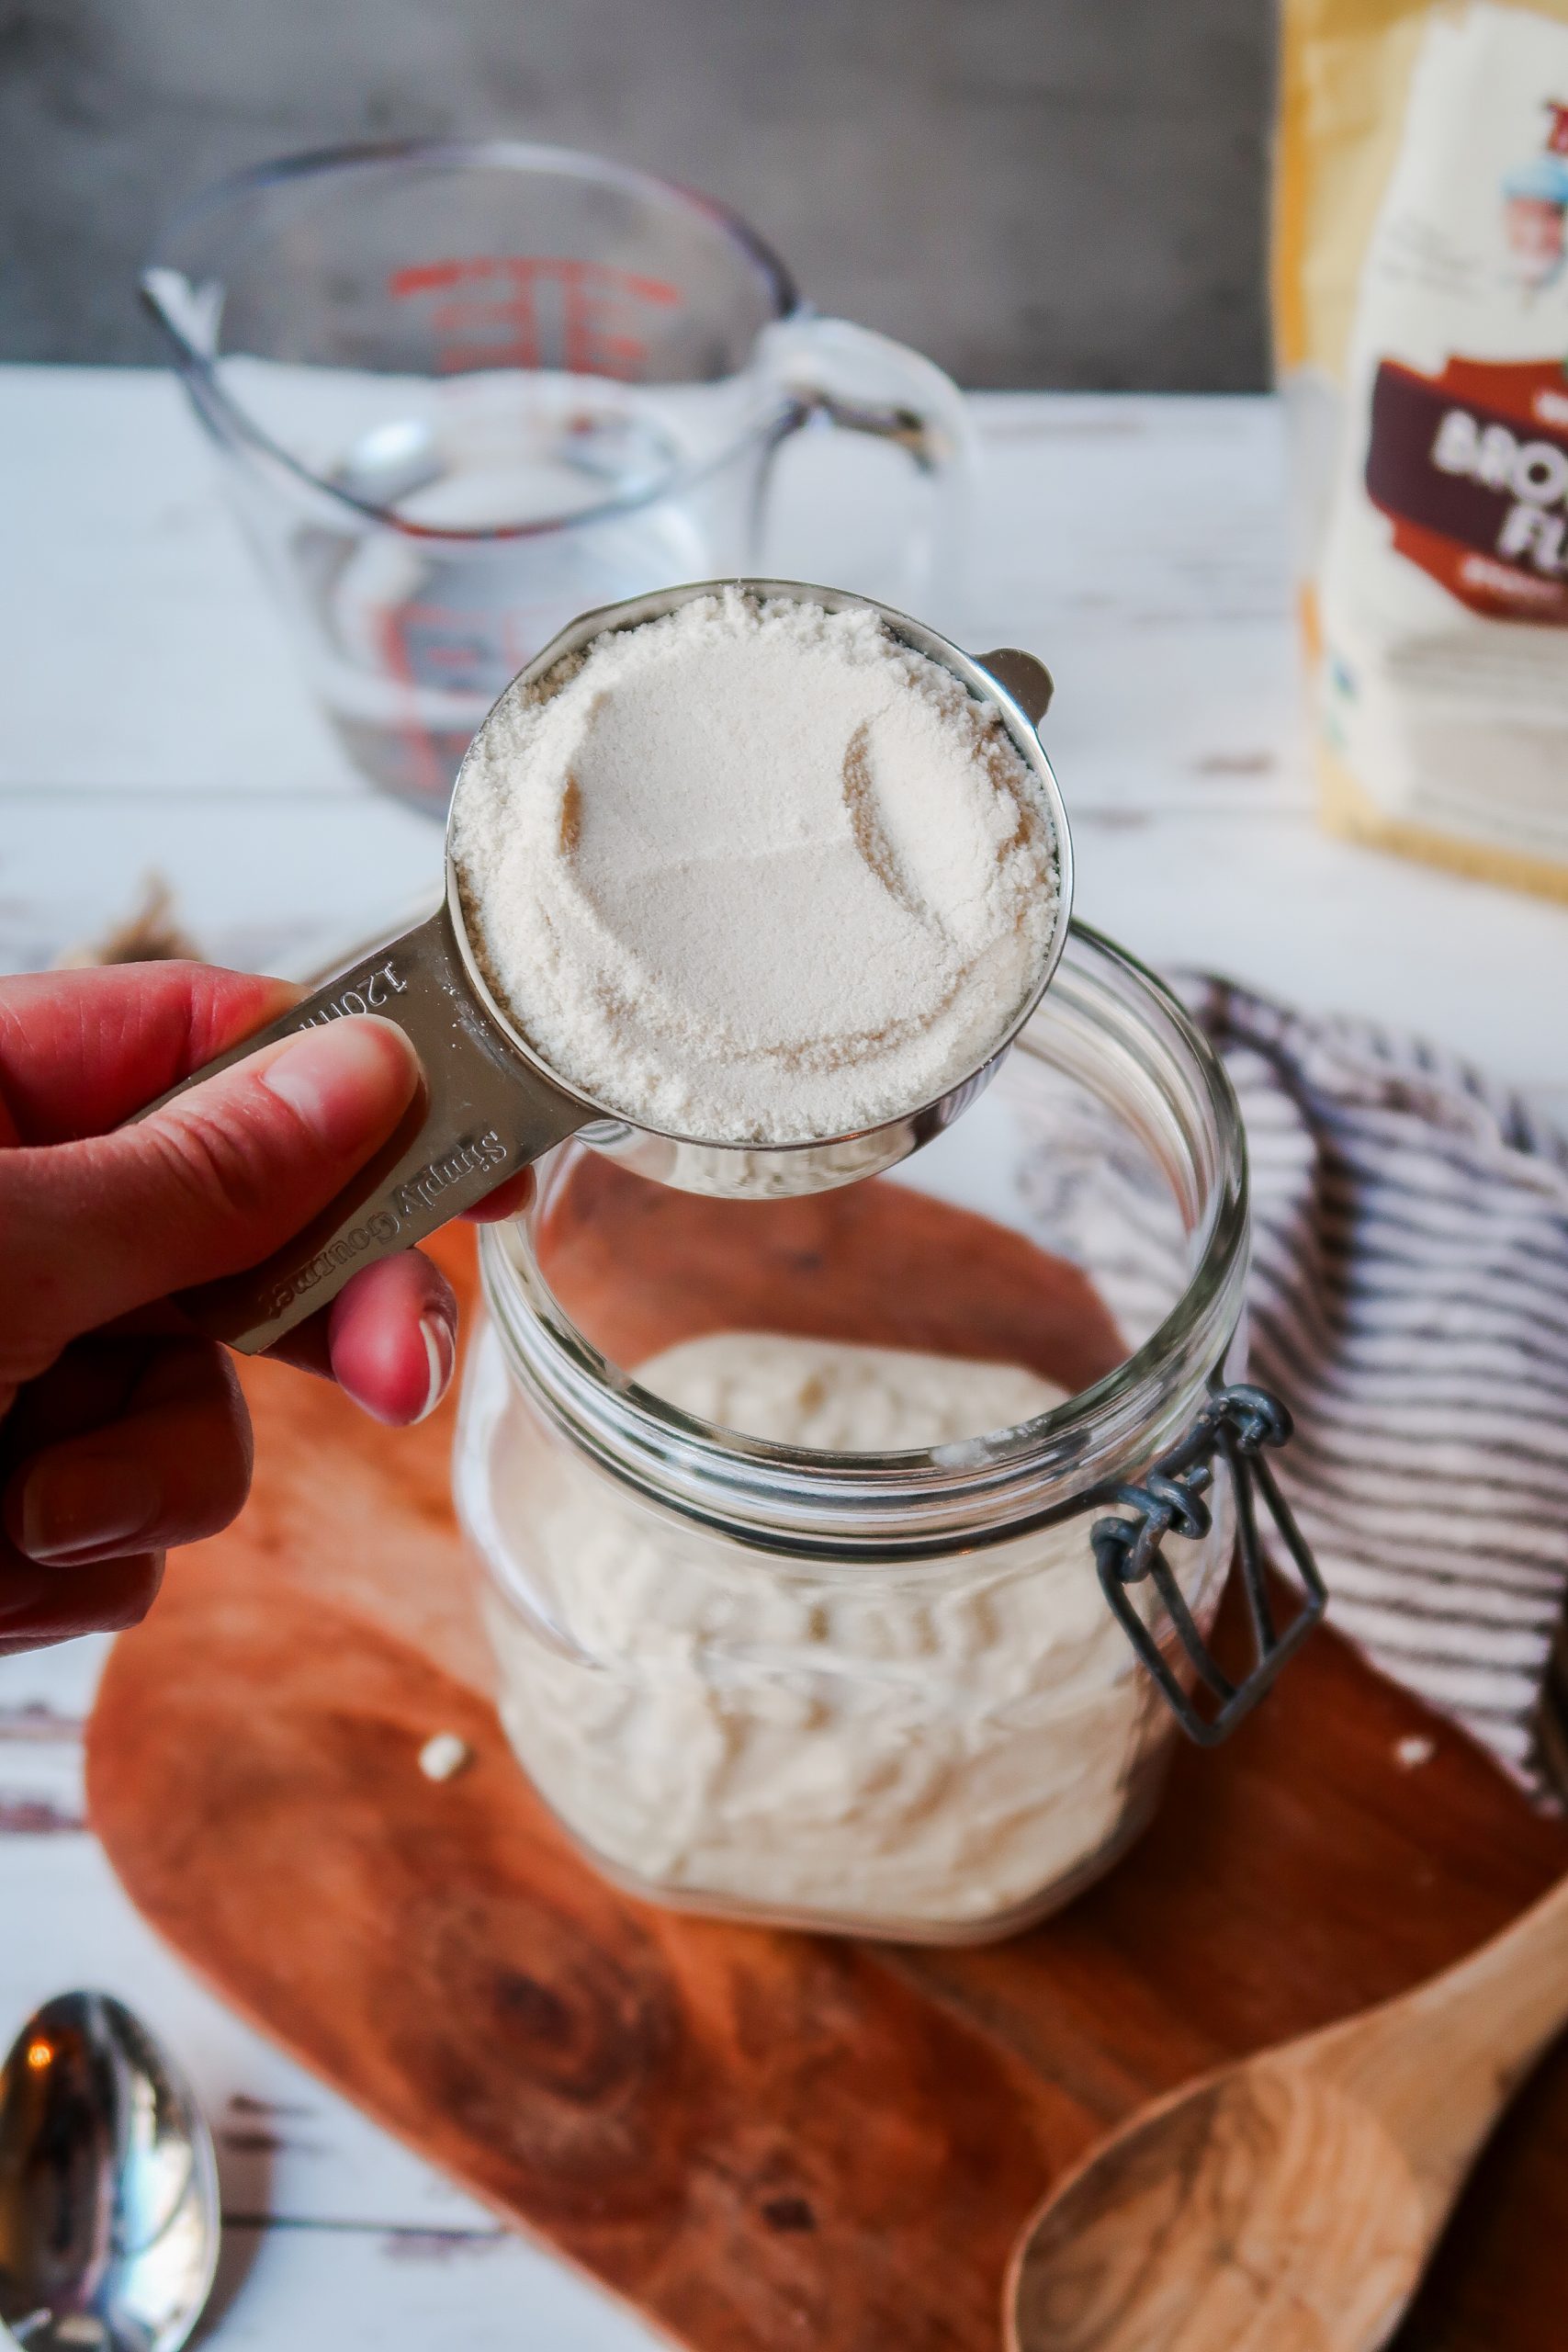
- Brown rice flour, preferably organic. I use Bob's Red Mill Brown Rice Flour. You'll need at-least 24 oz, but 48 oz is safest.
- Room temperature filtered water free of chlorine and fluoride (or bottled spring water)
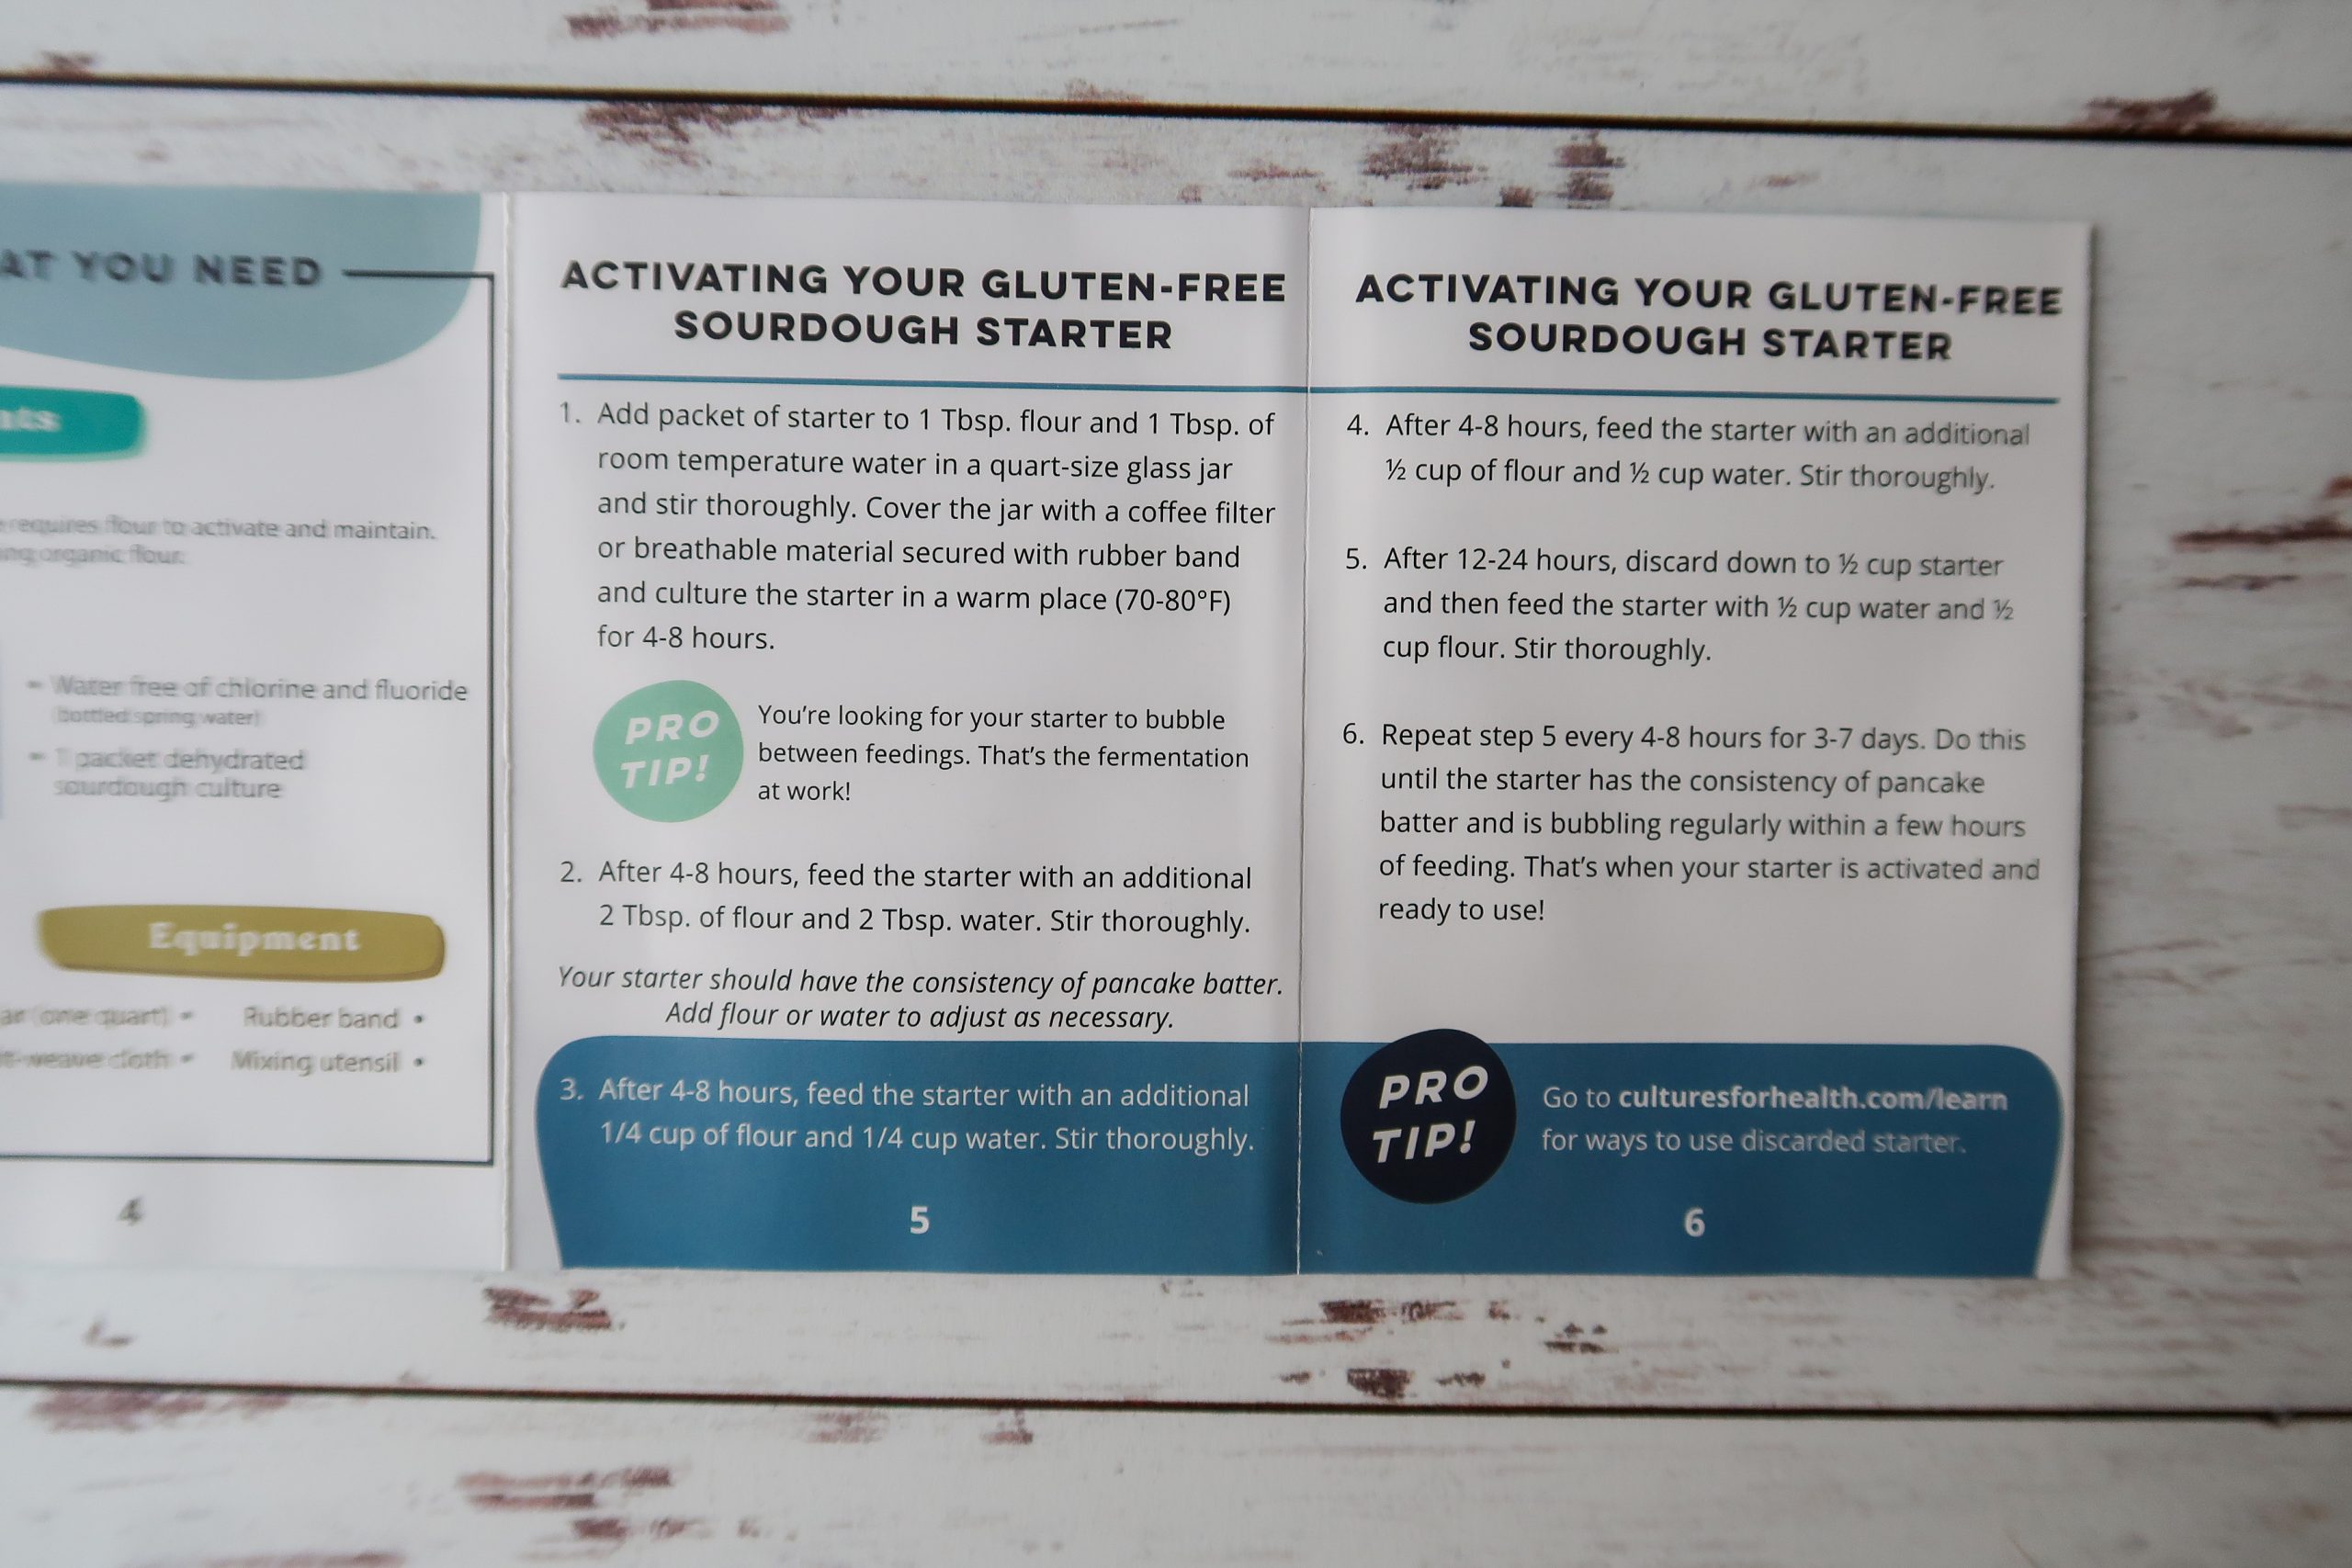
Cultures for Health's Instructions and Feeding Routine
The instructions are written very concisely. I had absolutely no trouble with understanding each step.
Be prepared for a strict, frequent feeding routine on Days 3-7.
I documented each day of the starter's beginning-of-life (spanning 9 days total) in live time so that I could remember specific and accurate details.
Day One
Prep:
- Wash your quart-sized jar in hot, soapy water and dry it thoroughly.
First Feeding:
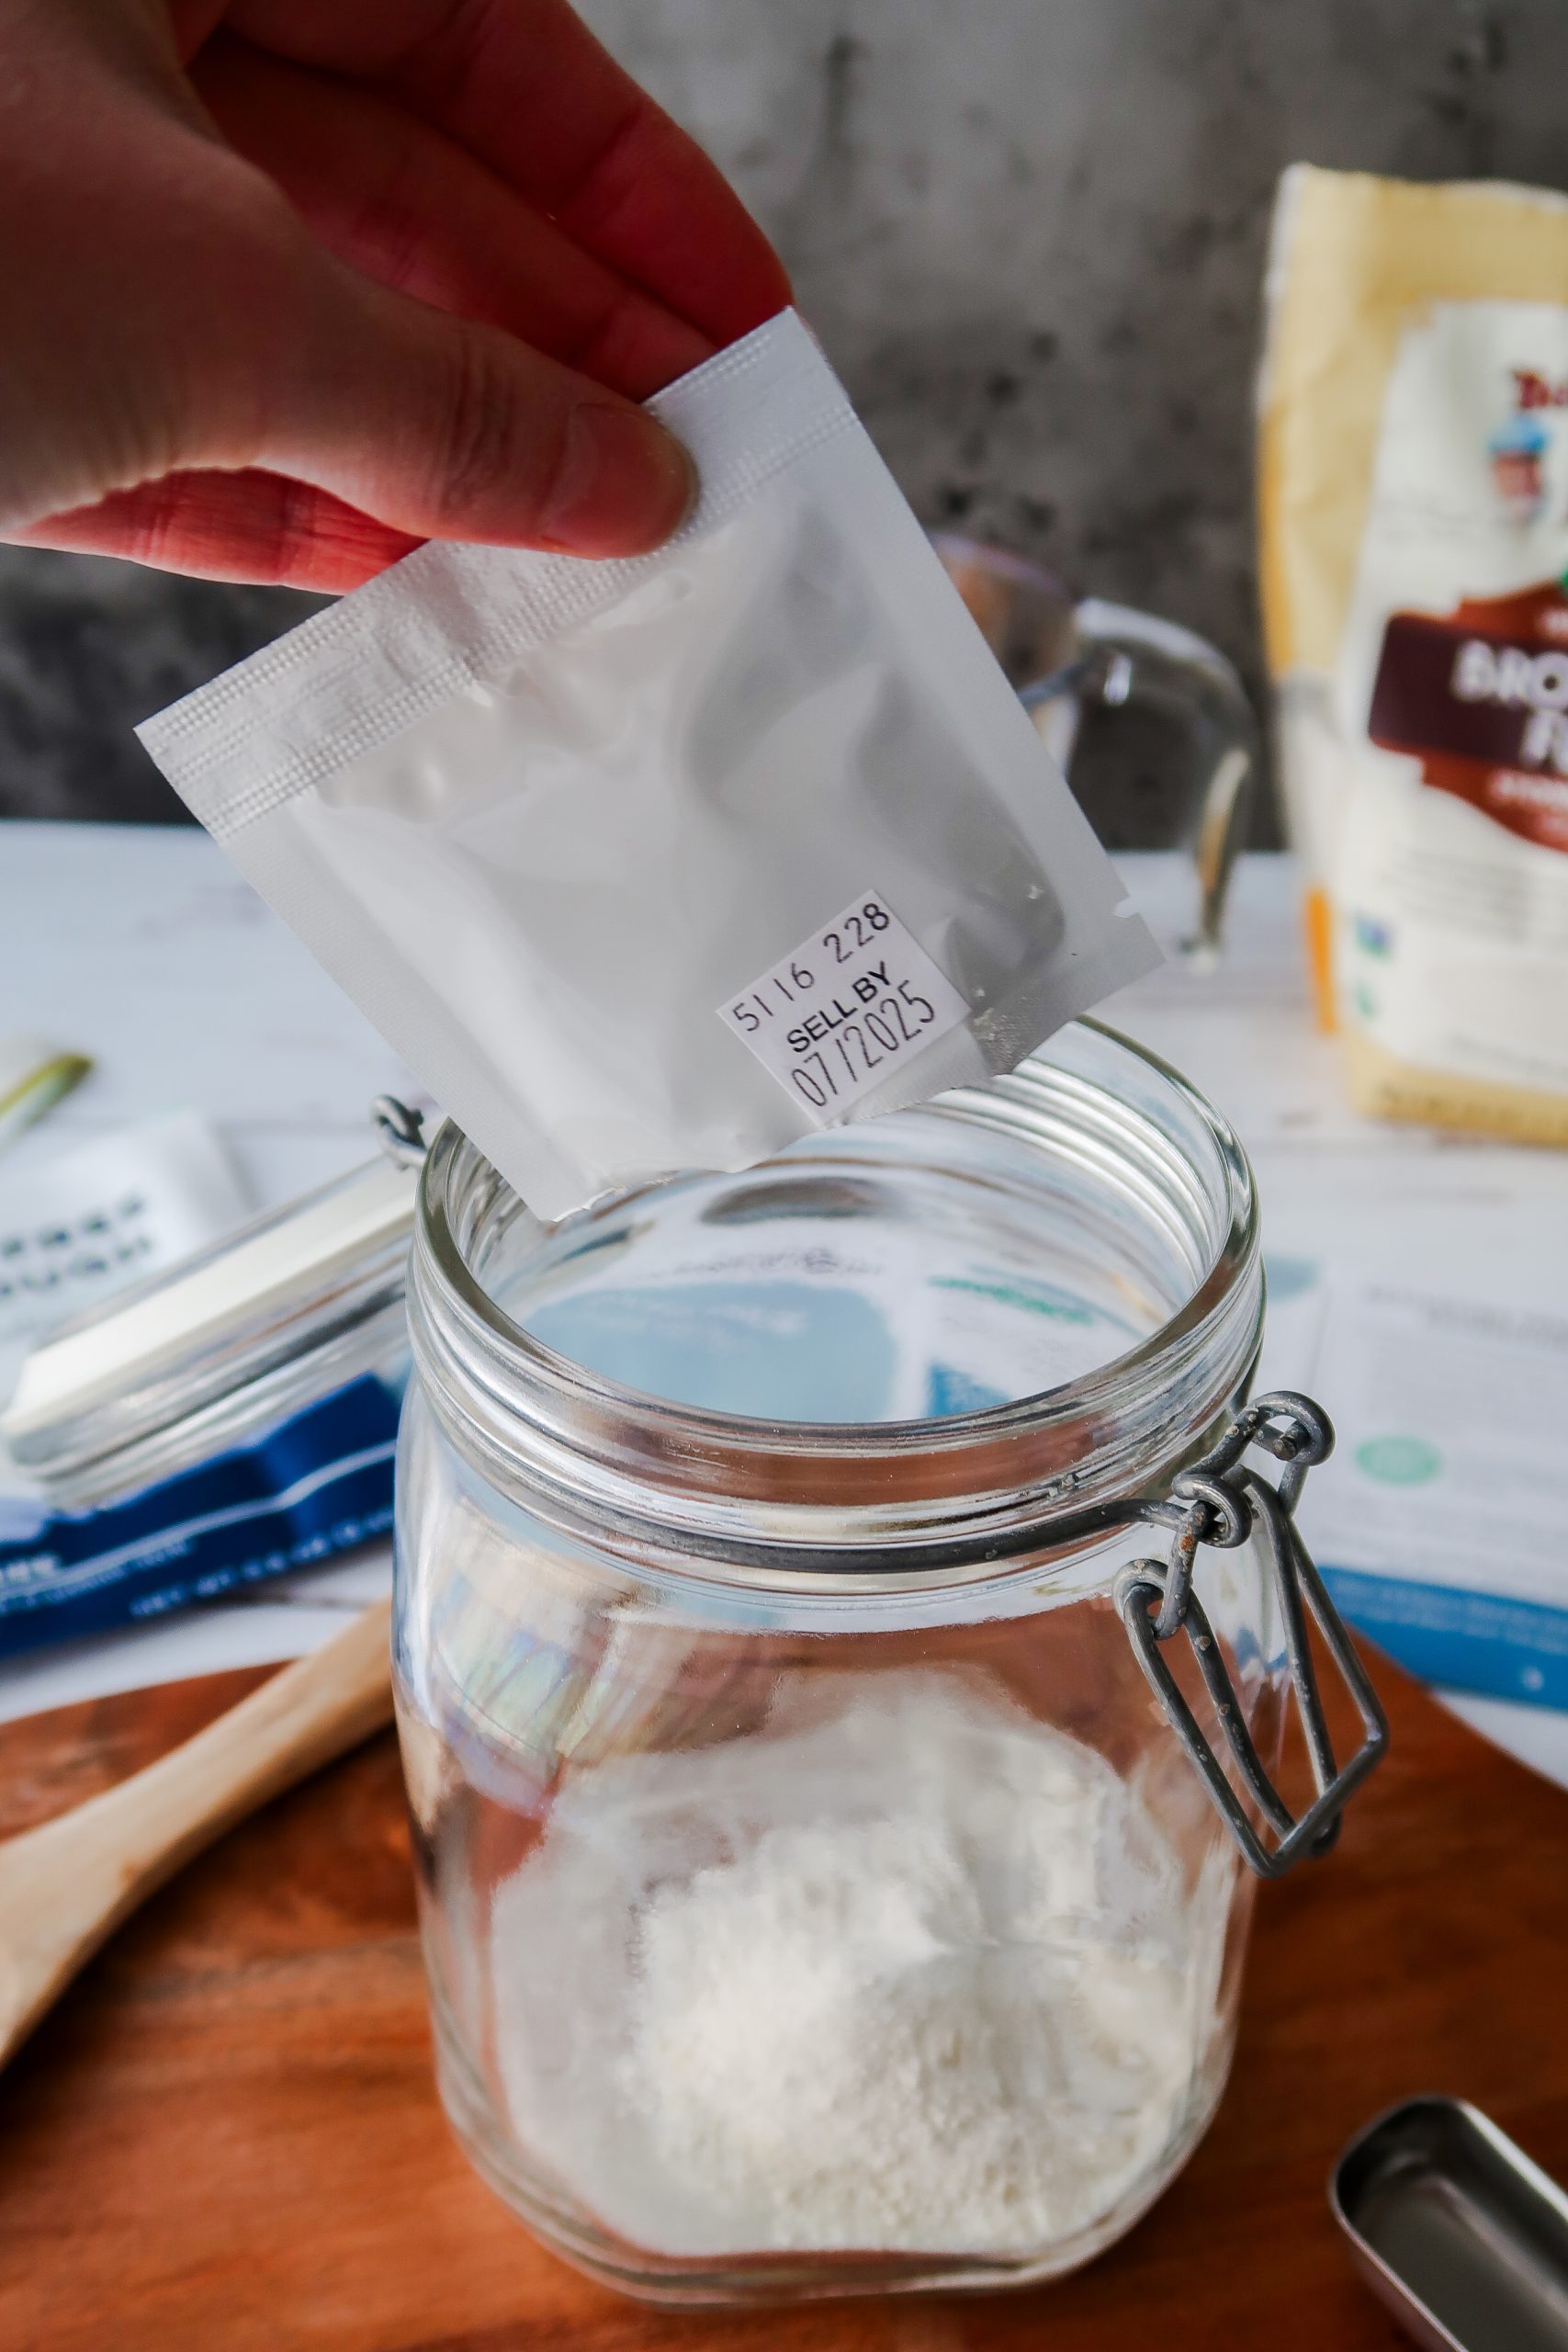
- Add the packet of dehydrated sourdough starter to the jar.
- Add in 1 tablespoon of room temp filtered water. "water" from here on out

- Add in 1 tablespoon of brown rice flour. "flour" from here on out
- Stir thoroughly until combined.
- Scrape down the sides of the jar.
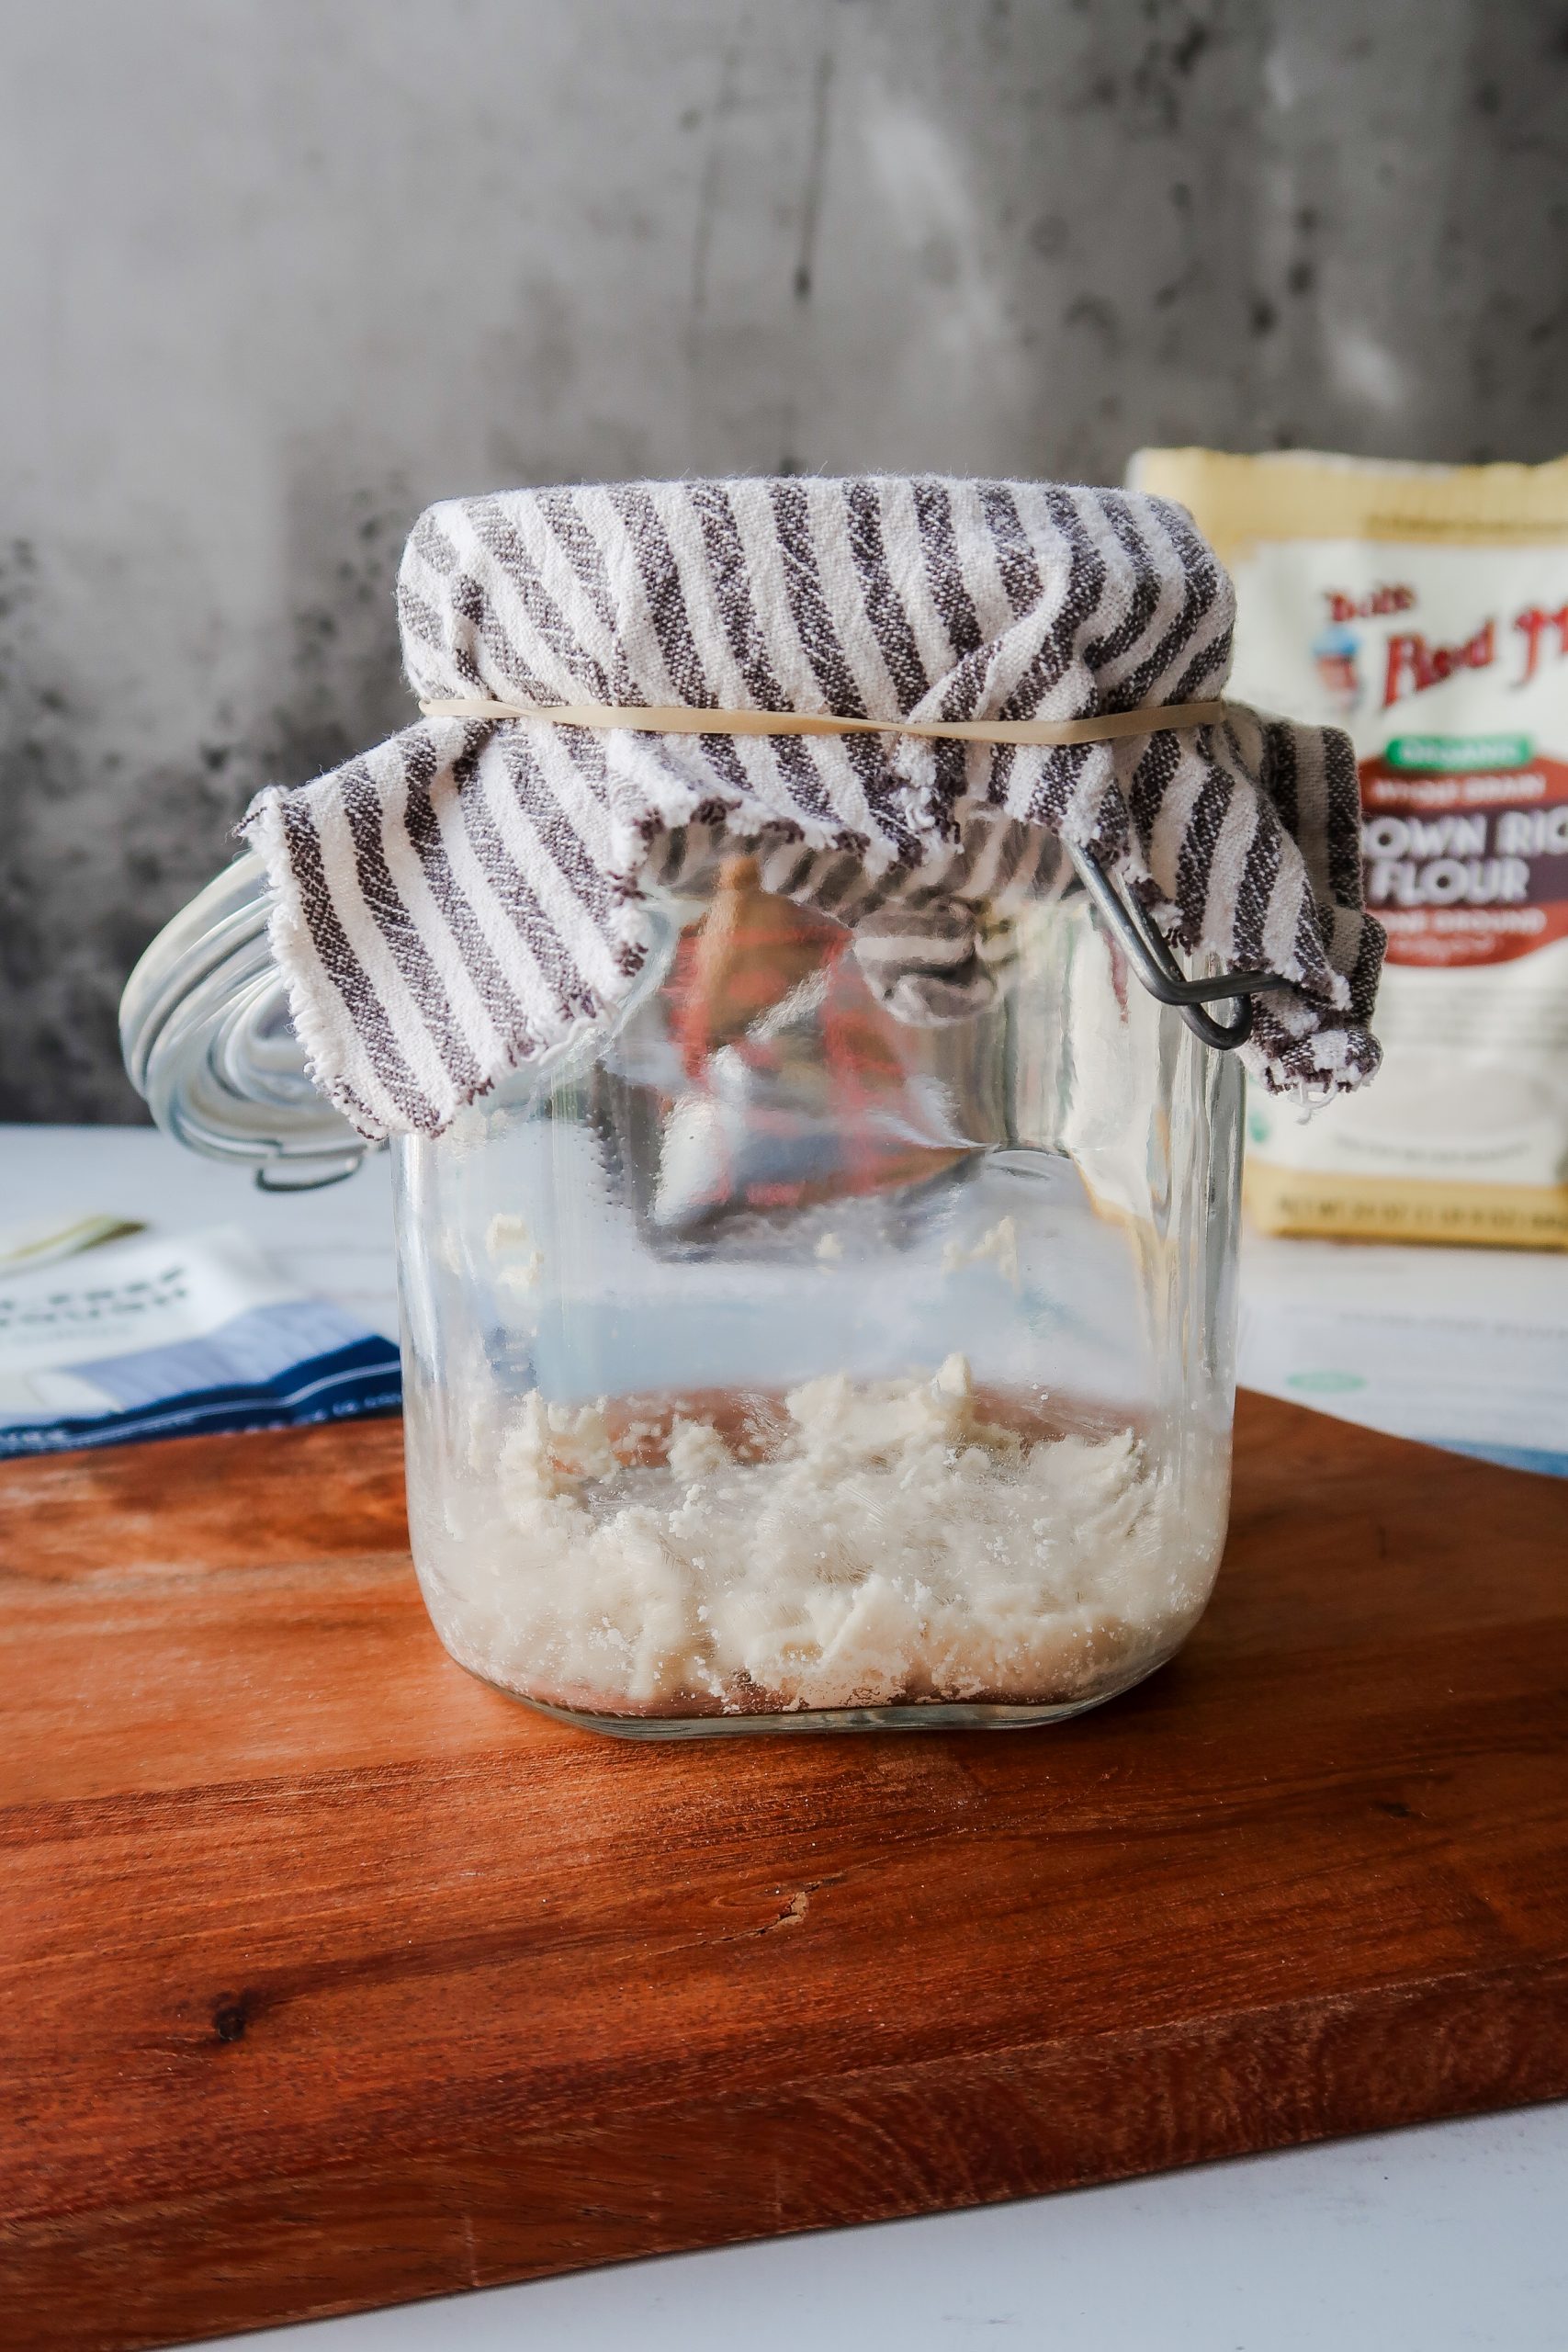
- Cover the jar with a fresh coffee filter or clean square of cloth and secure it with the rubber band.
- Set the jar ("starter" from here on out) in a warm place between 70 to 80 F for 4-8 hours.
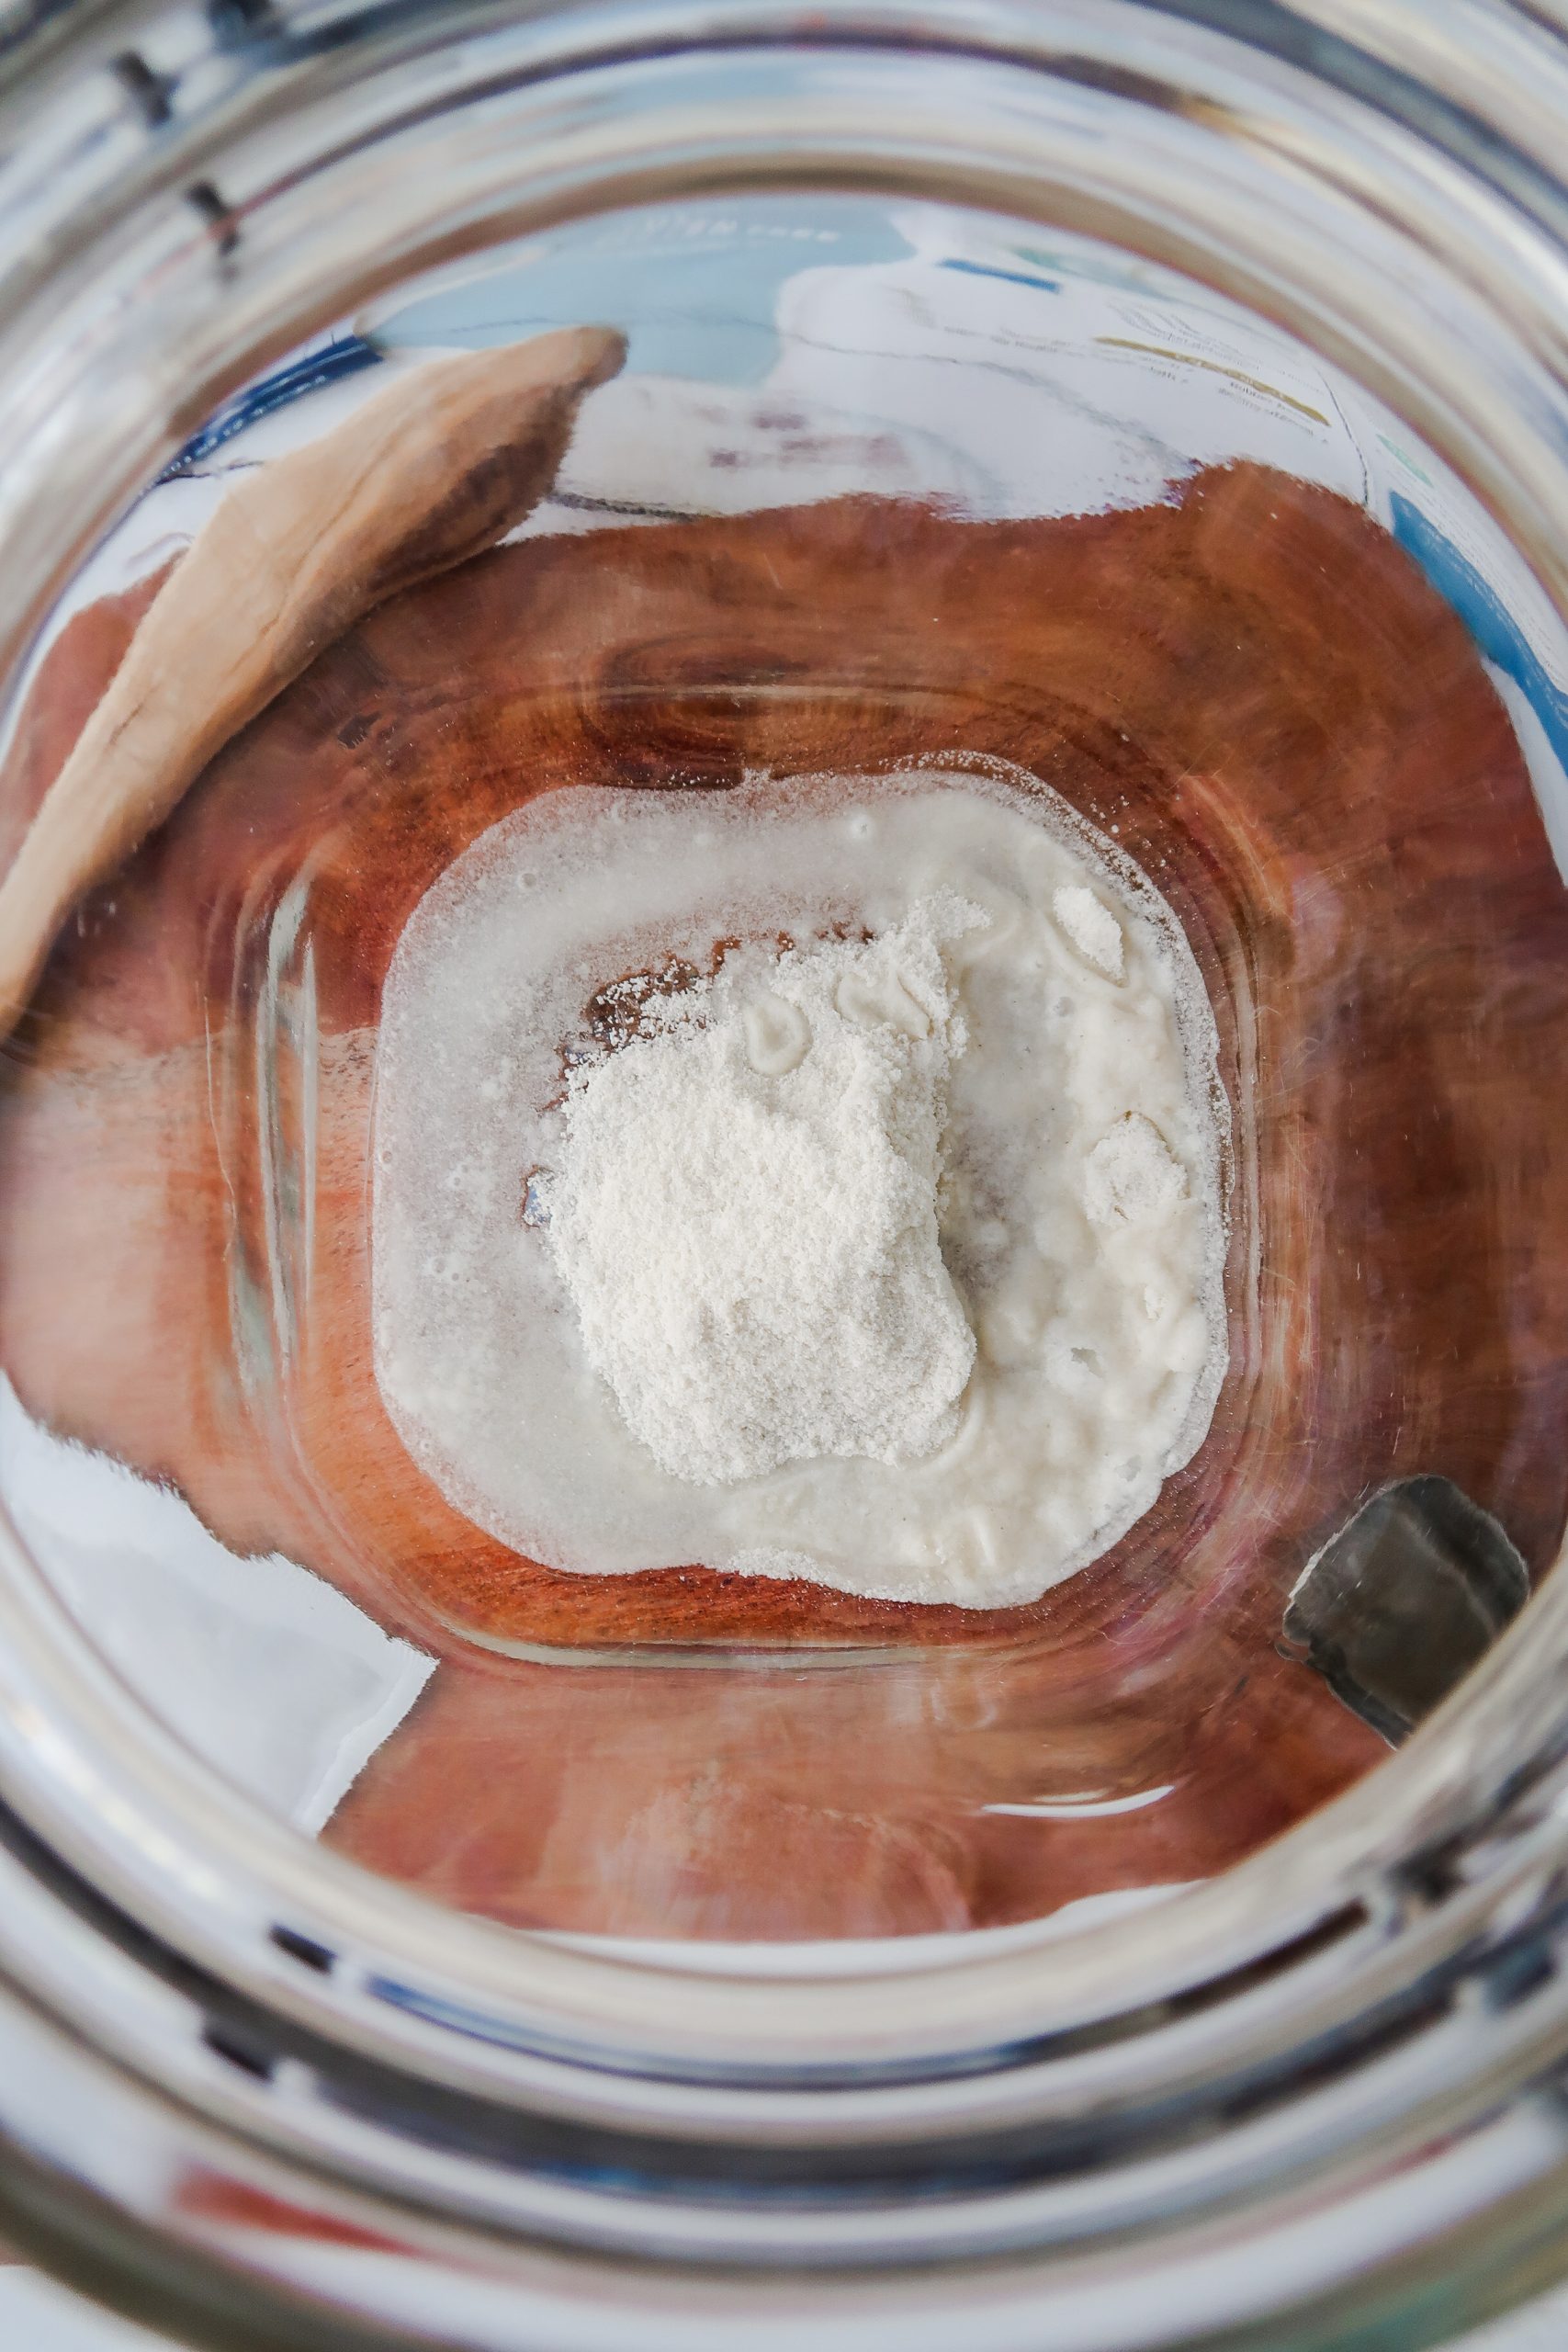
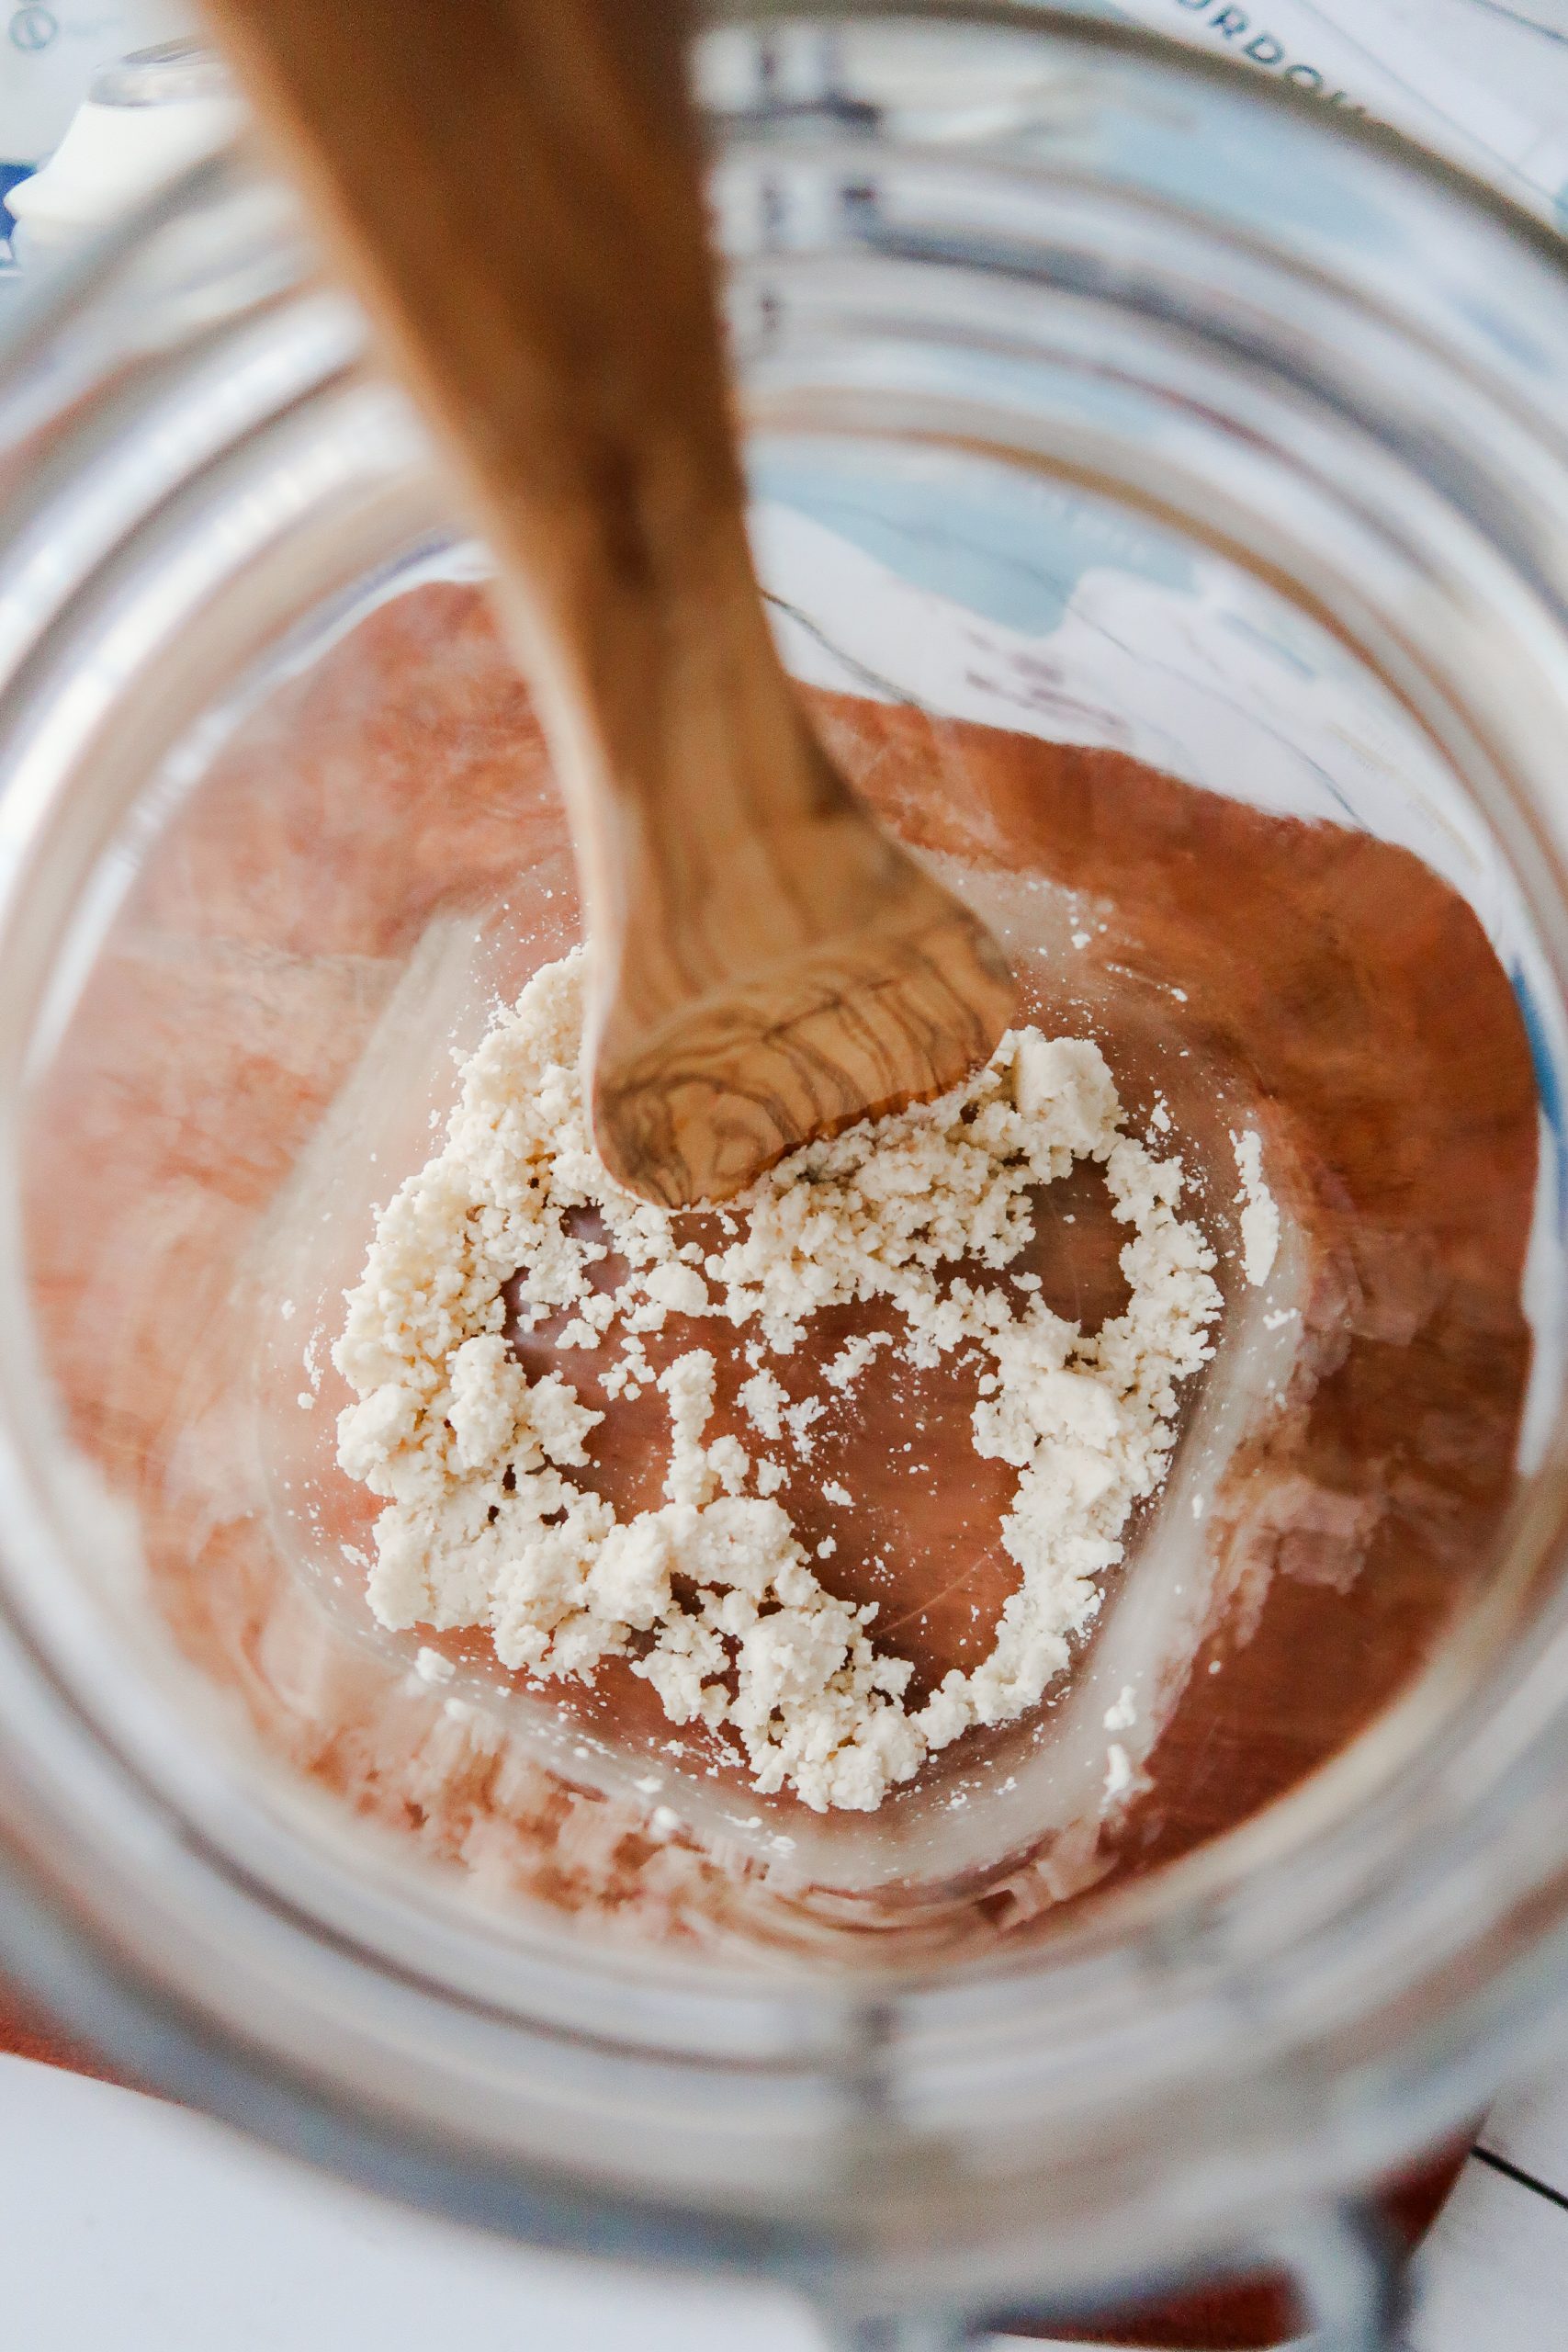
Observations:
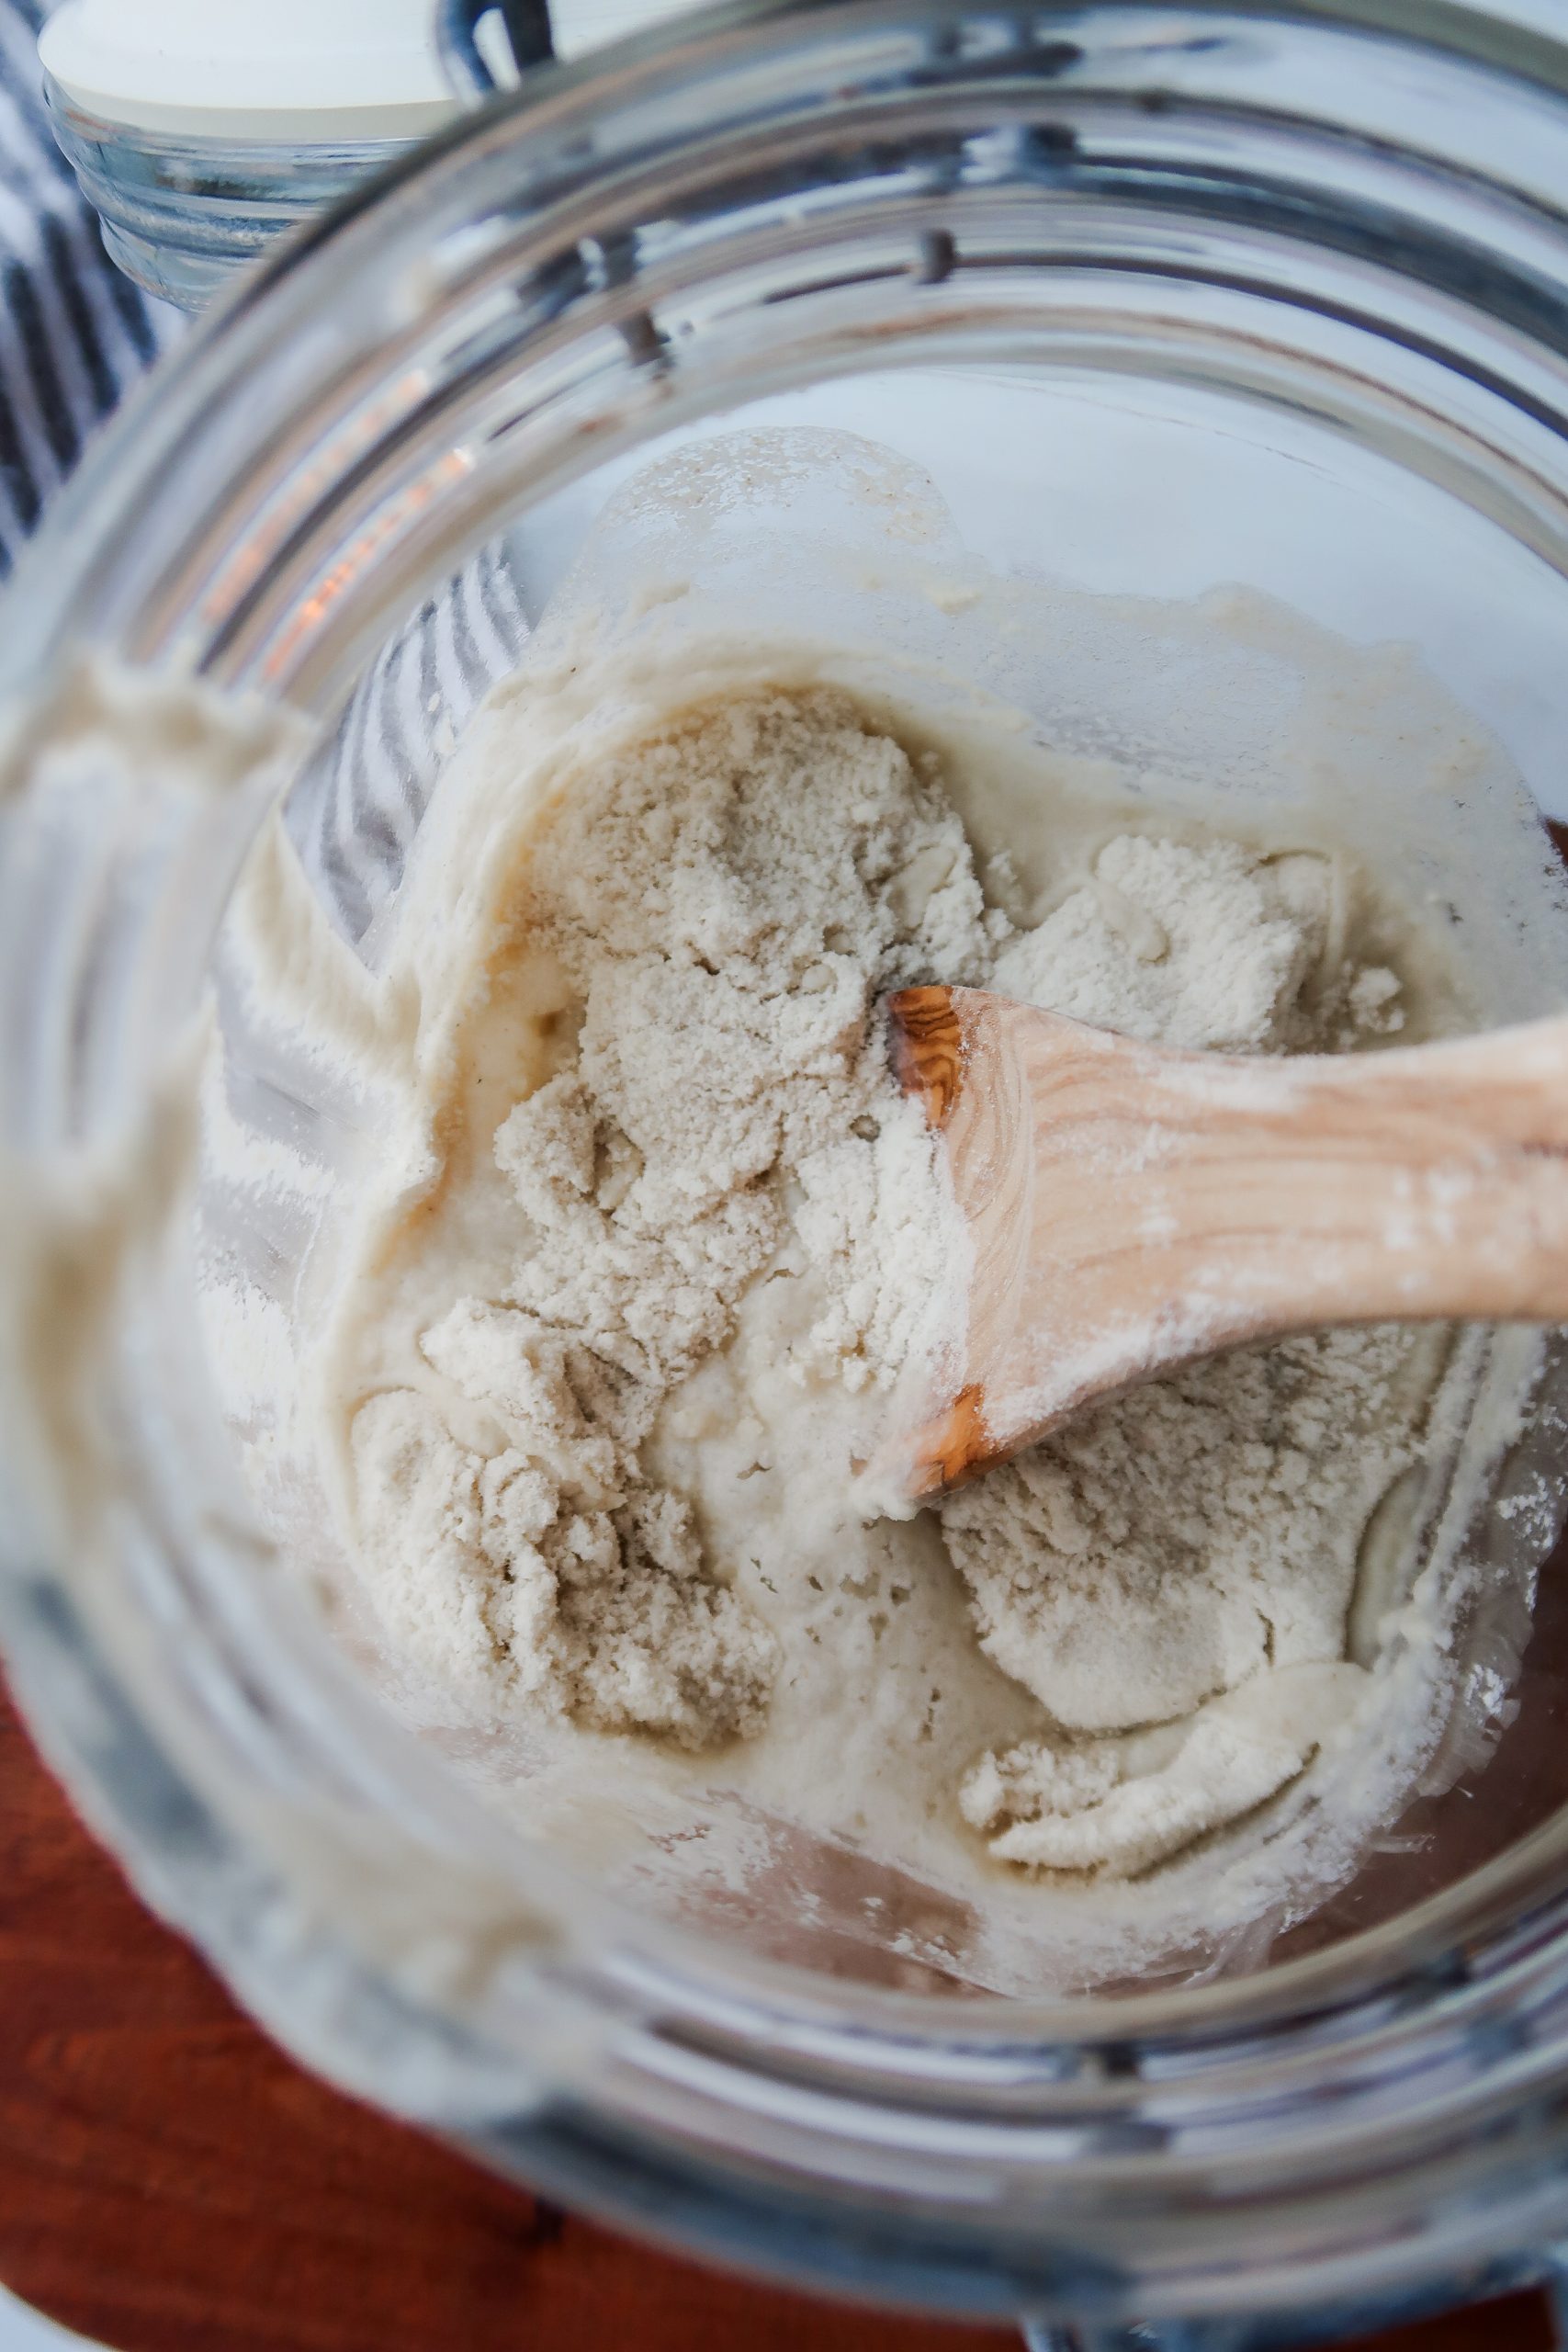
(I completed this step at 10:00 AM) It's a very dry, crumbly start. The dehydrated gluten free sourdough starter likely needs time to soak in the water to begin to reactivate. ~You may have noticed I technically added my flour first, before the packet, but the order doesn't matter.
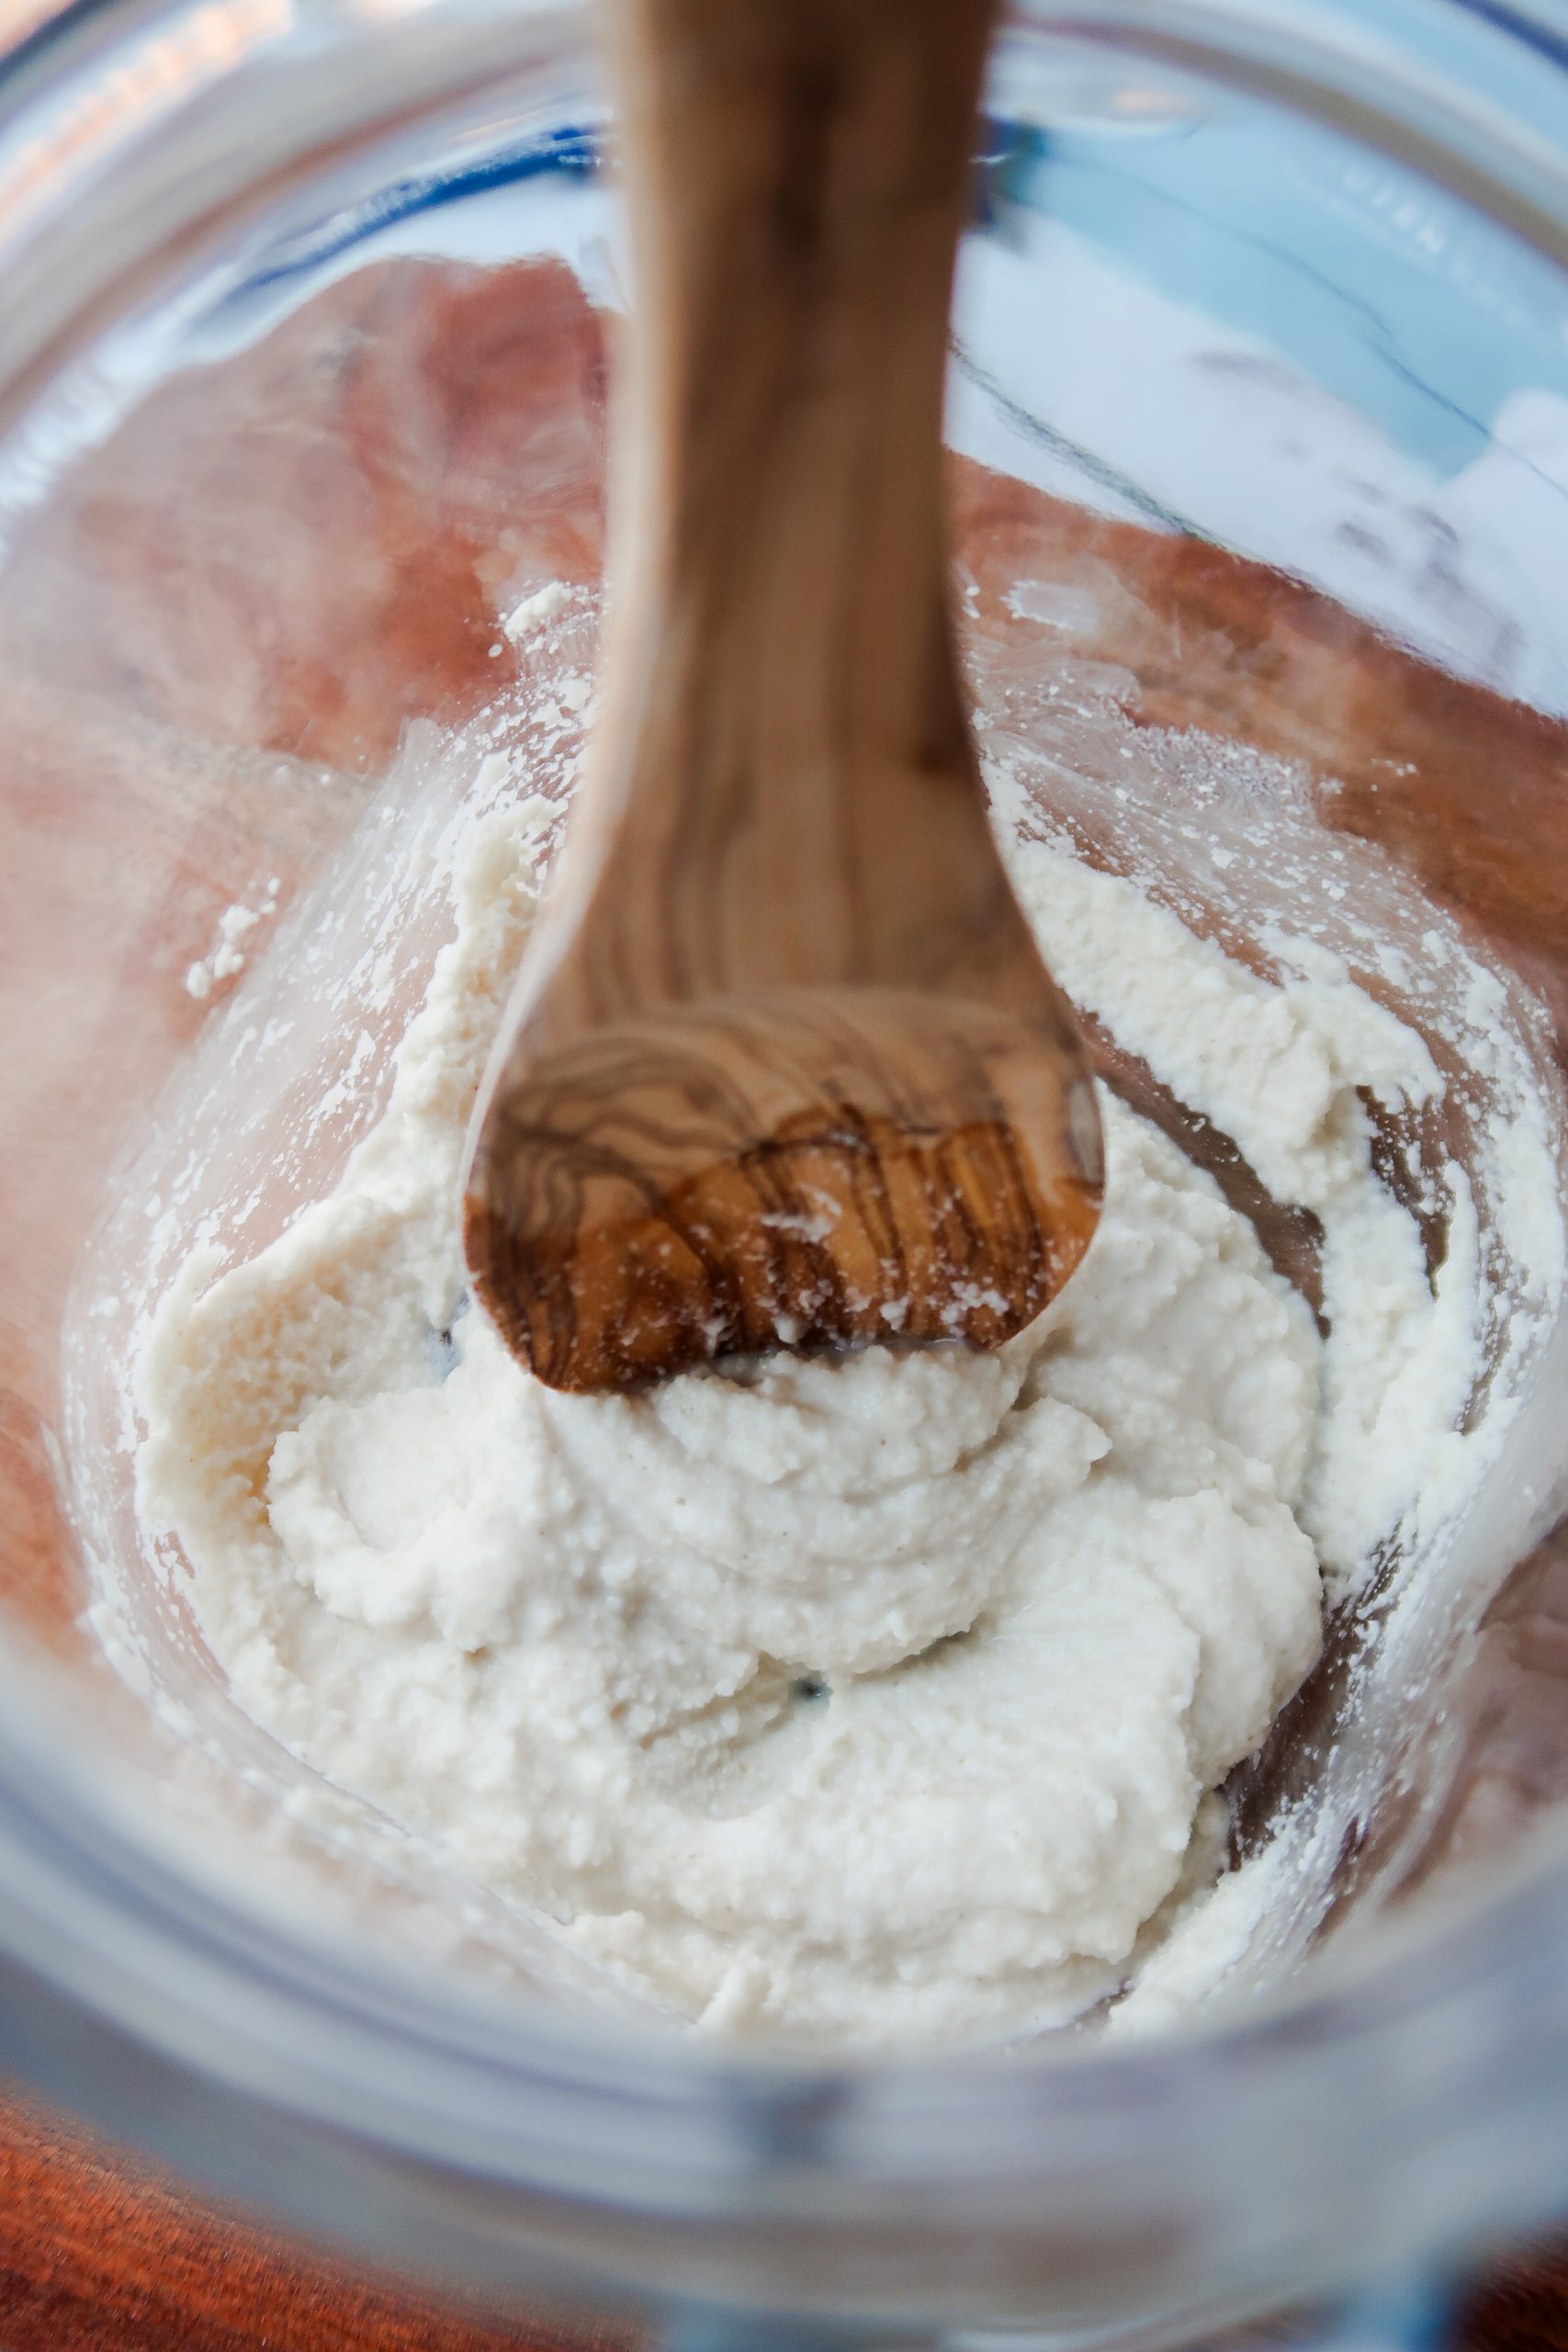
Second Feeding:
- After it's been 4 to 8 hours, feed the starter 2 tablespoon of flour and 2 tablespoon of water.
- Stir thoroughly.
- Scrape down the sides of the jar.
- Cover and set aside.
Observations:
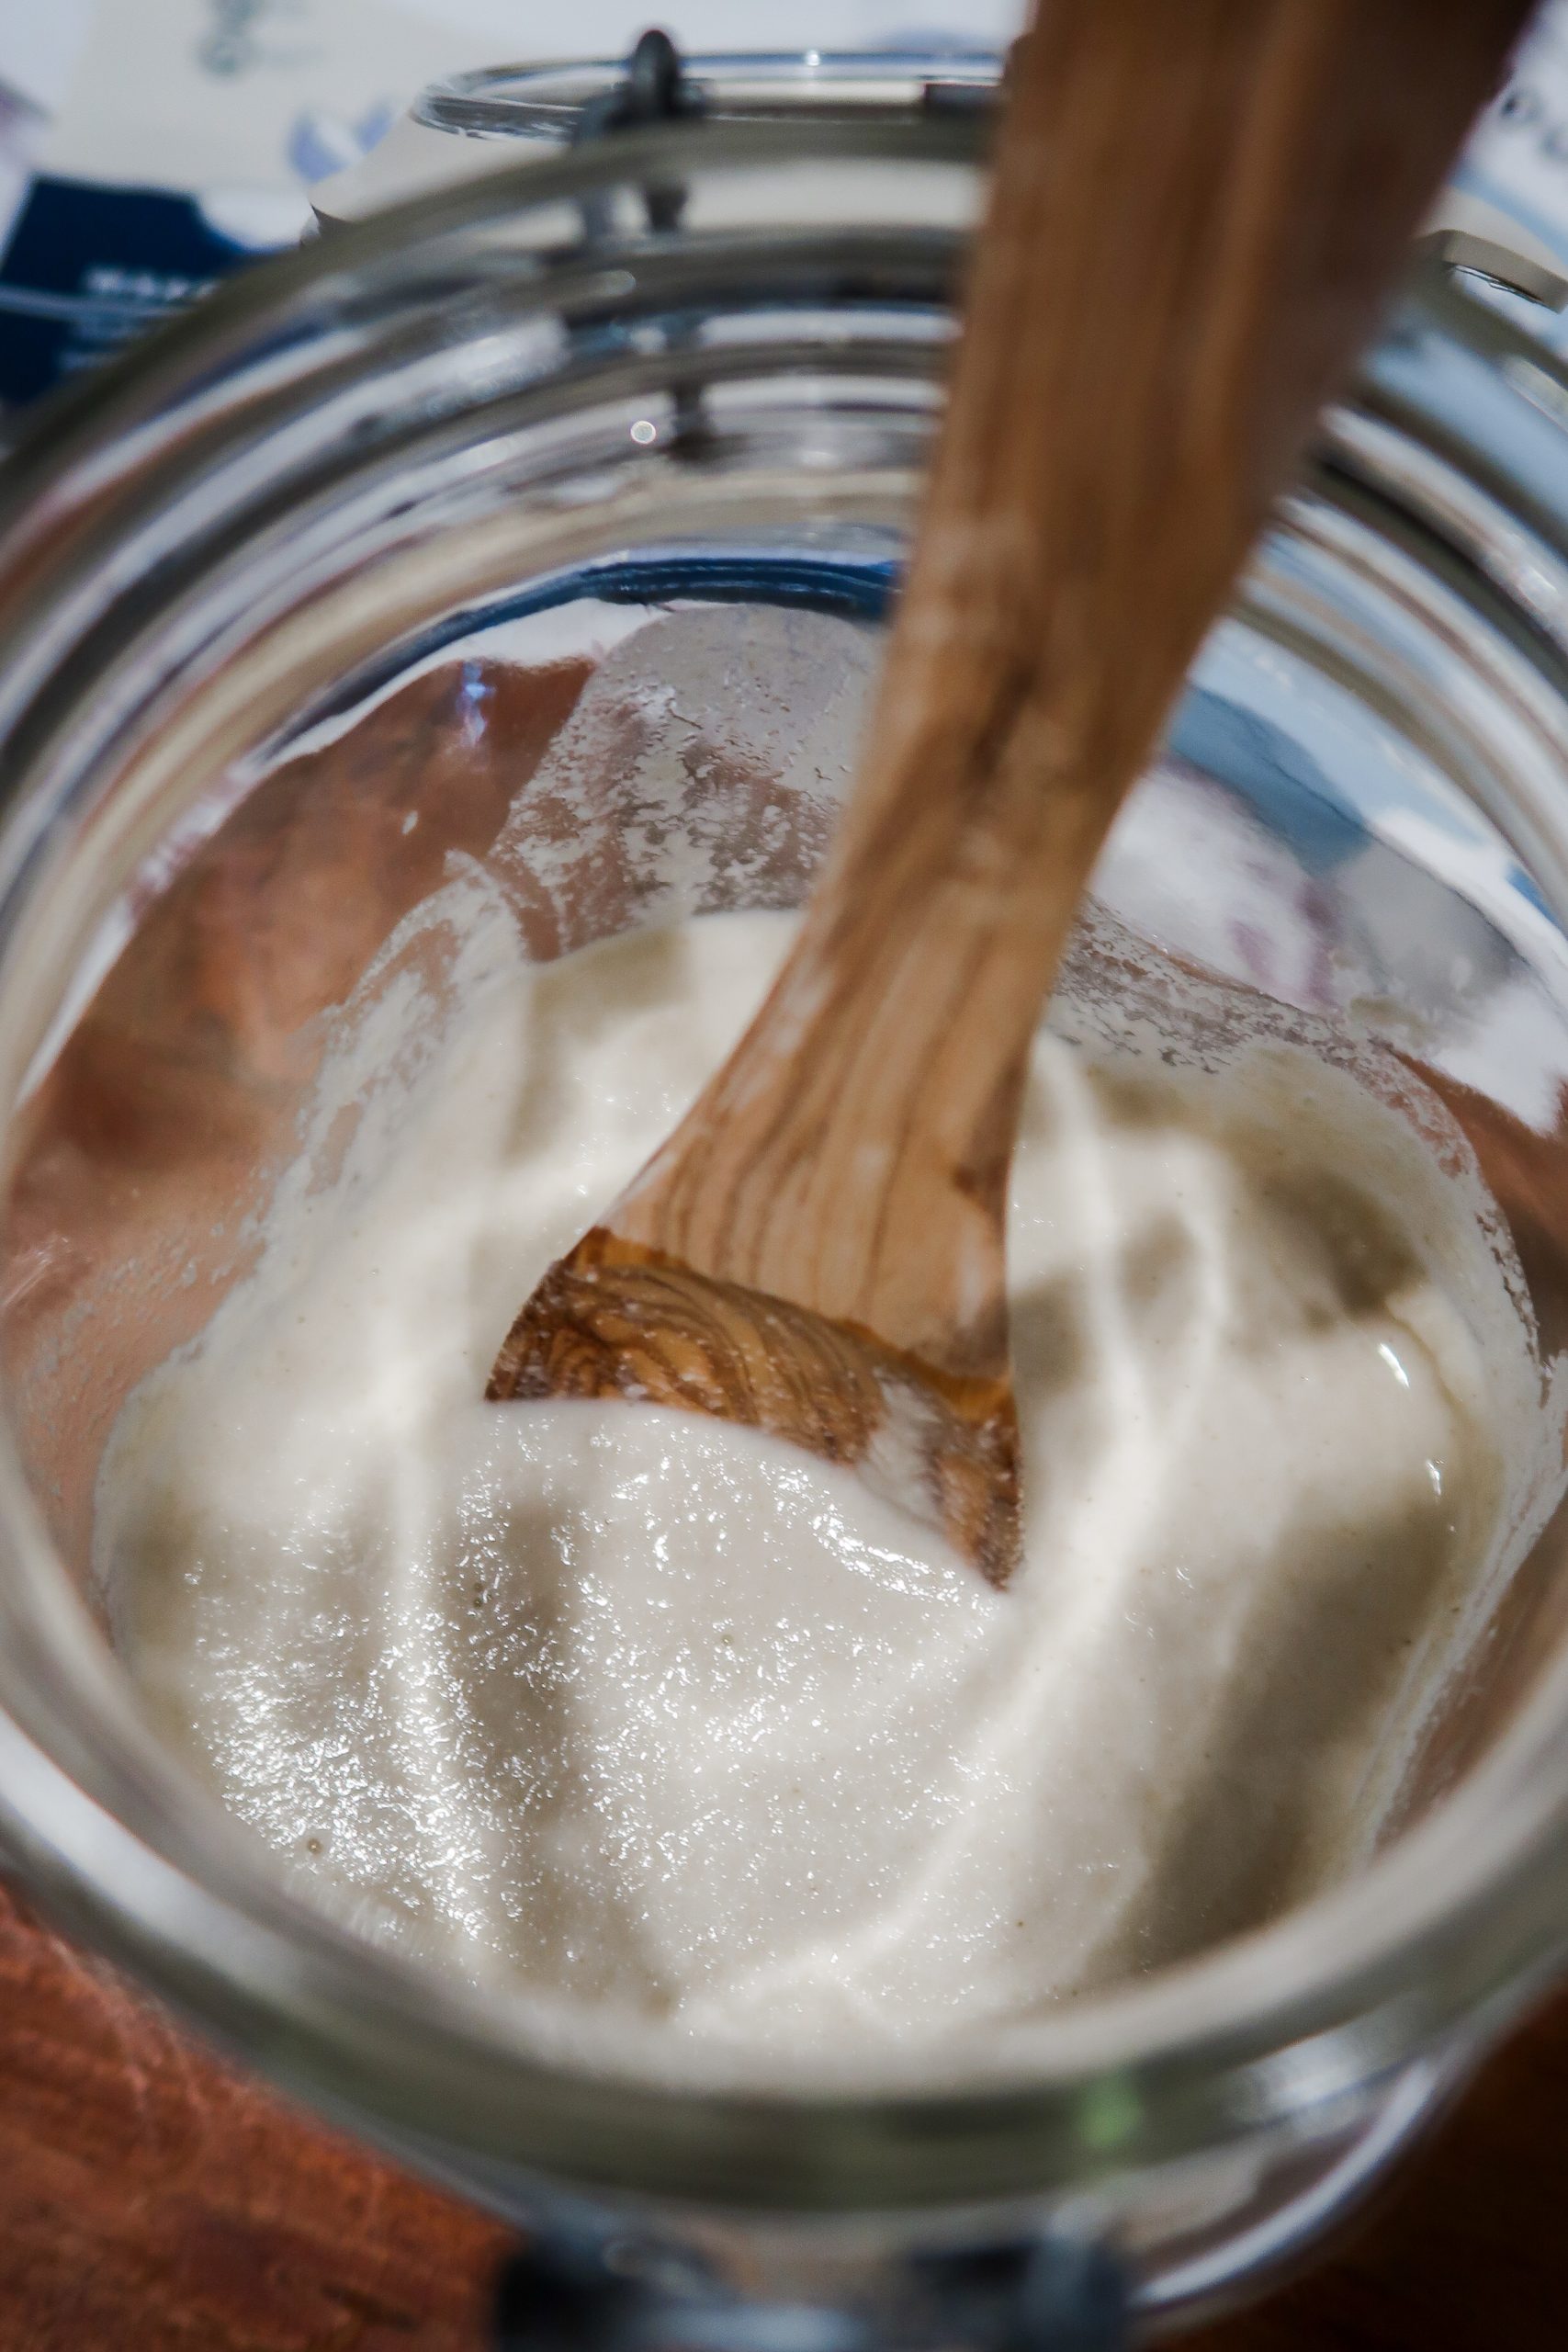
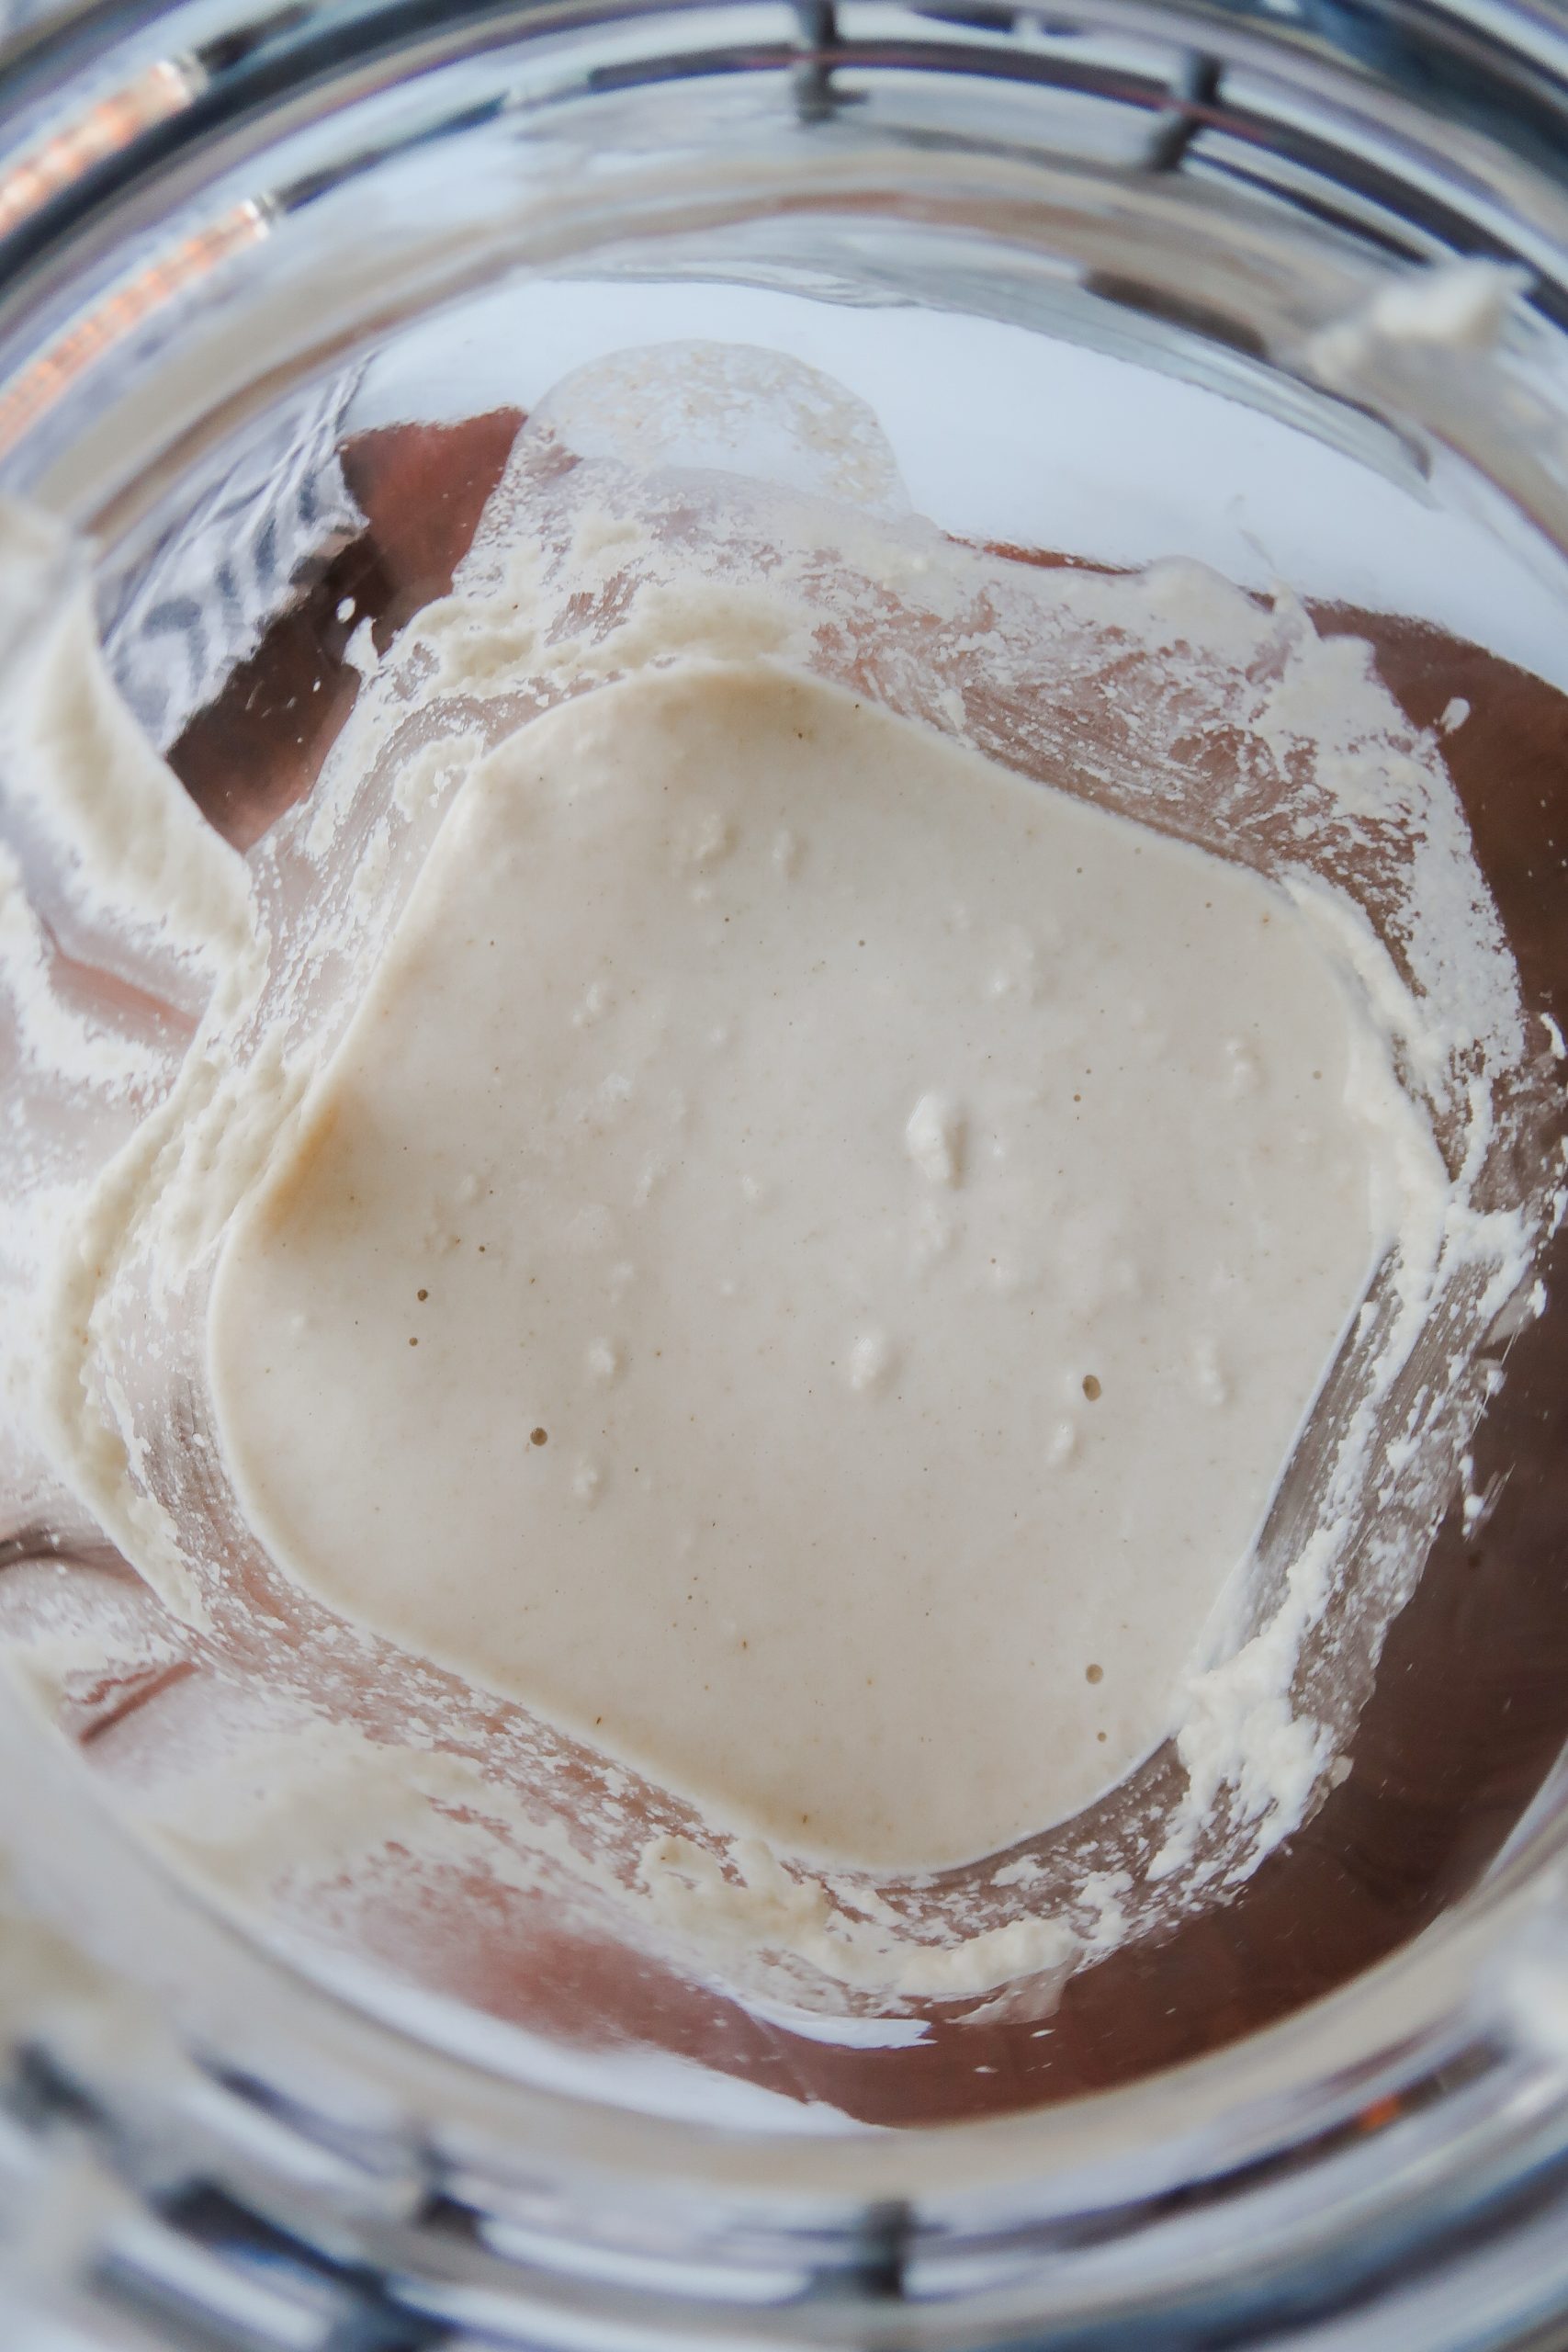
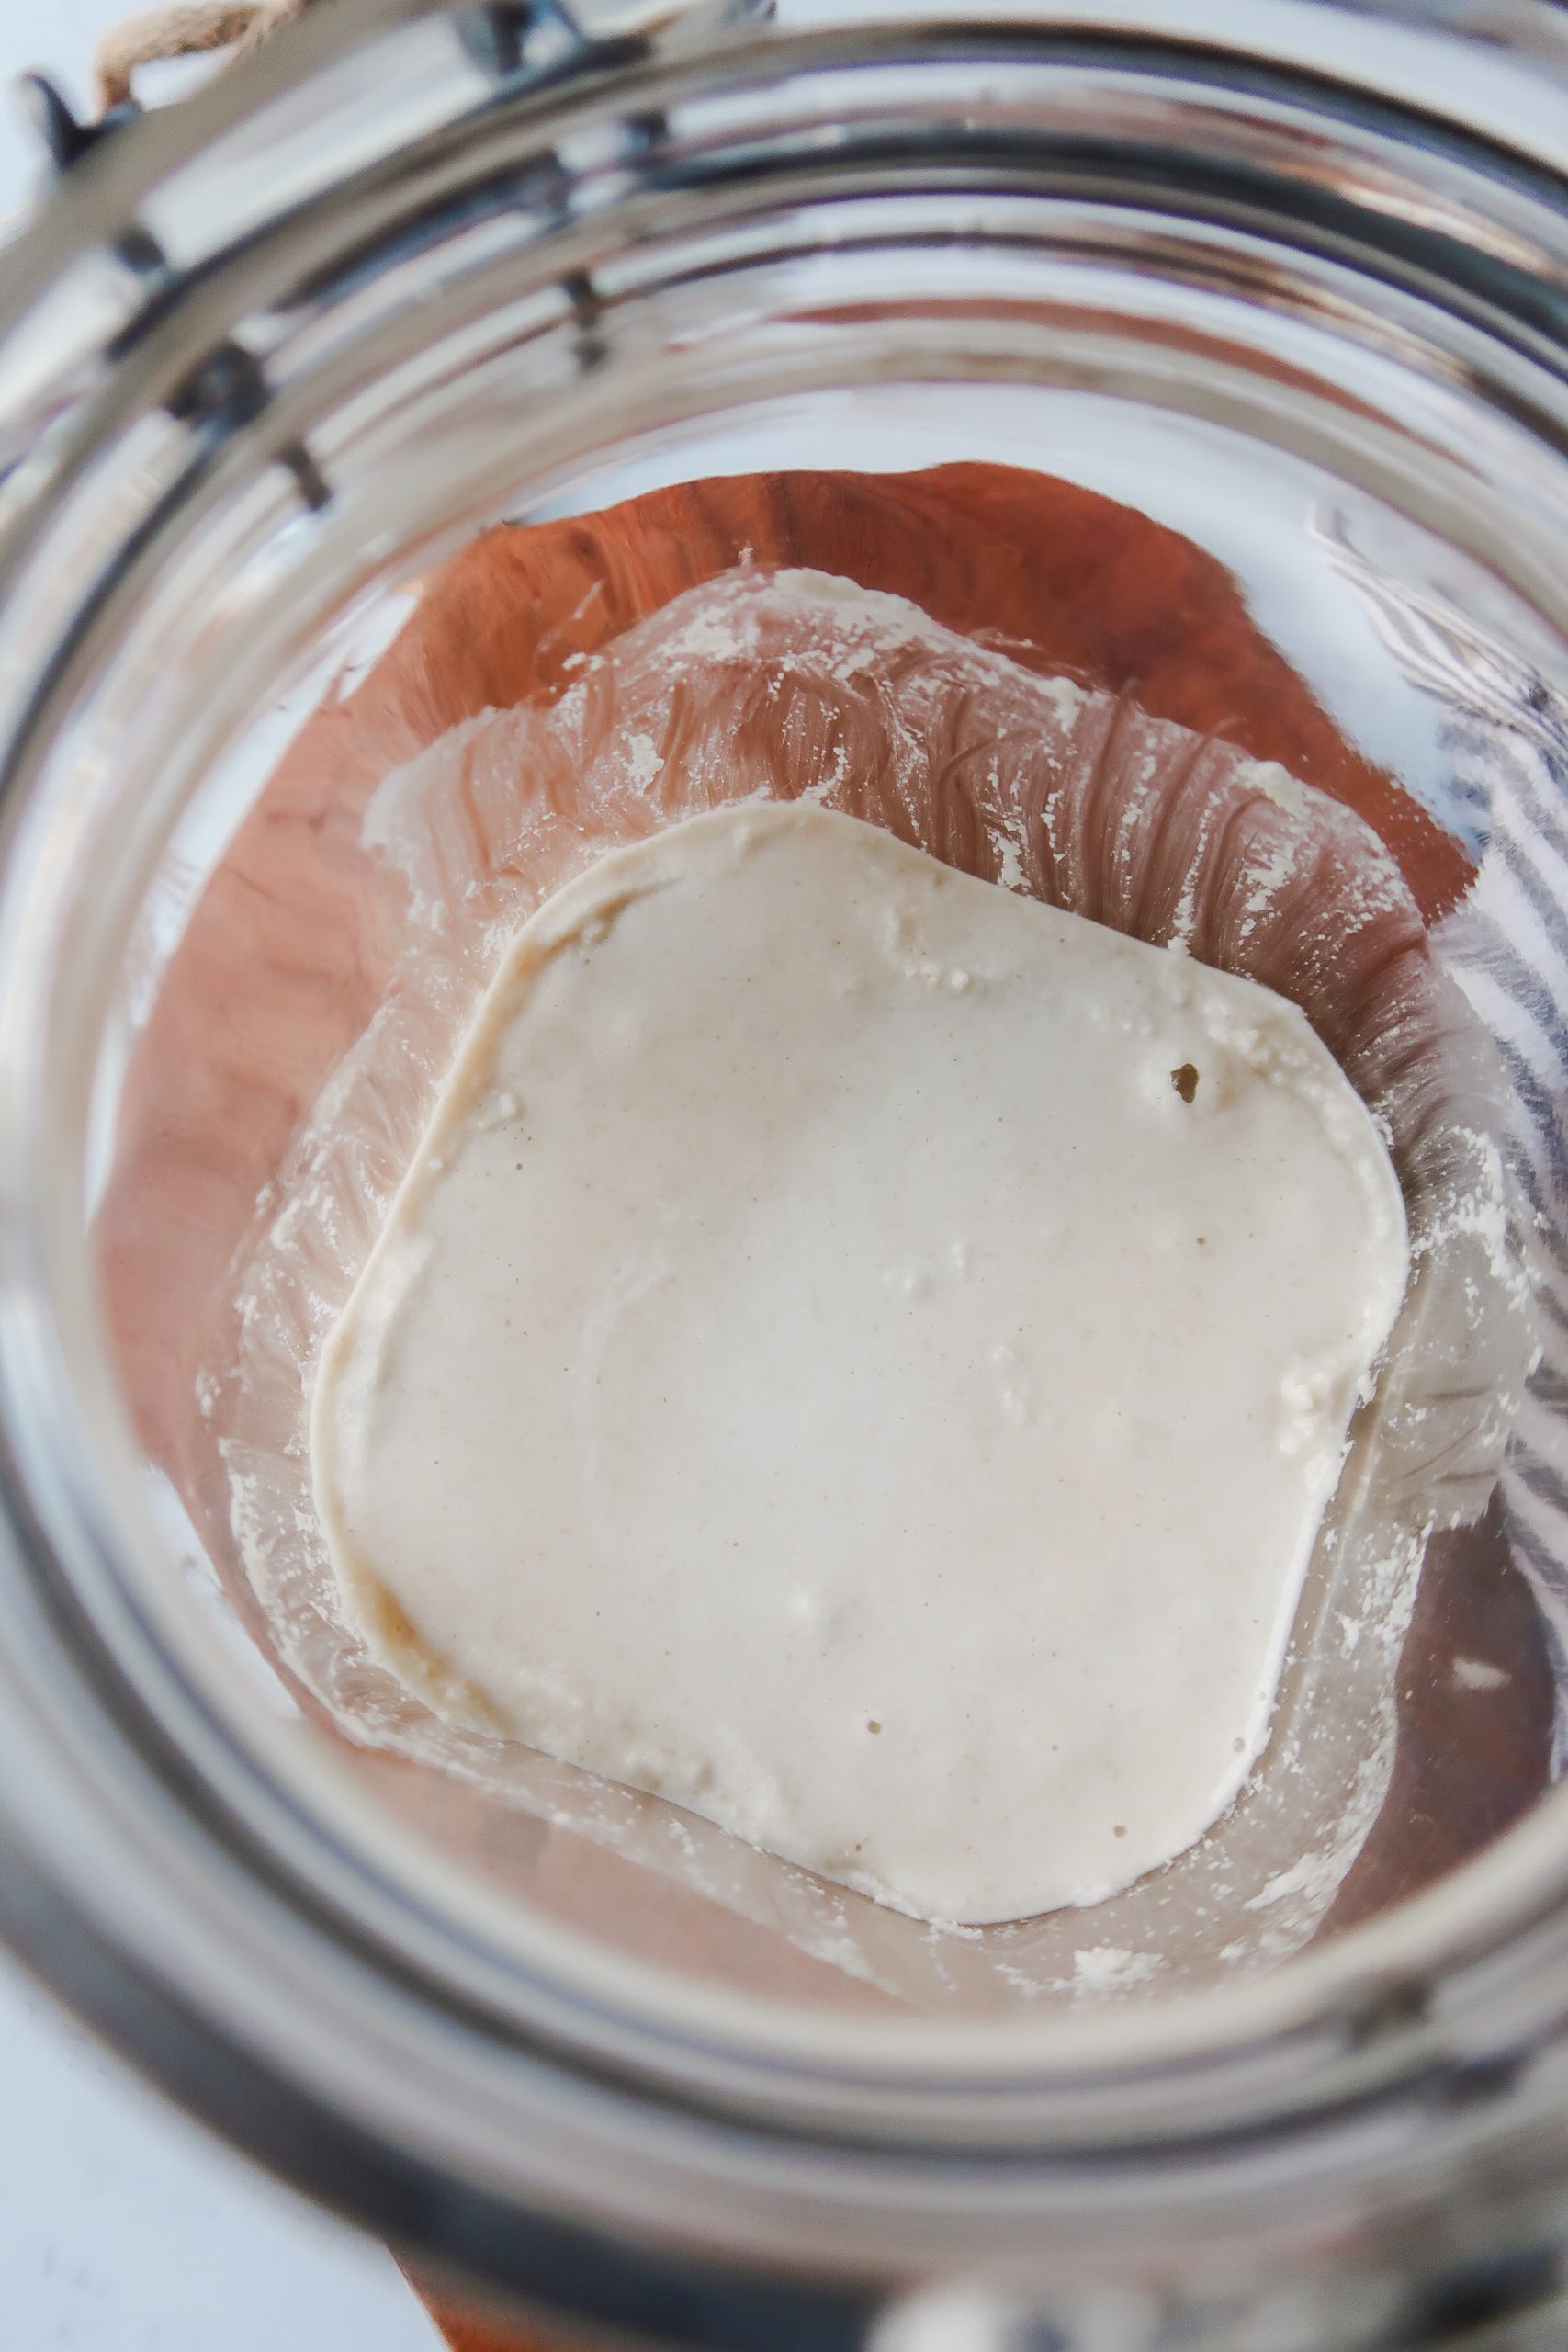
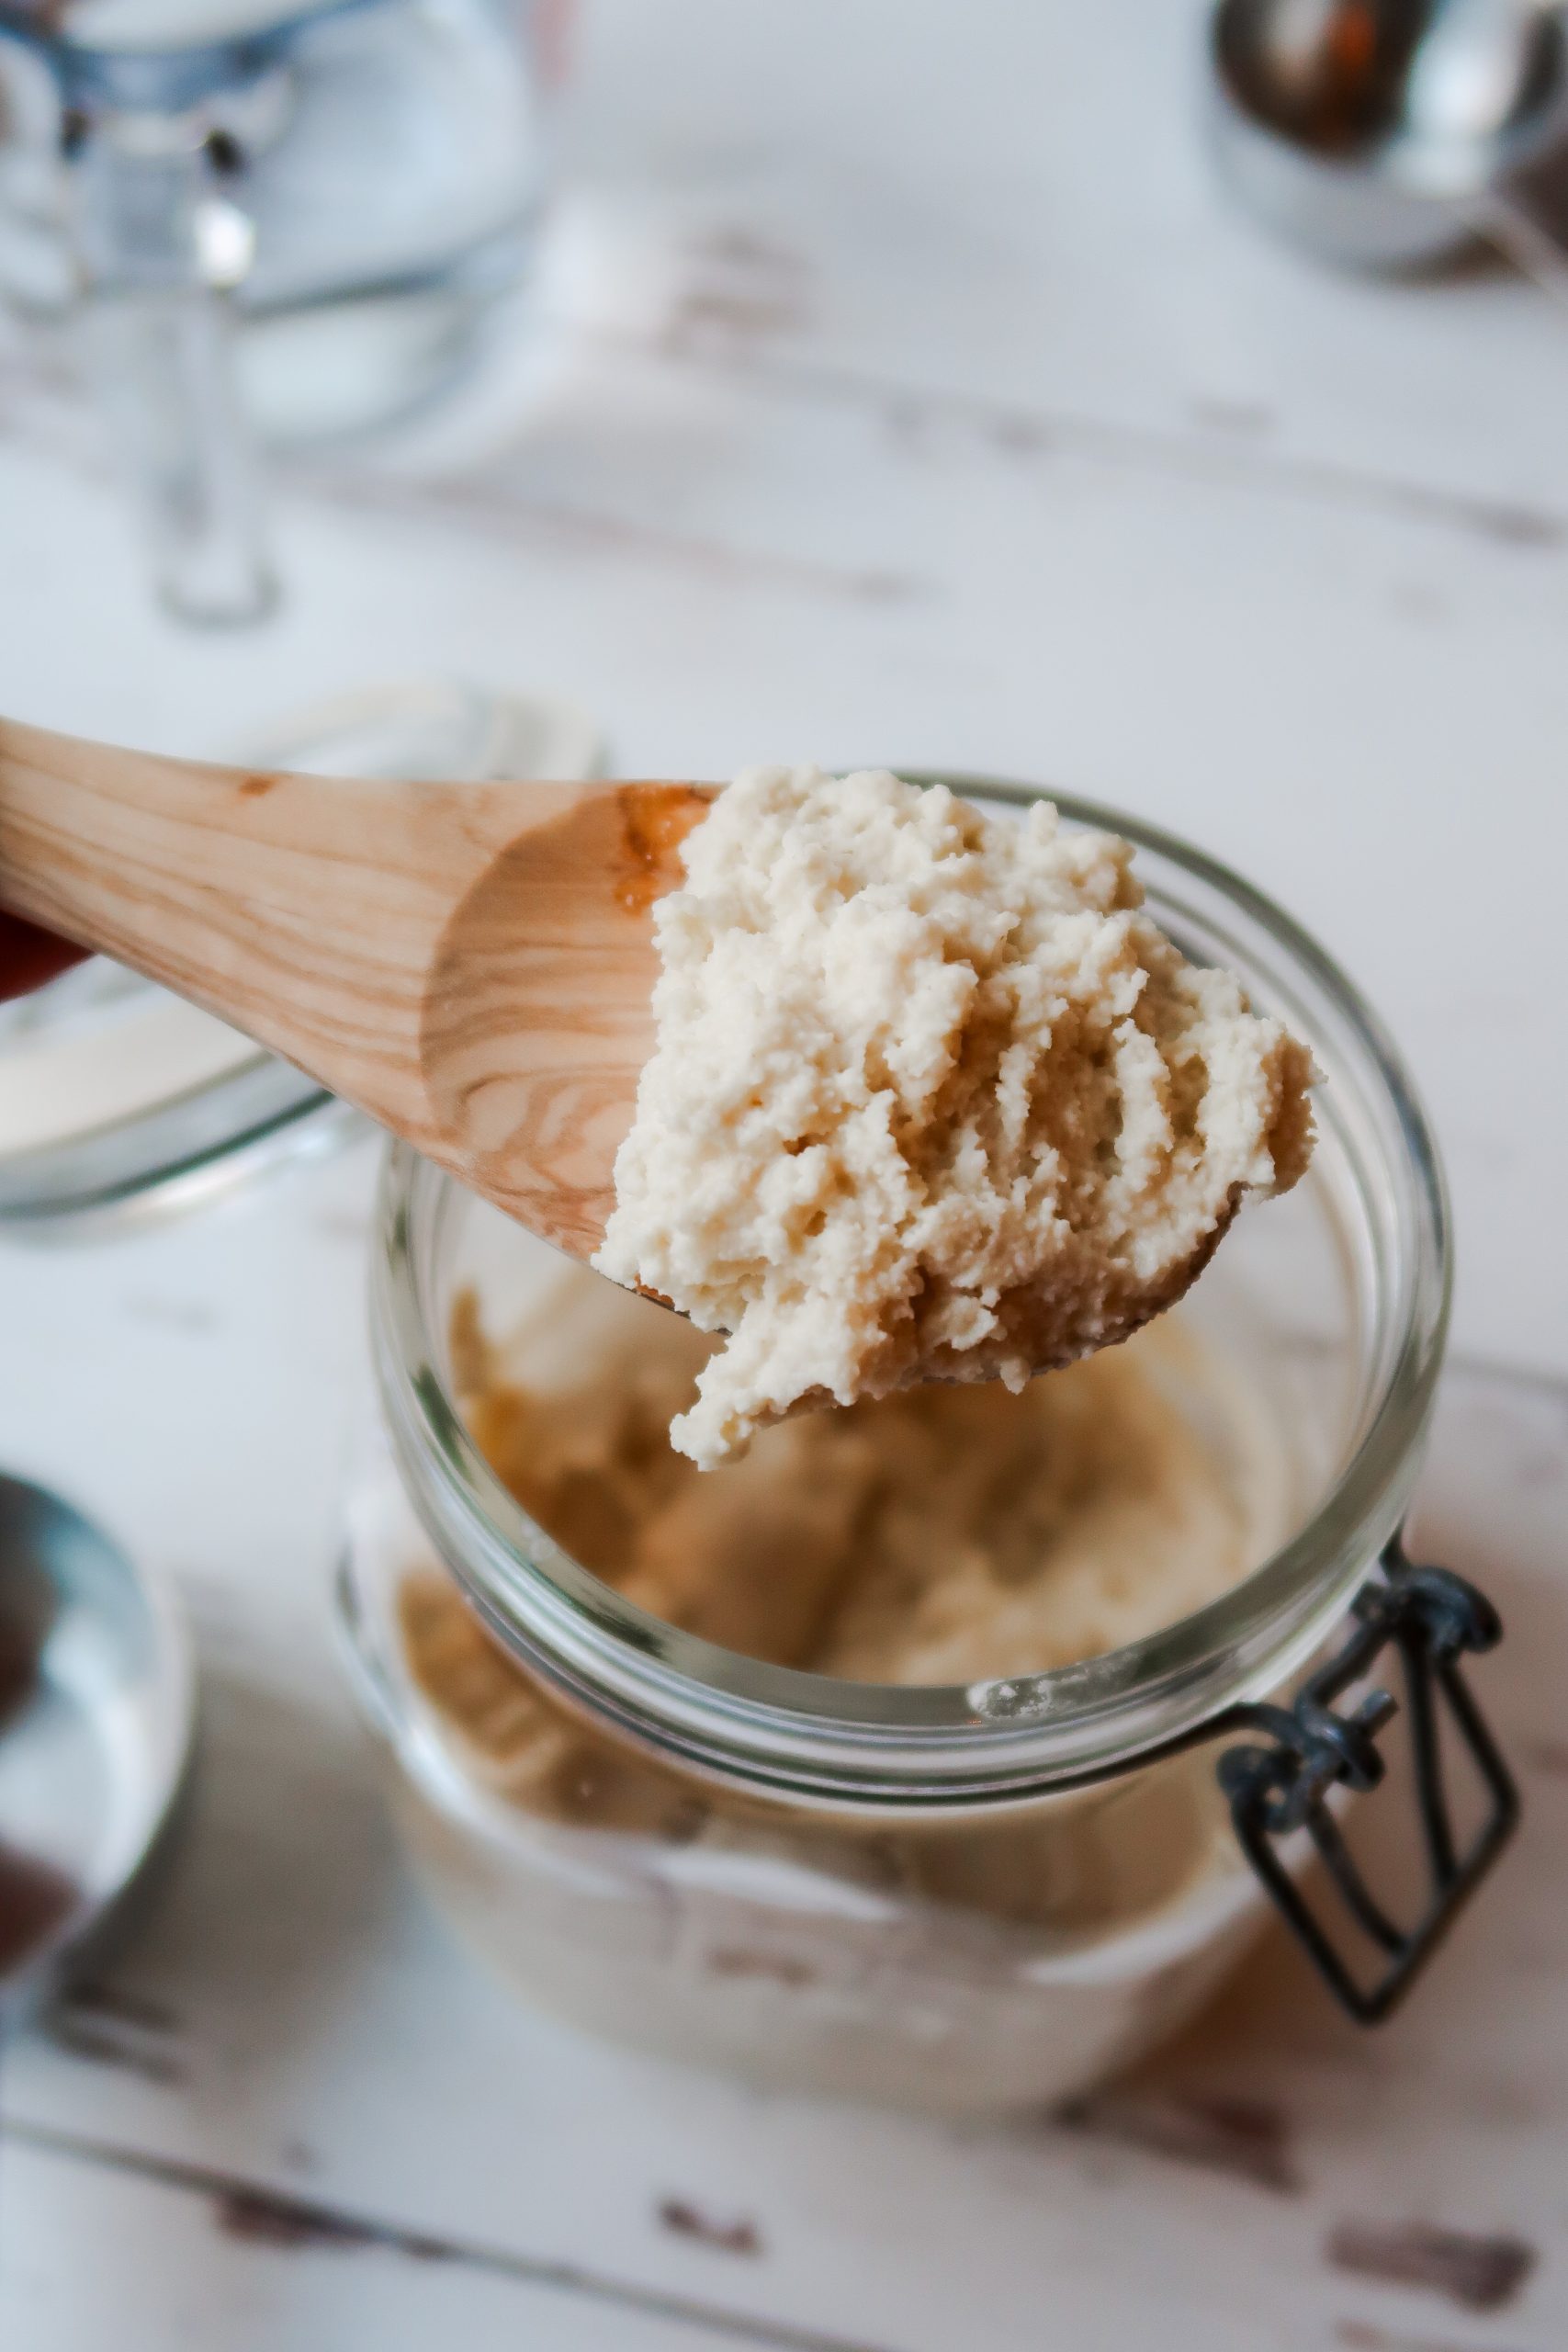
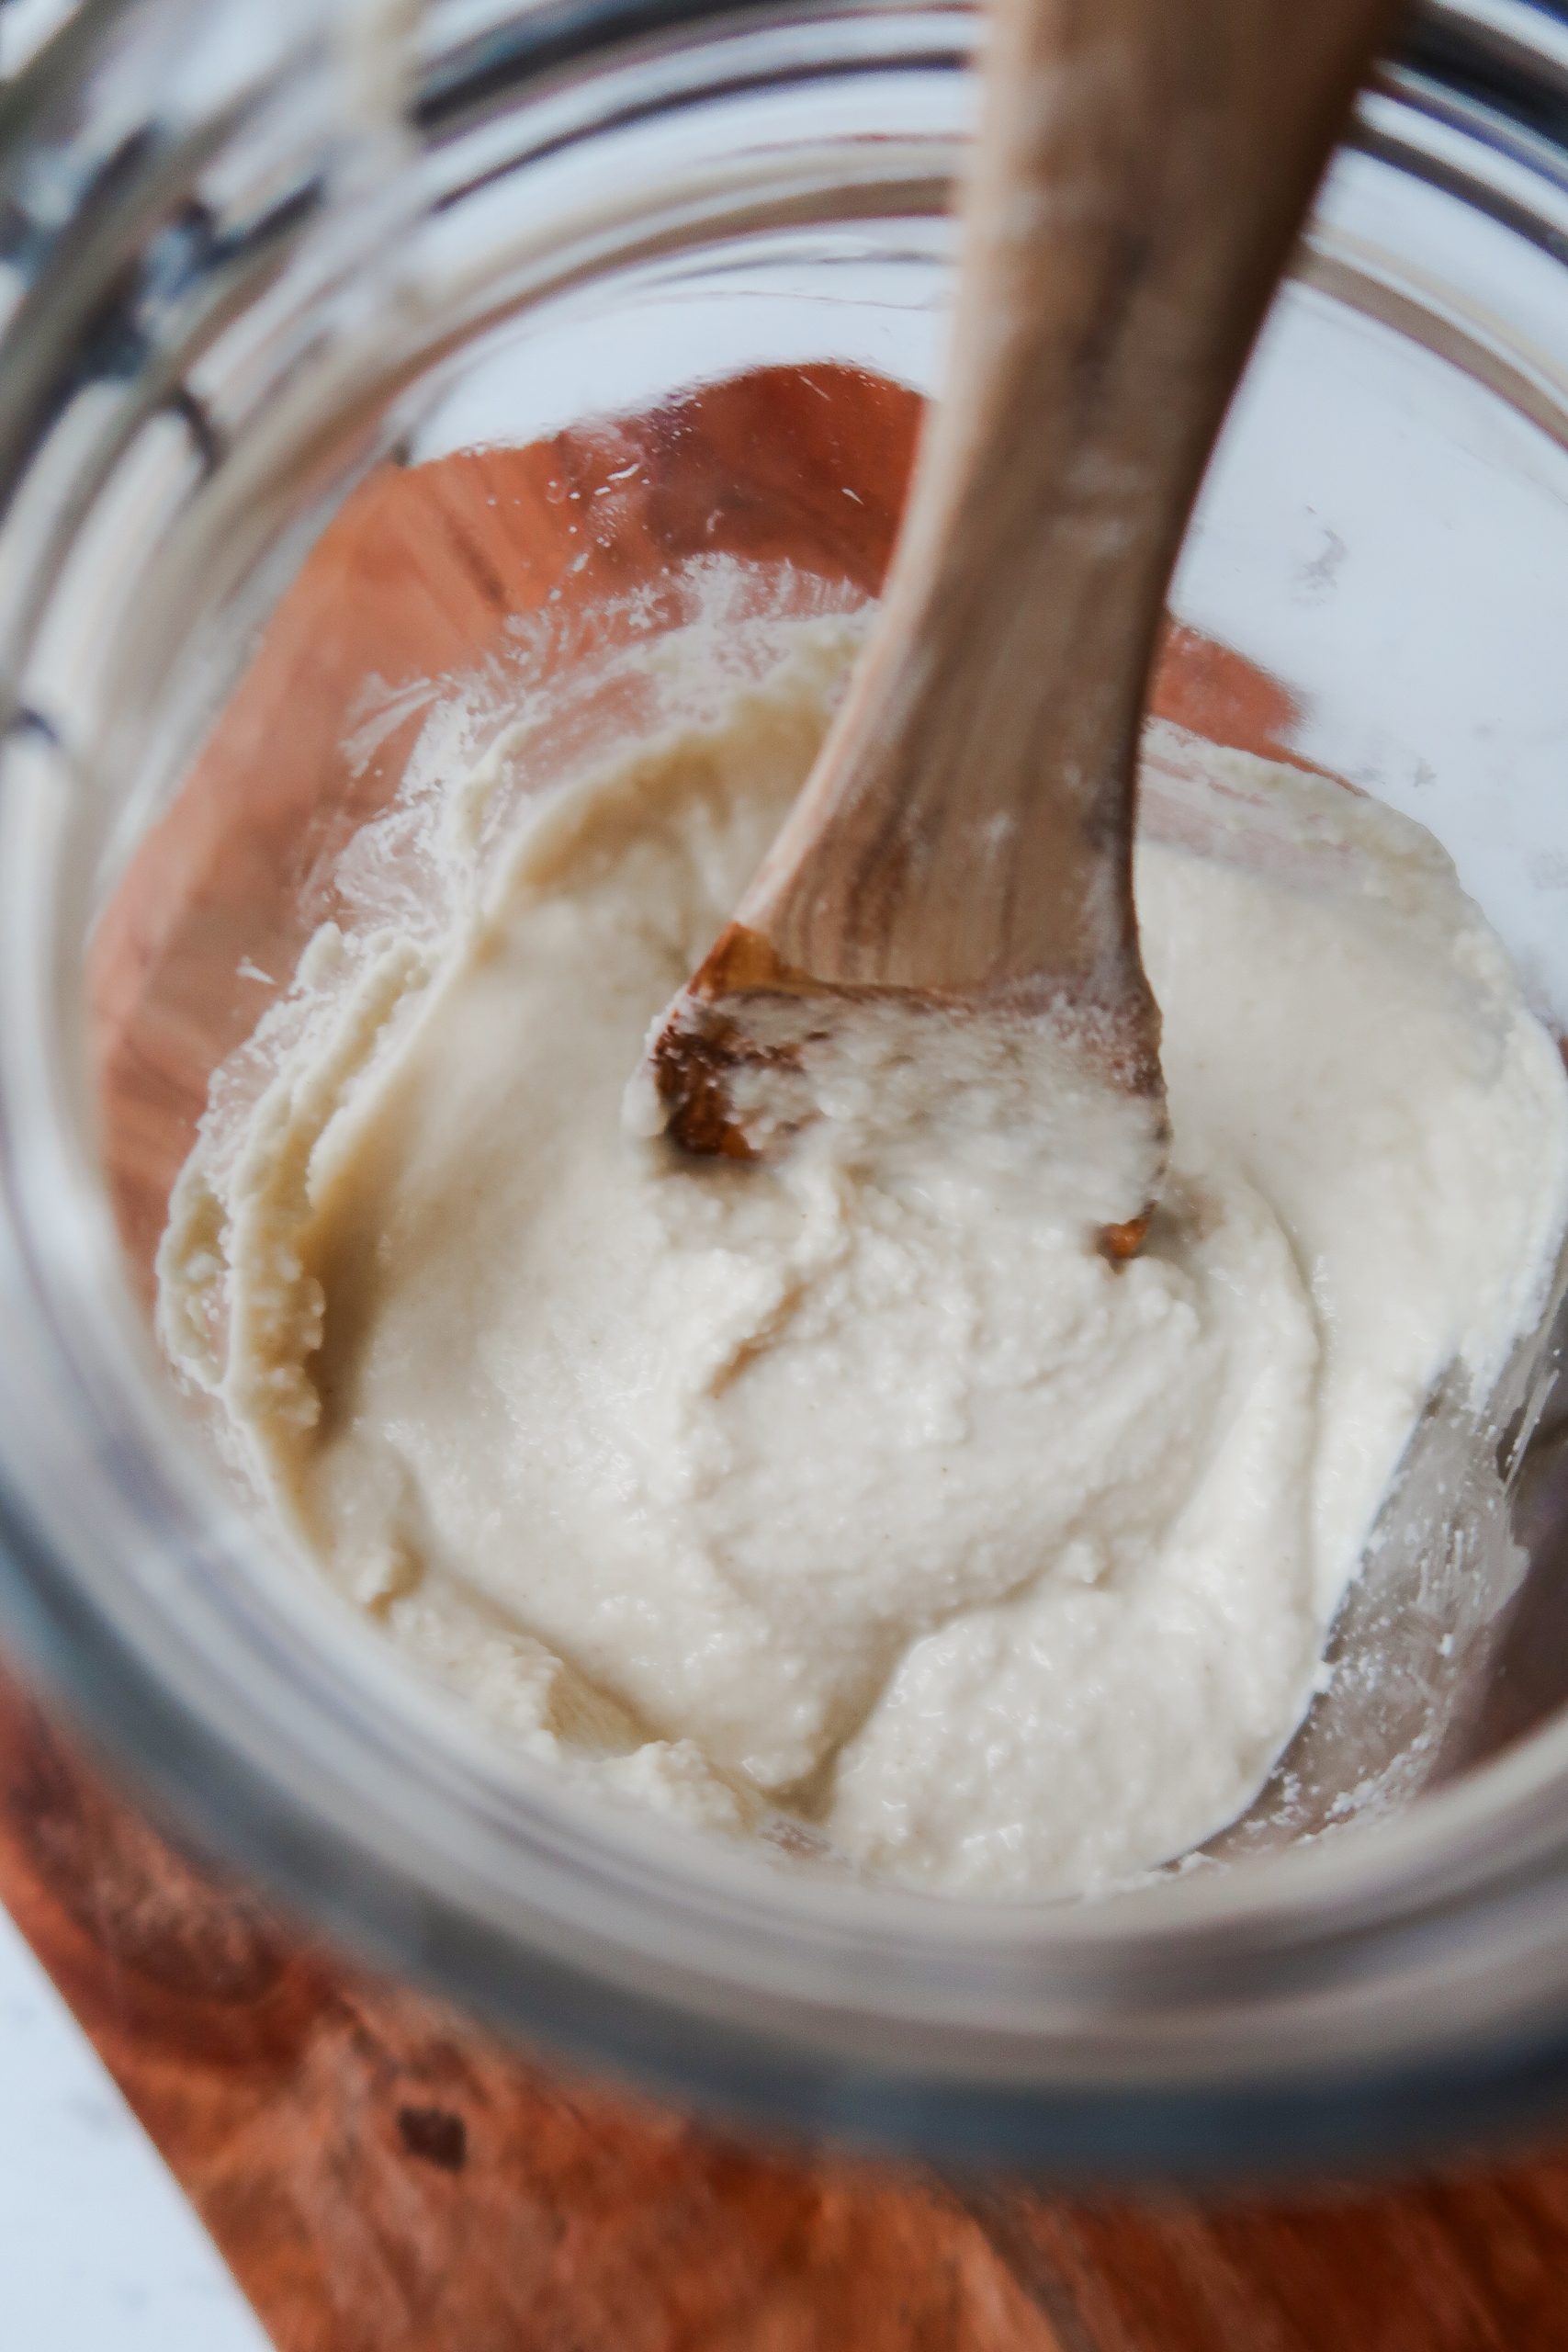
(I completed this step at 4:00 PM) The consistency is already very close to where it needs to be. Thick and pasty, not too watery, and not at all dry.
Third Feeding:
- After an additional 4 to 8 hours, feed the starter ¼ cup flour and ¼ cup water.
- Stir thoroughly.
- Scrape down the sides of the jar.
- Cover and set aside.
Observations
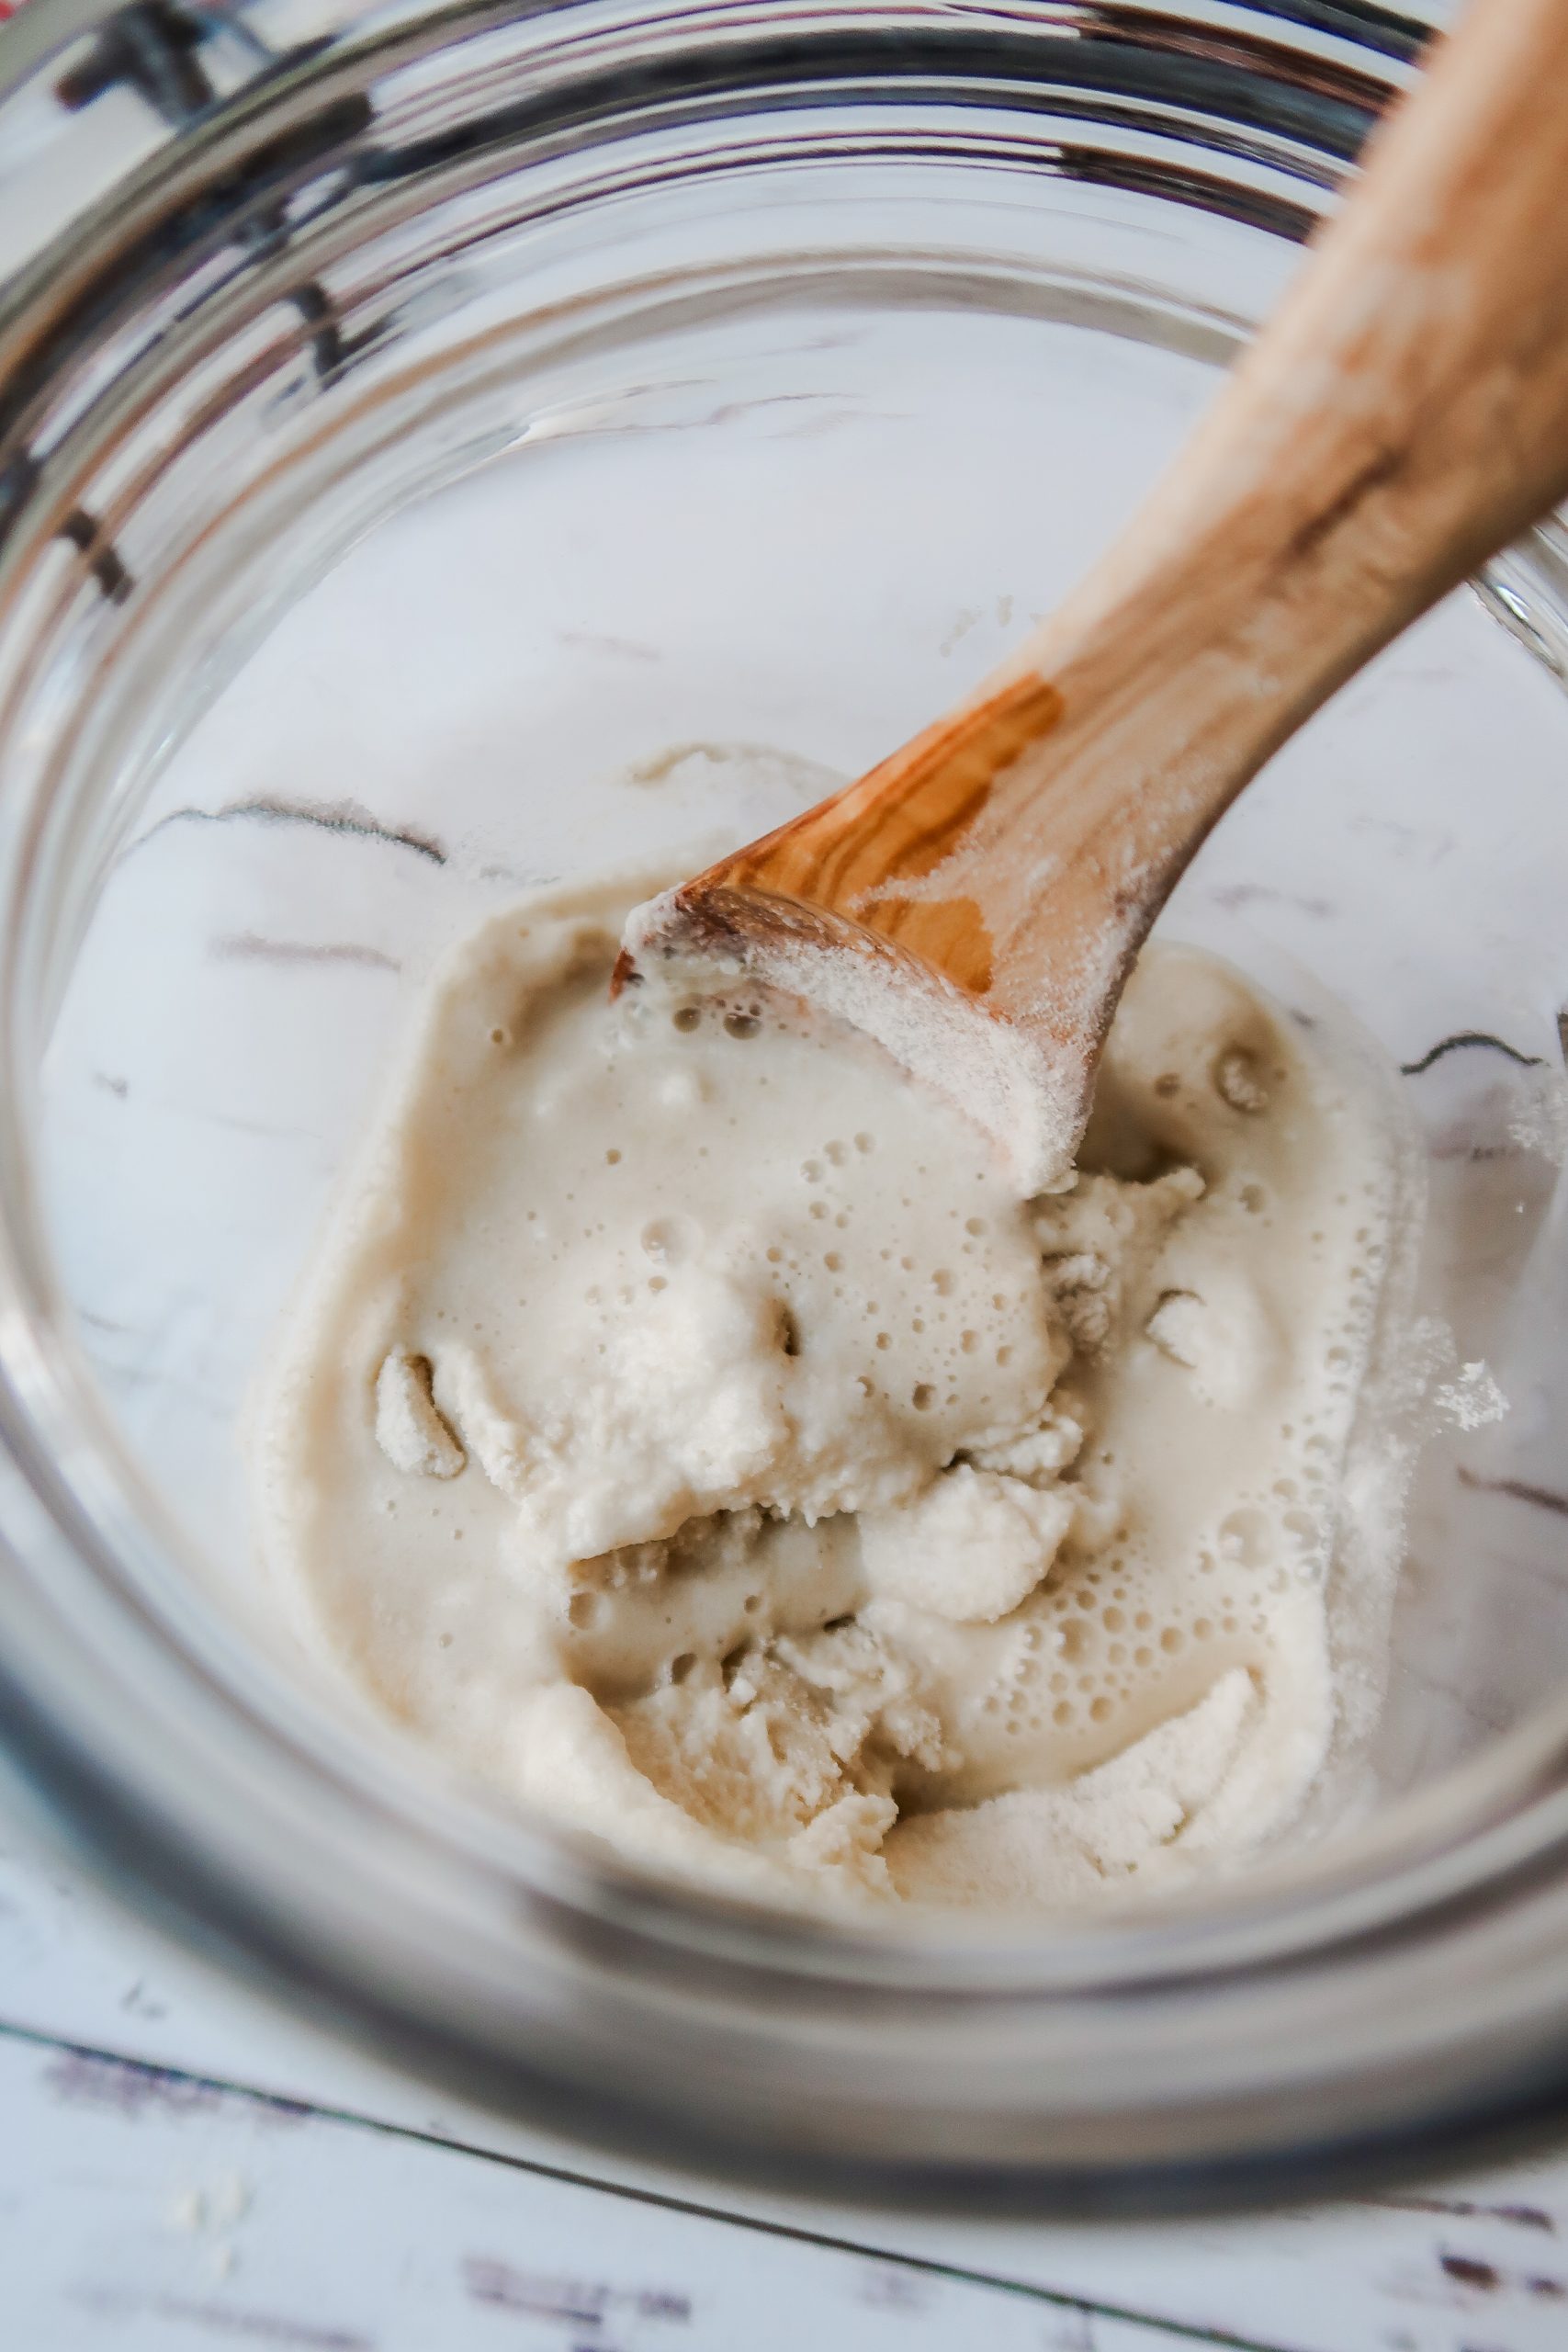
(I completed this step at 9:00 PM) I spotted a few bubbles on the surface of the starter after stirring.
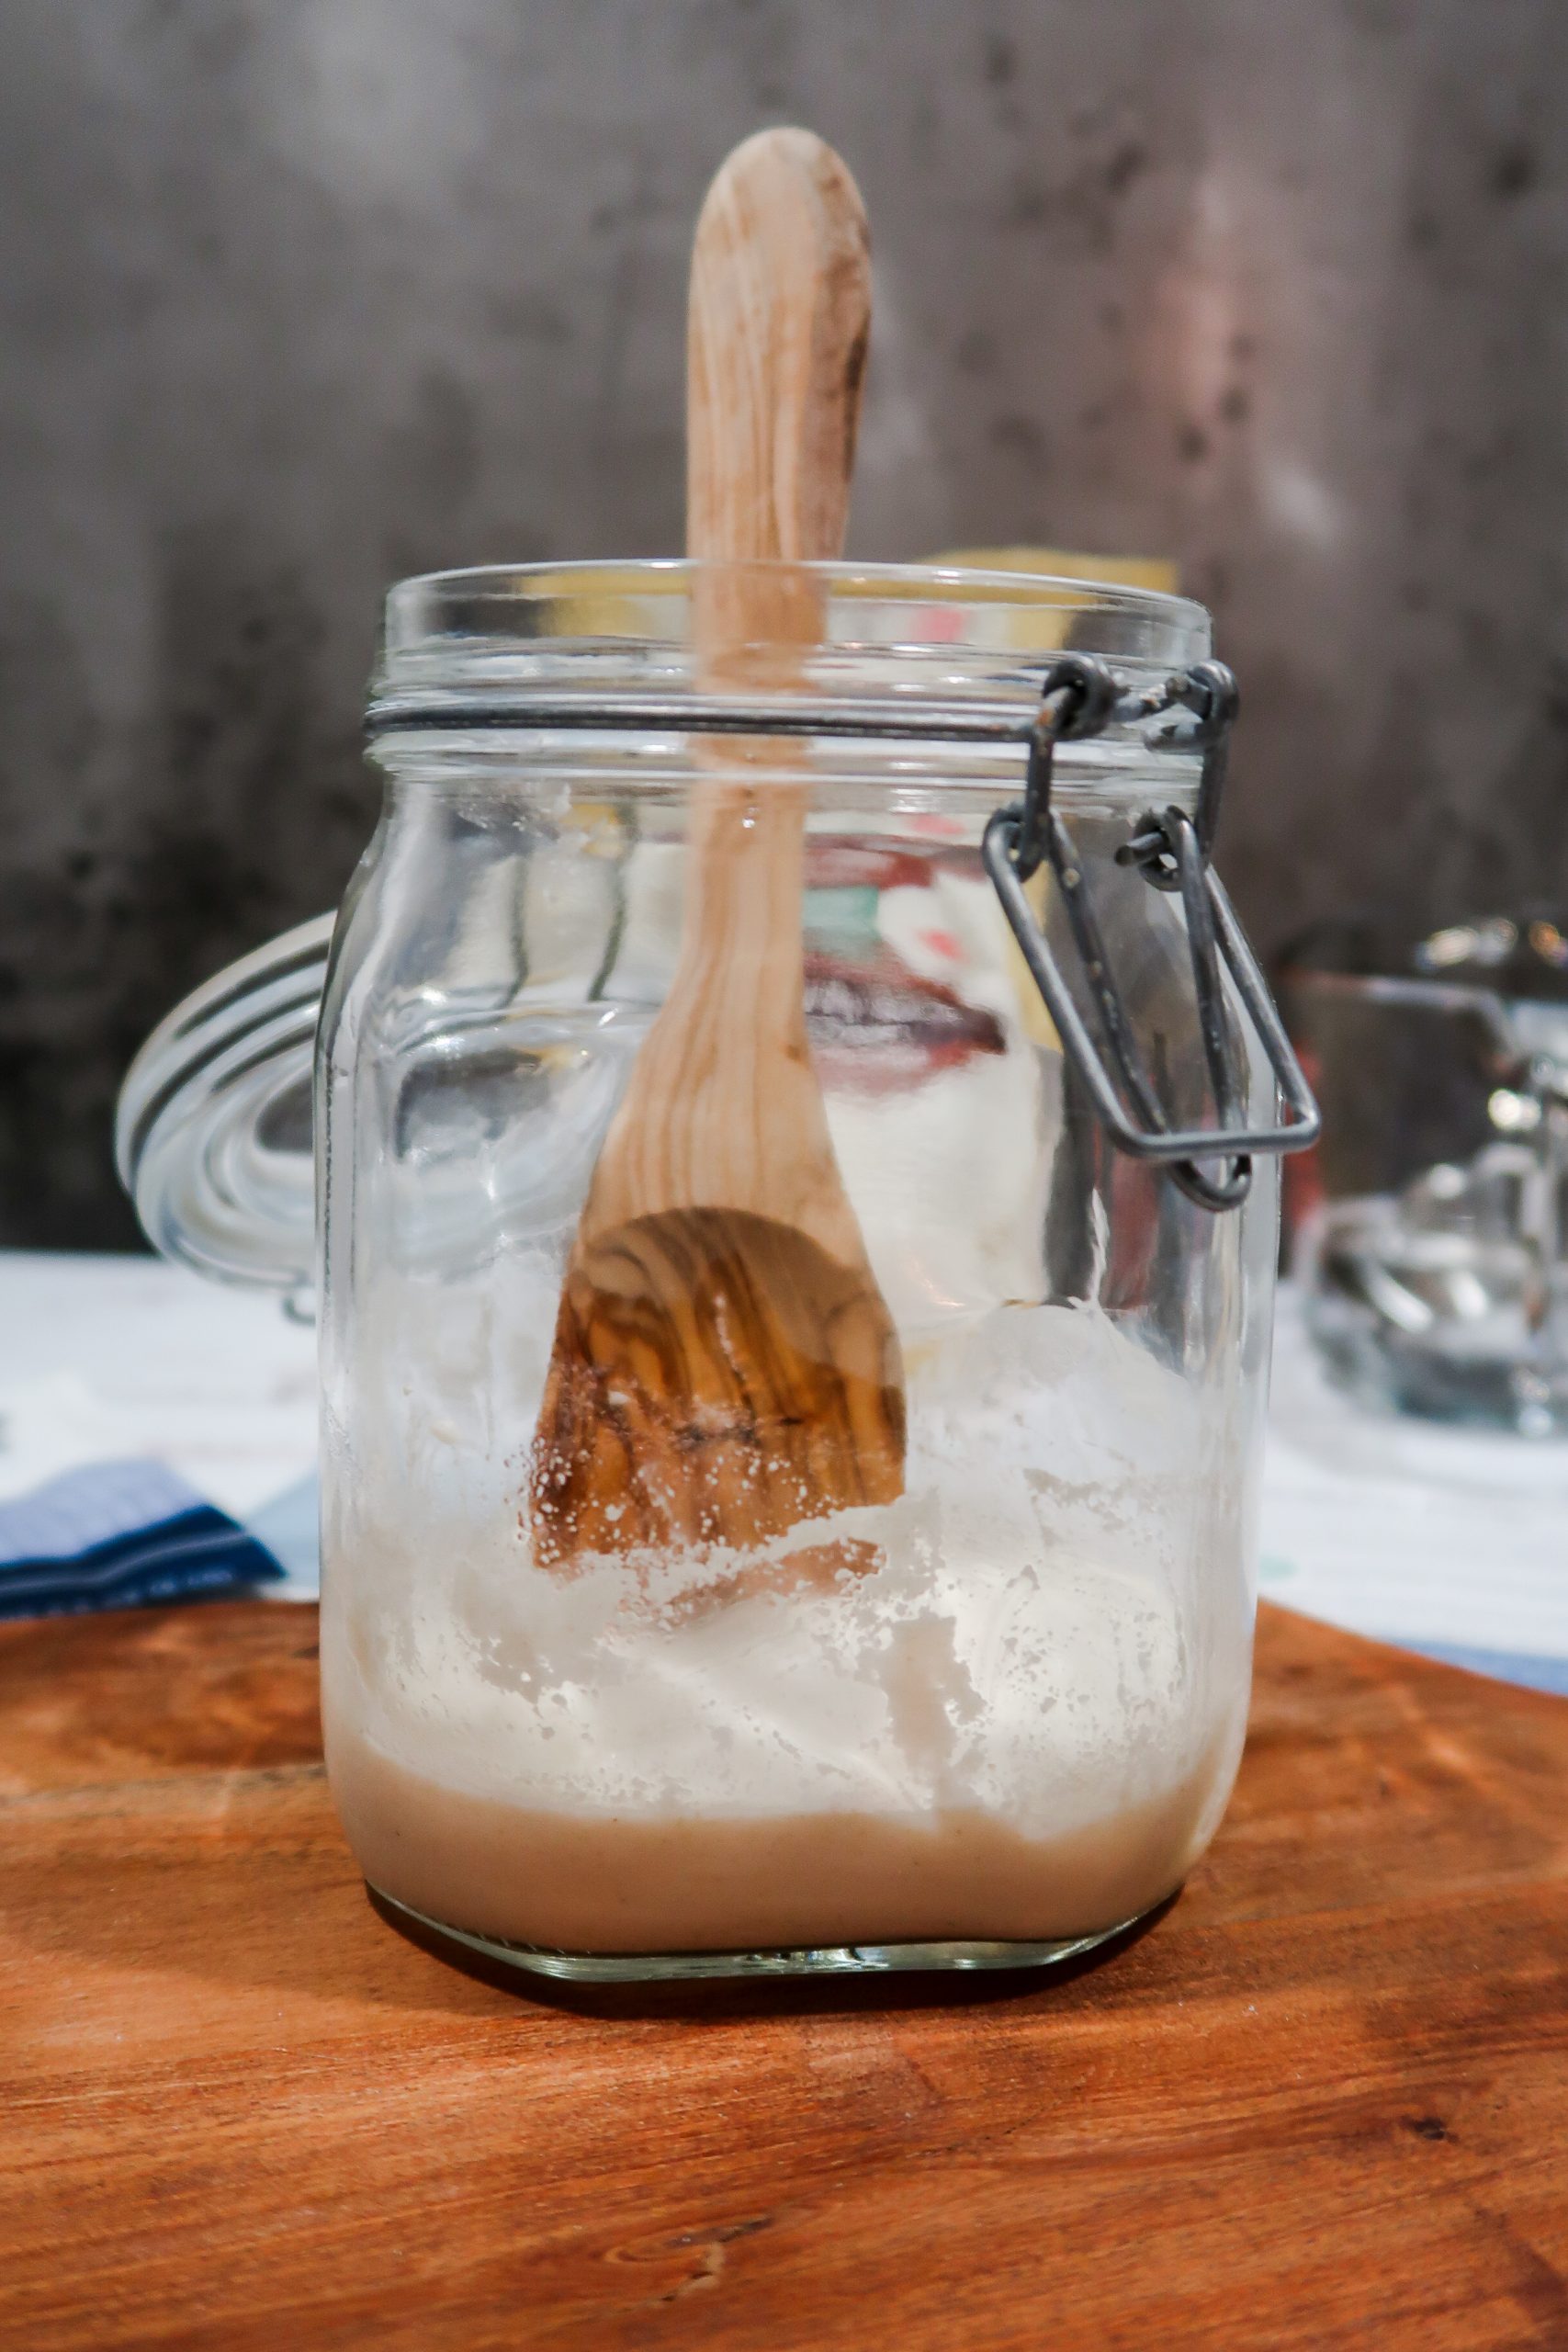
Day Two
First Feeding:
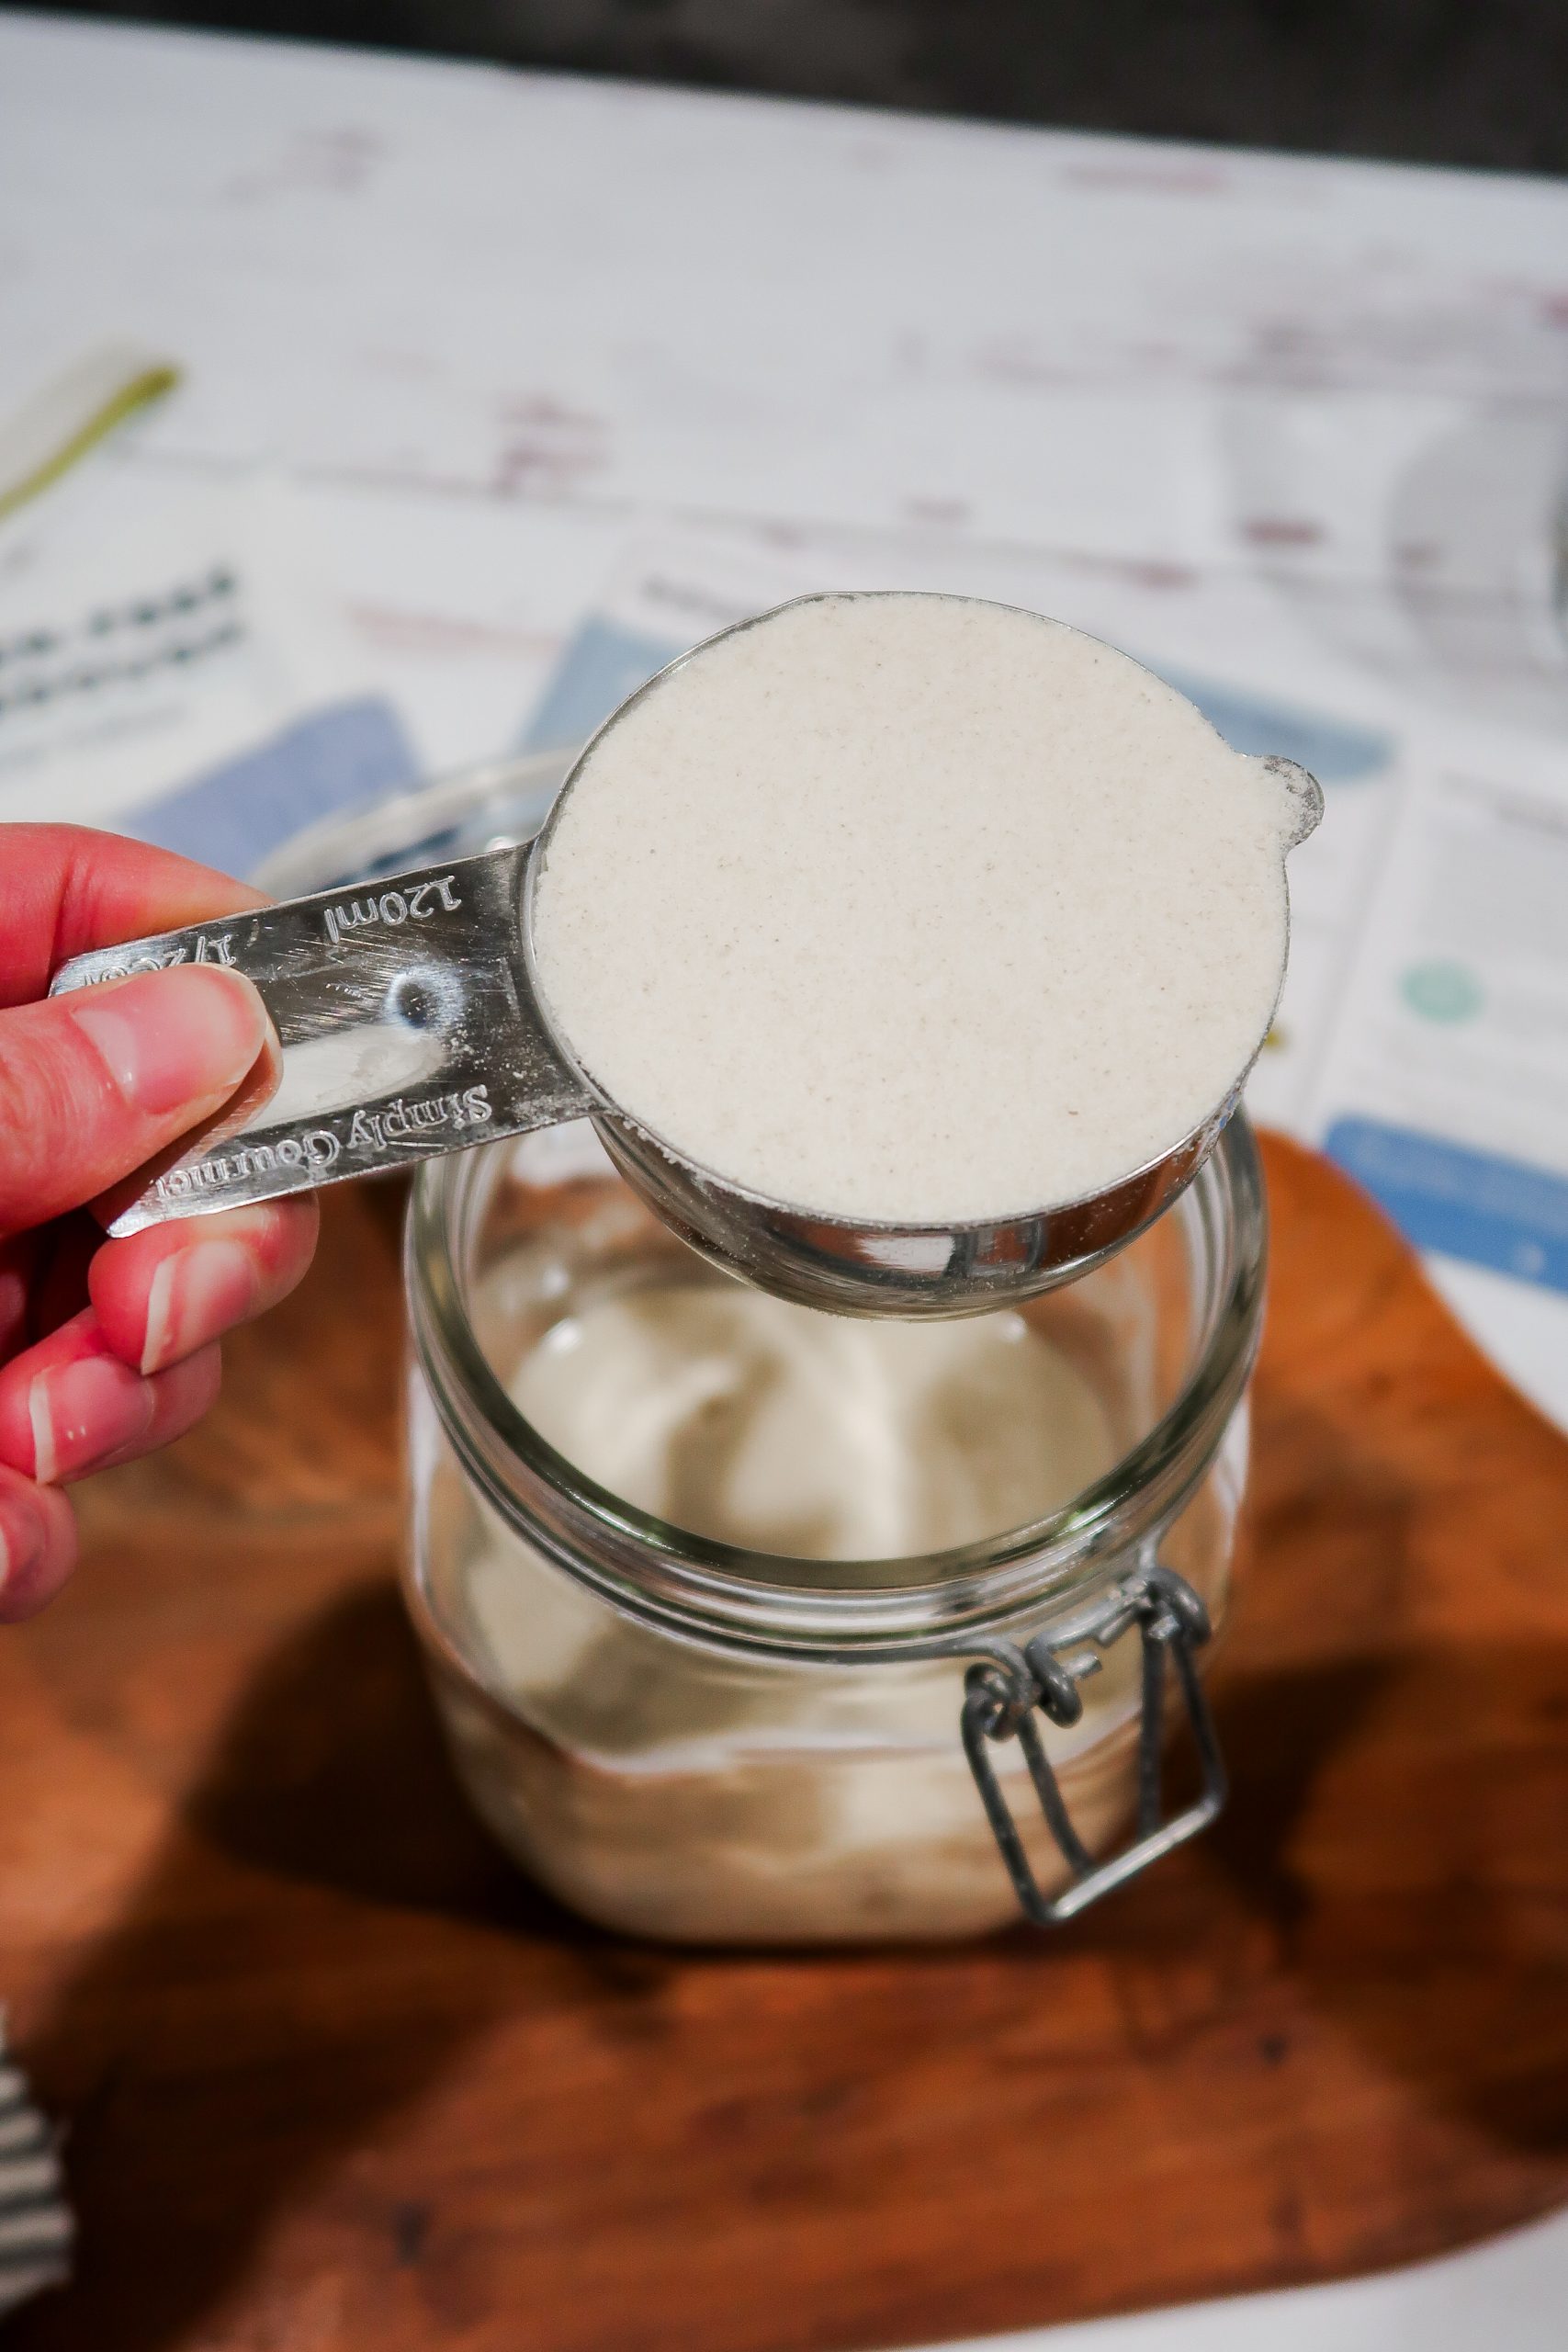
- After an additional 4 to 8 hours, feed the starter ½ cup flour.
- And ½ cup of water.
- Stir thoroughly.
- Scrape down the sides of the jar.
- Cover and set aside.
Observations:
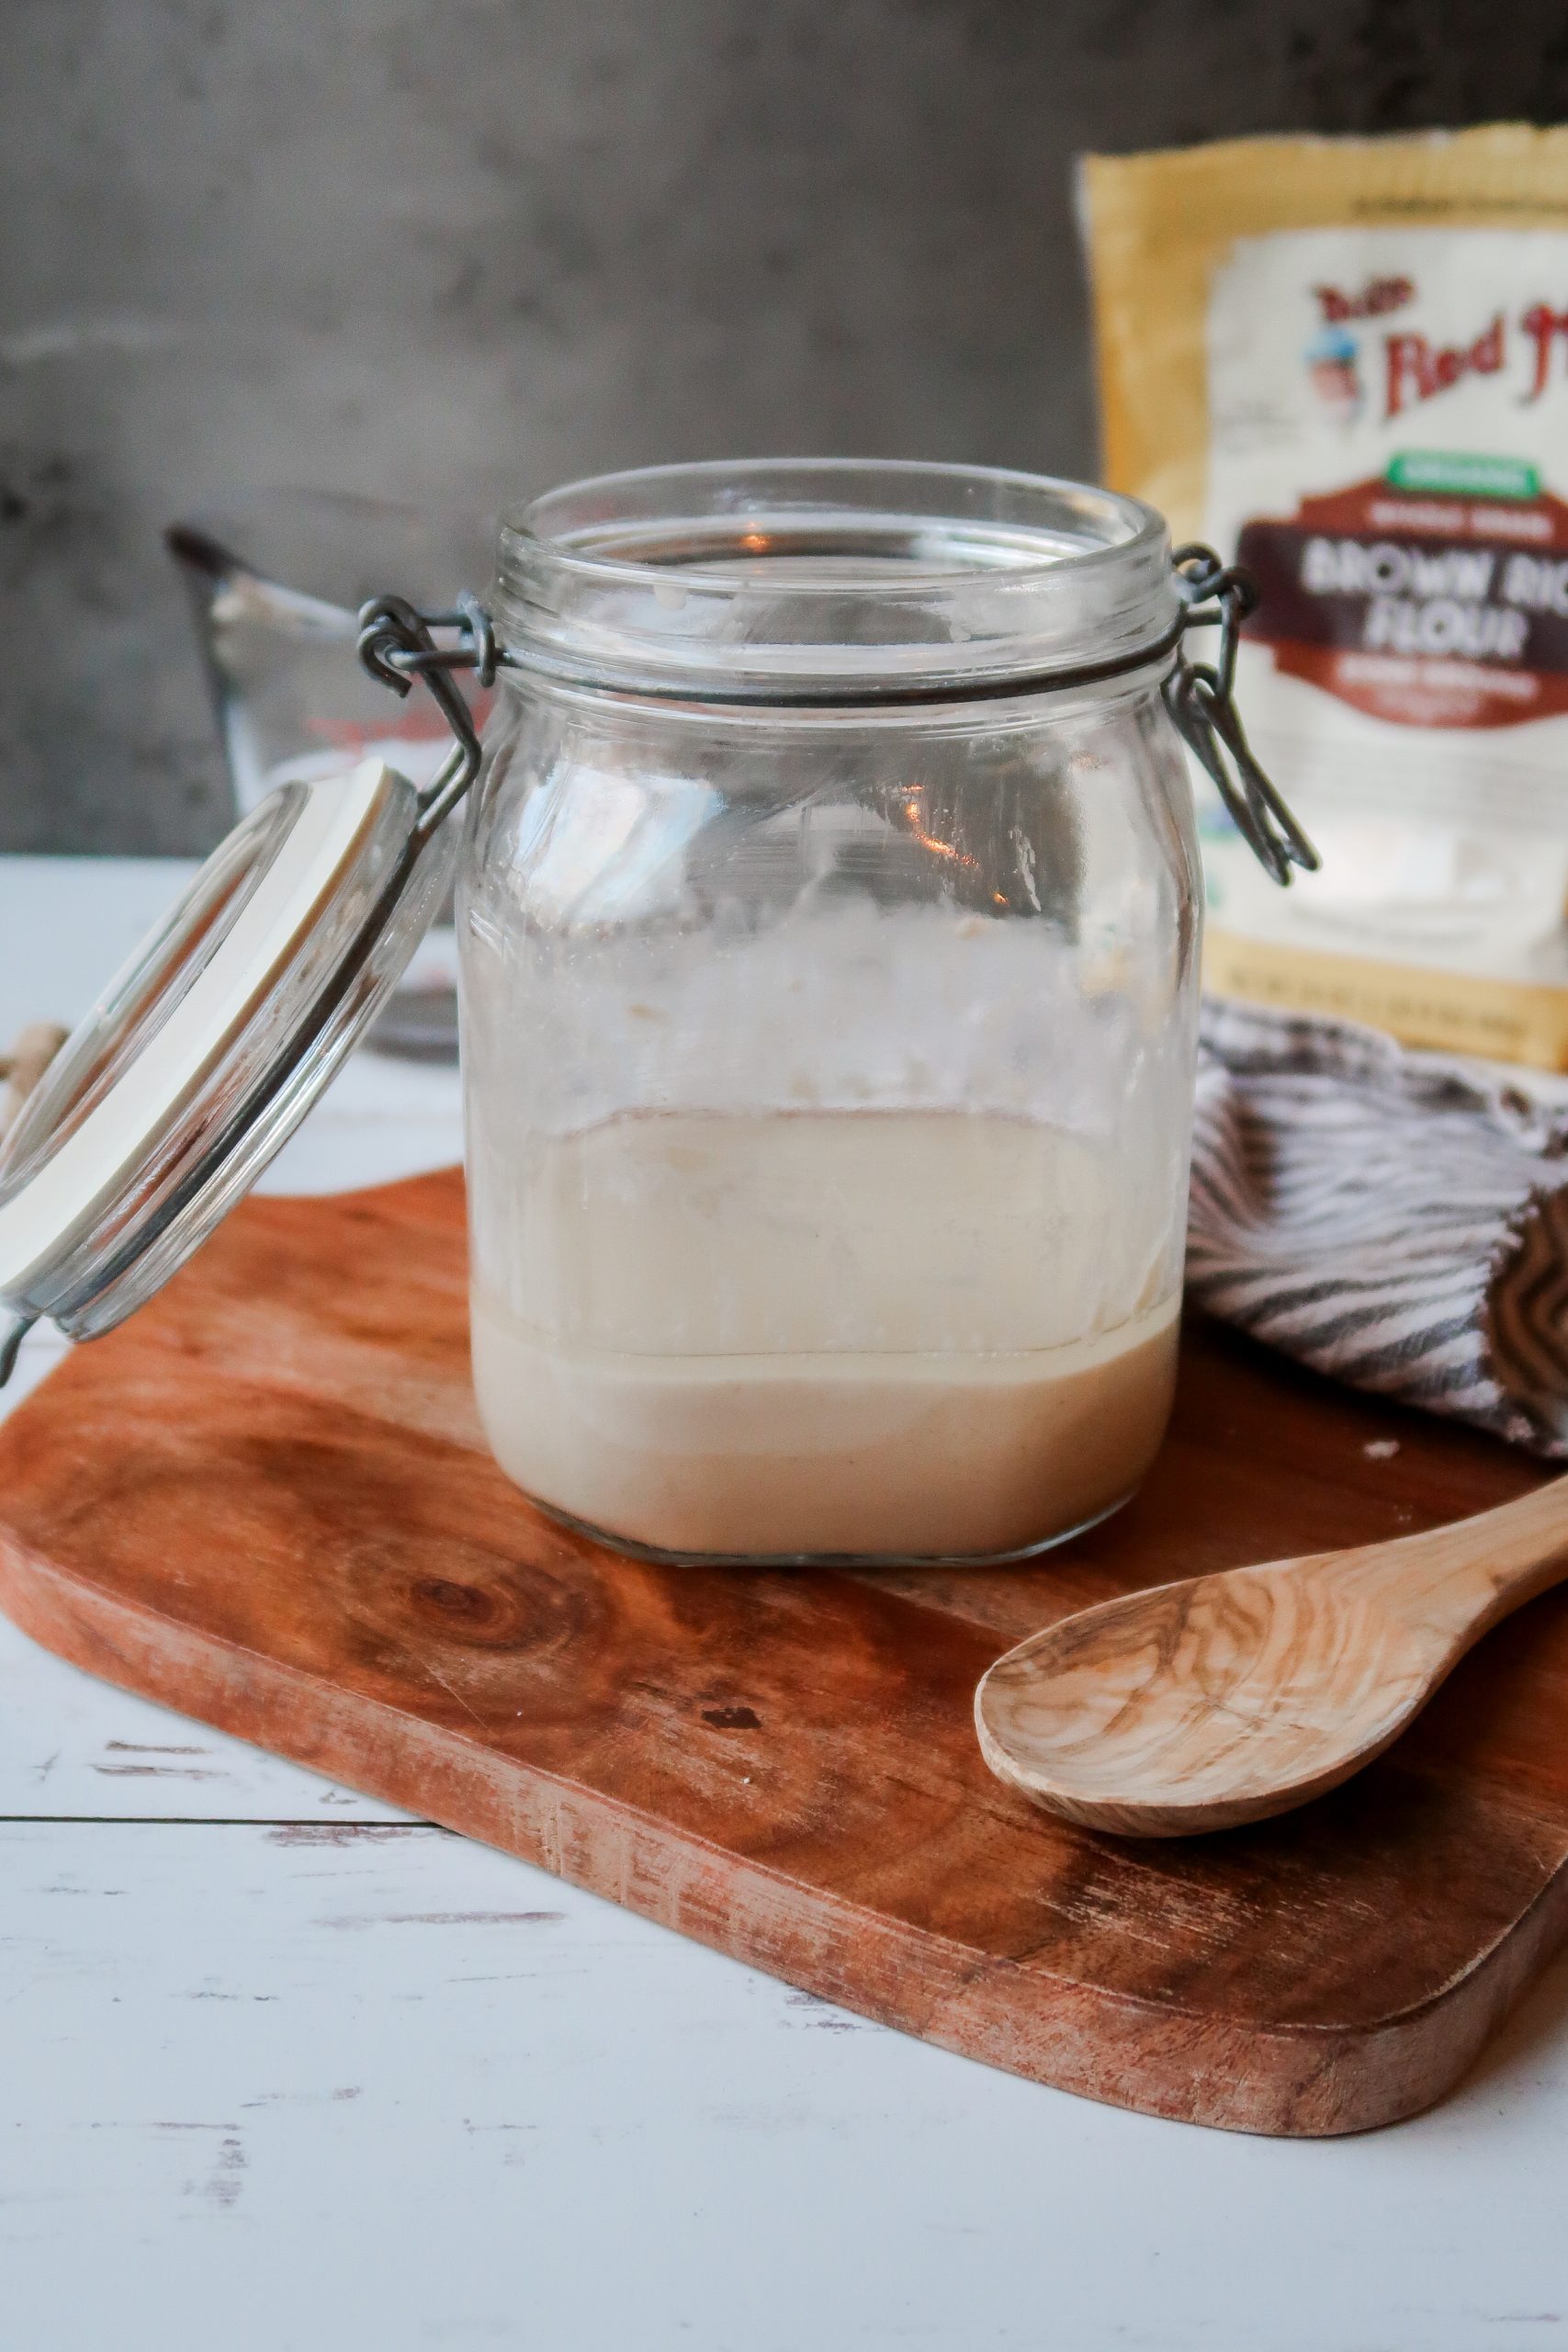
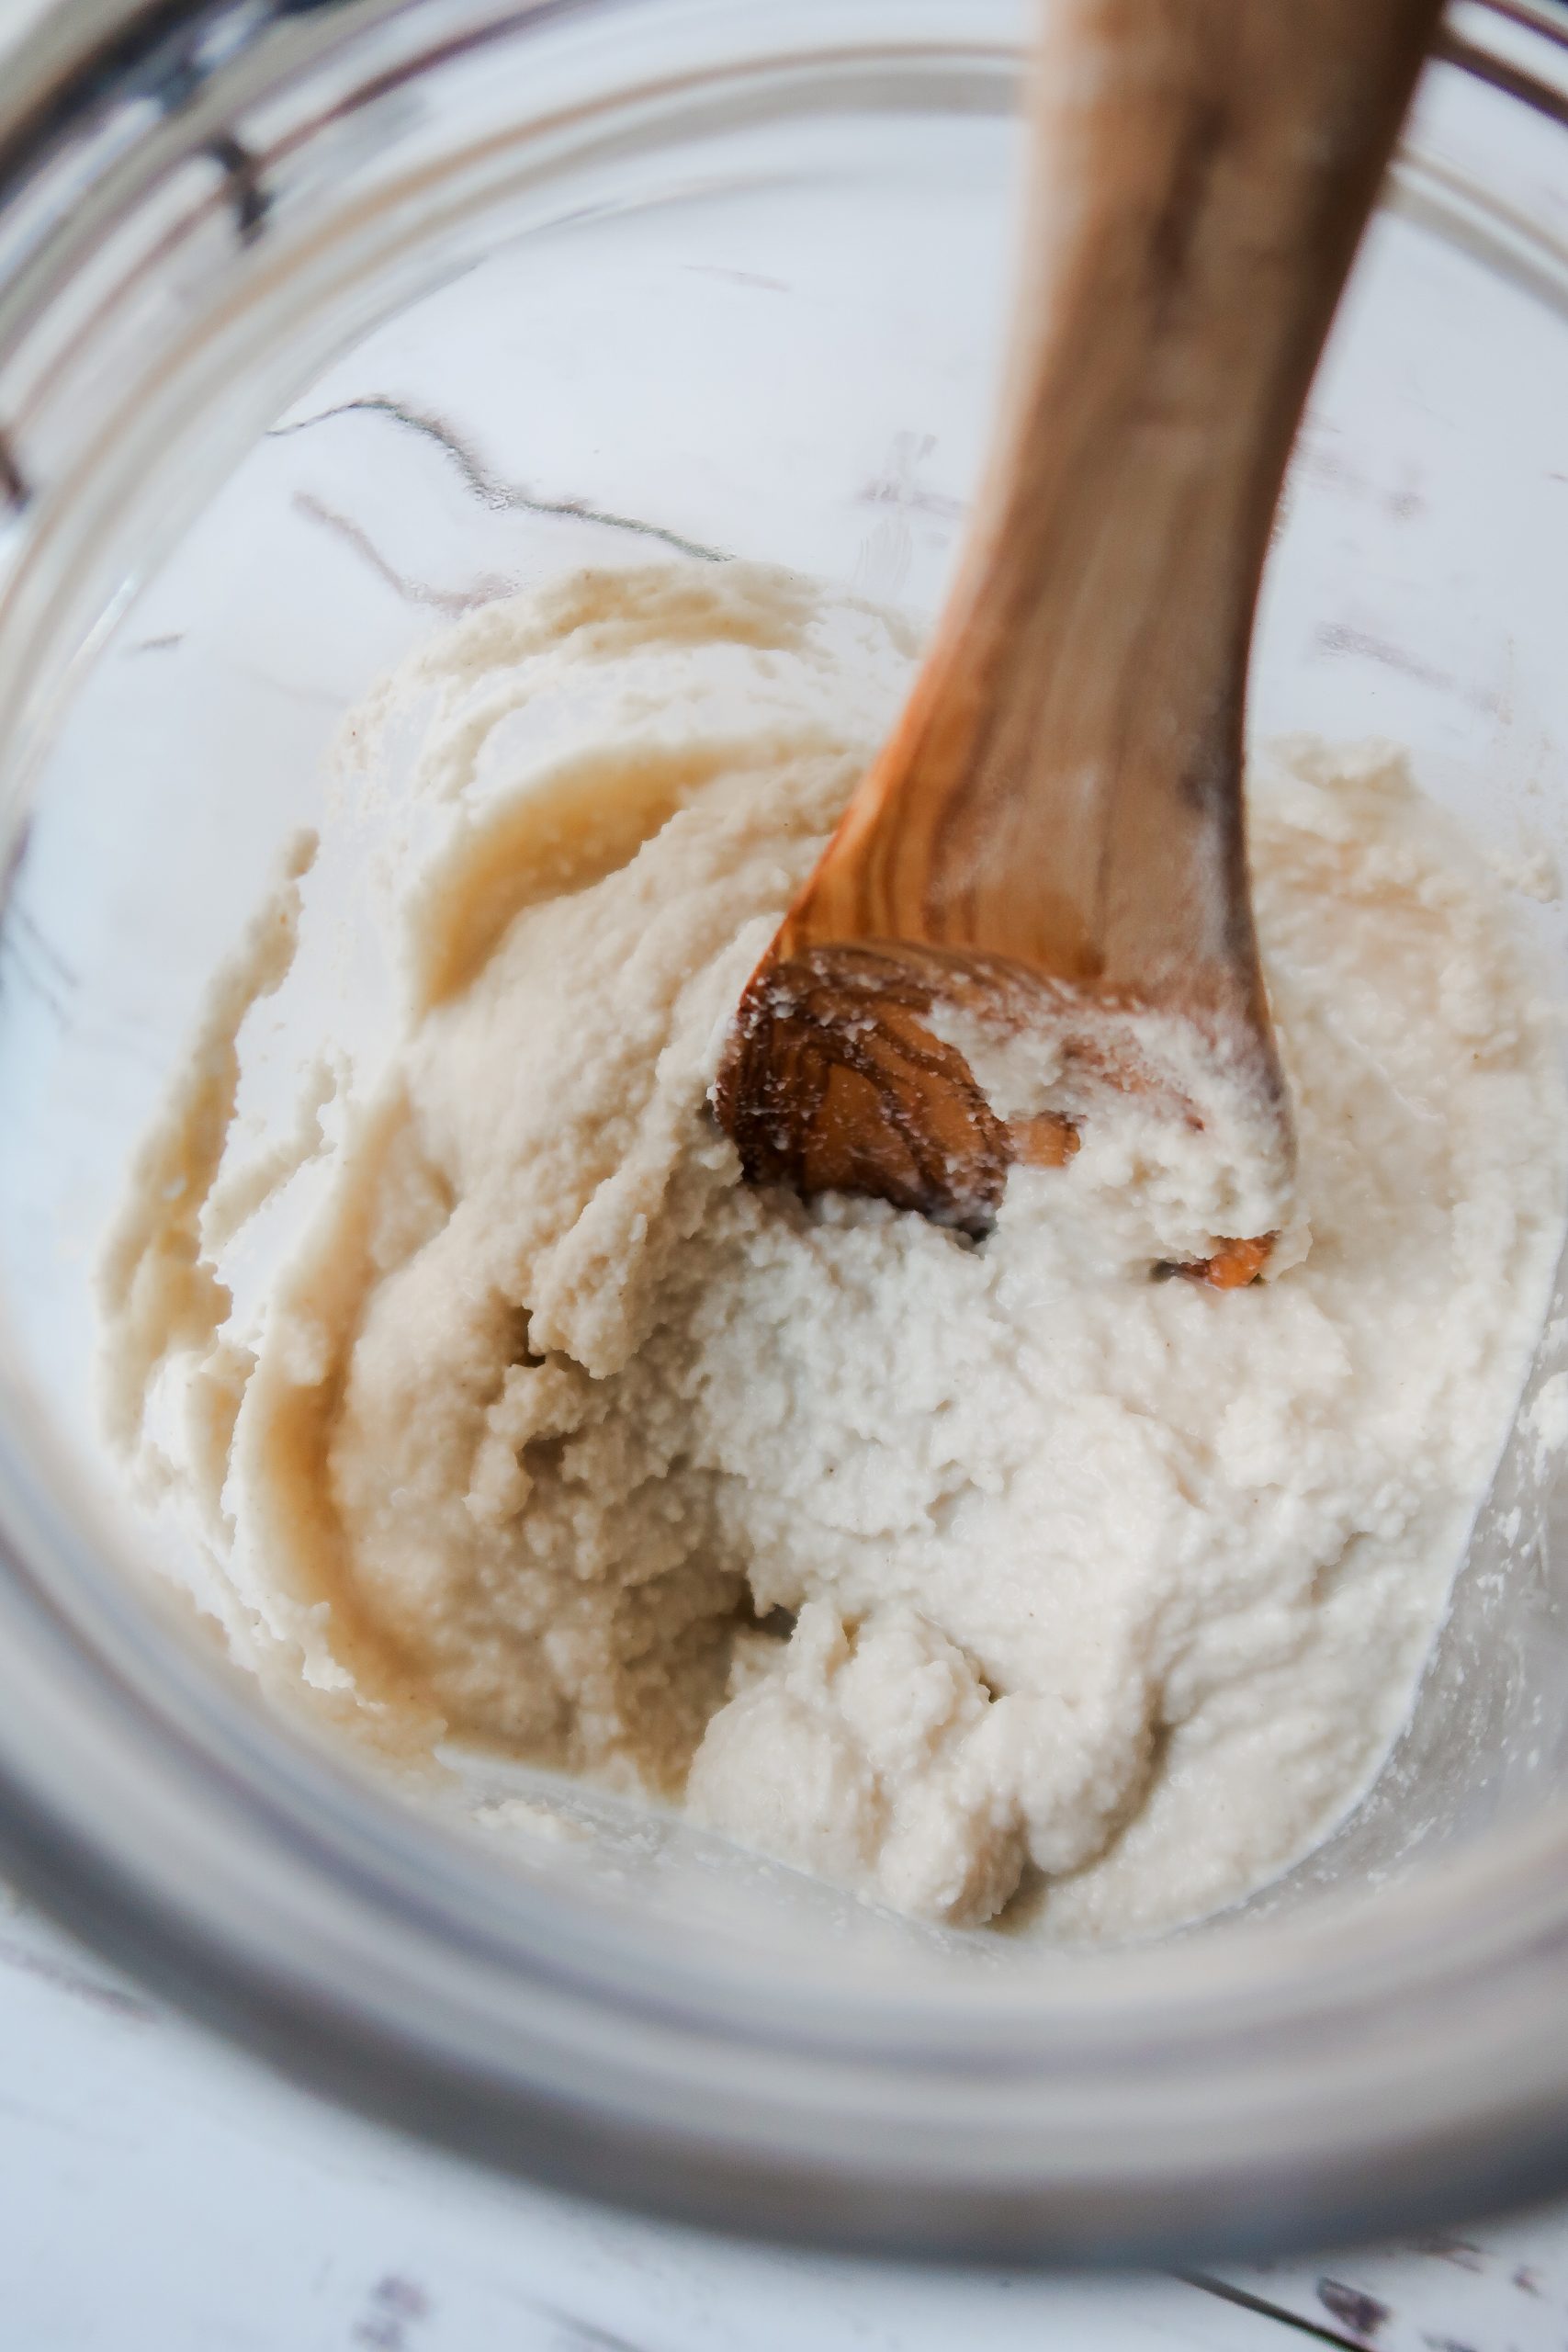
(I completed this step at 6:00 AM, 9 hours later) The starter is now the consistency of pancake batter, maybe a touch thinner, as the instructions state. I'm used to a thicker starter (based on 1:1:1 gram measurements), so it's fascinating to test a different method. I'm looking forward to seeing which consistency performs better.
That said, I do worry that there might be too much water and mold could become a concern. There has been no hooch or water separation as of yet, so I'm going forward with the instructions to the T. There were a lot more bubbles on the surface after feeding.
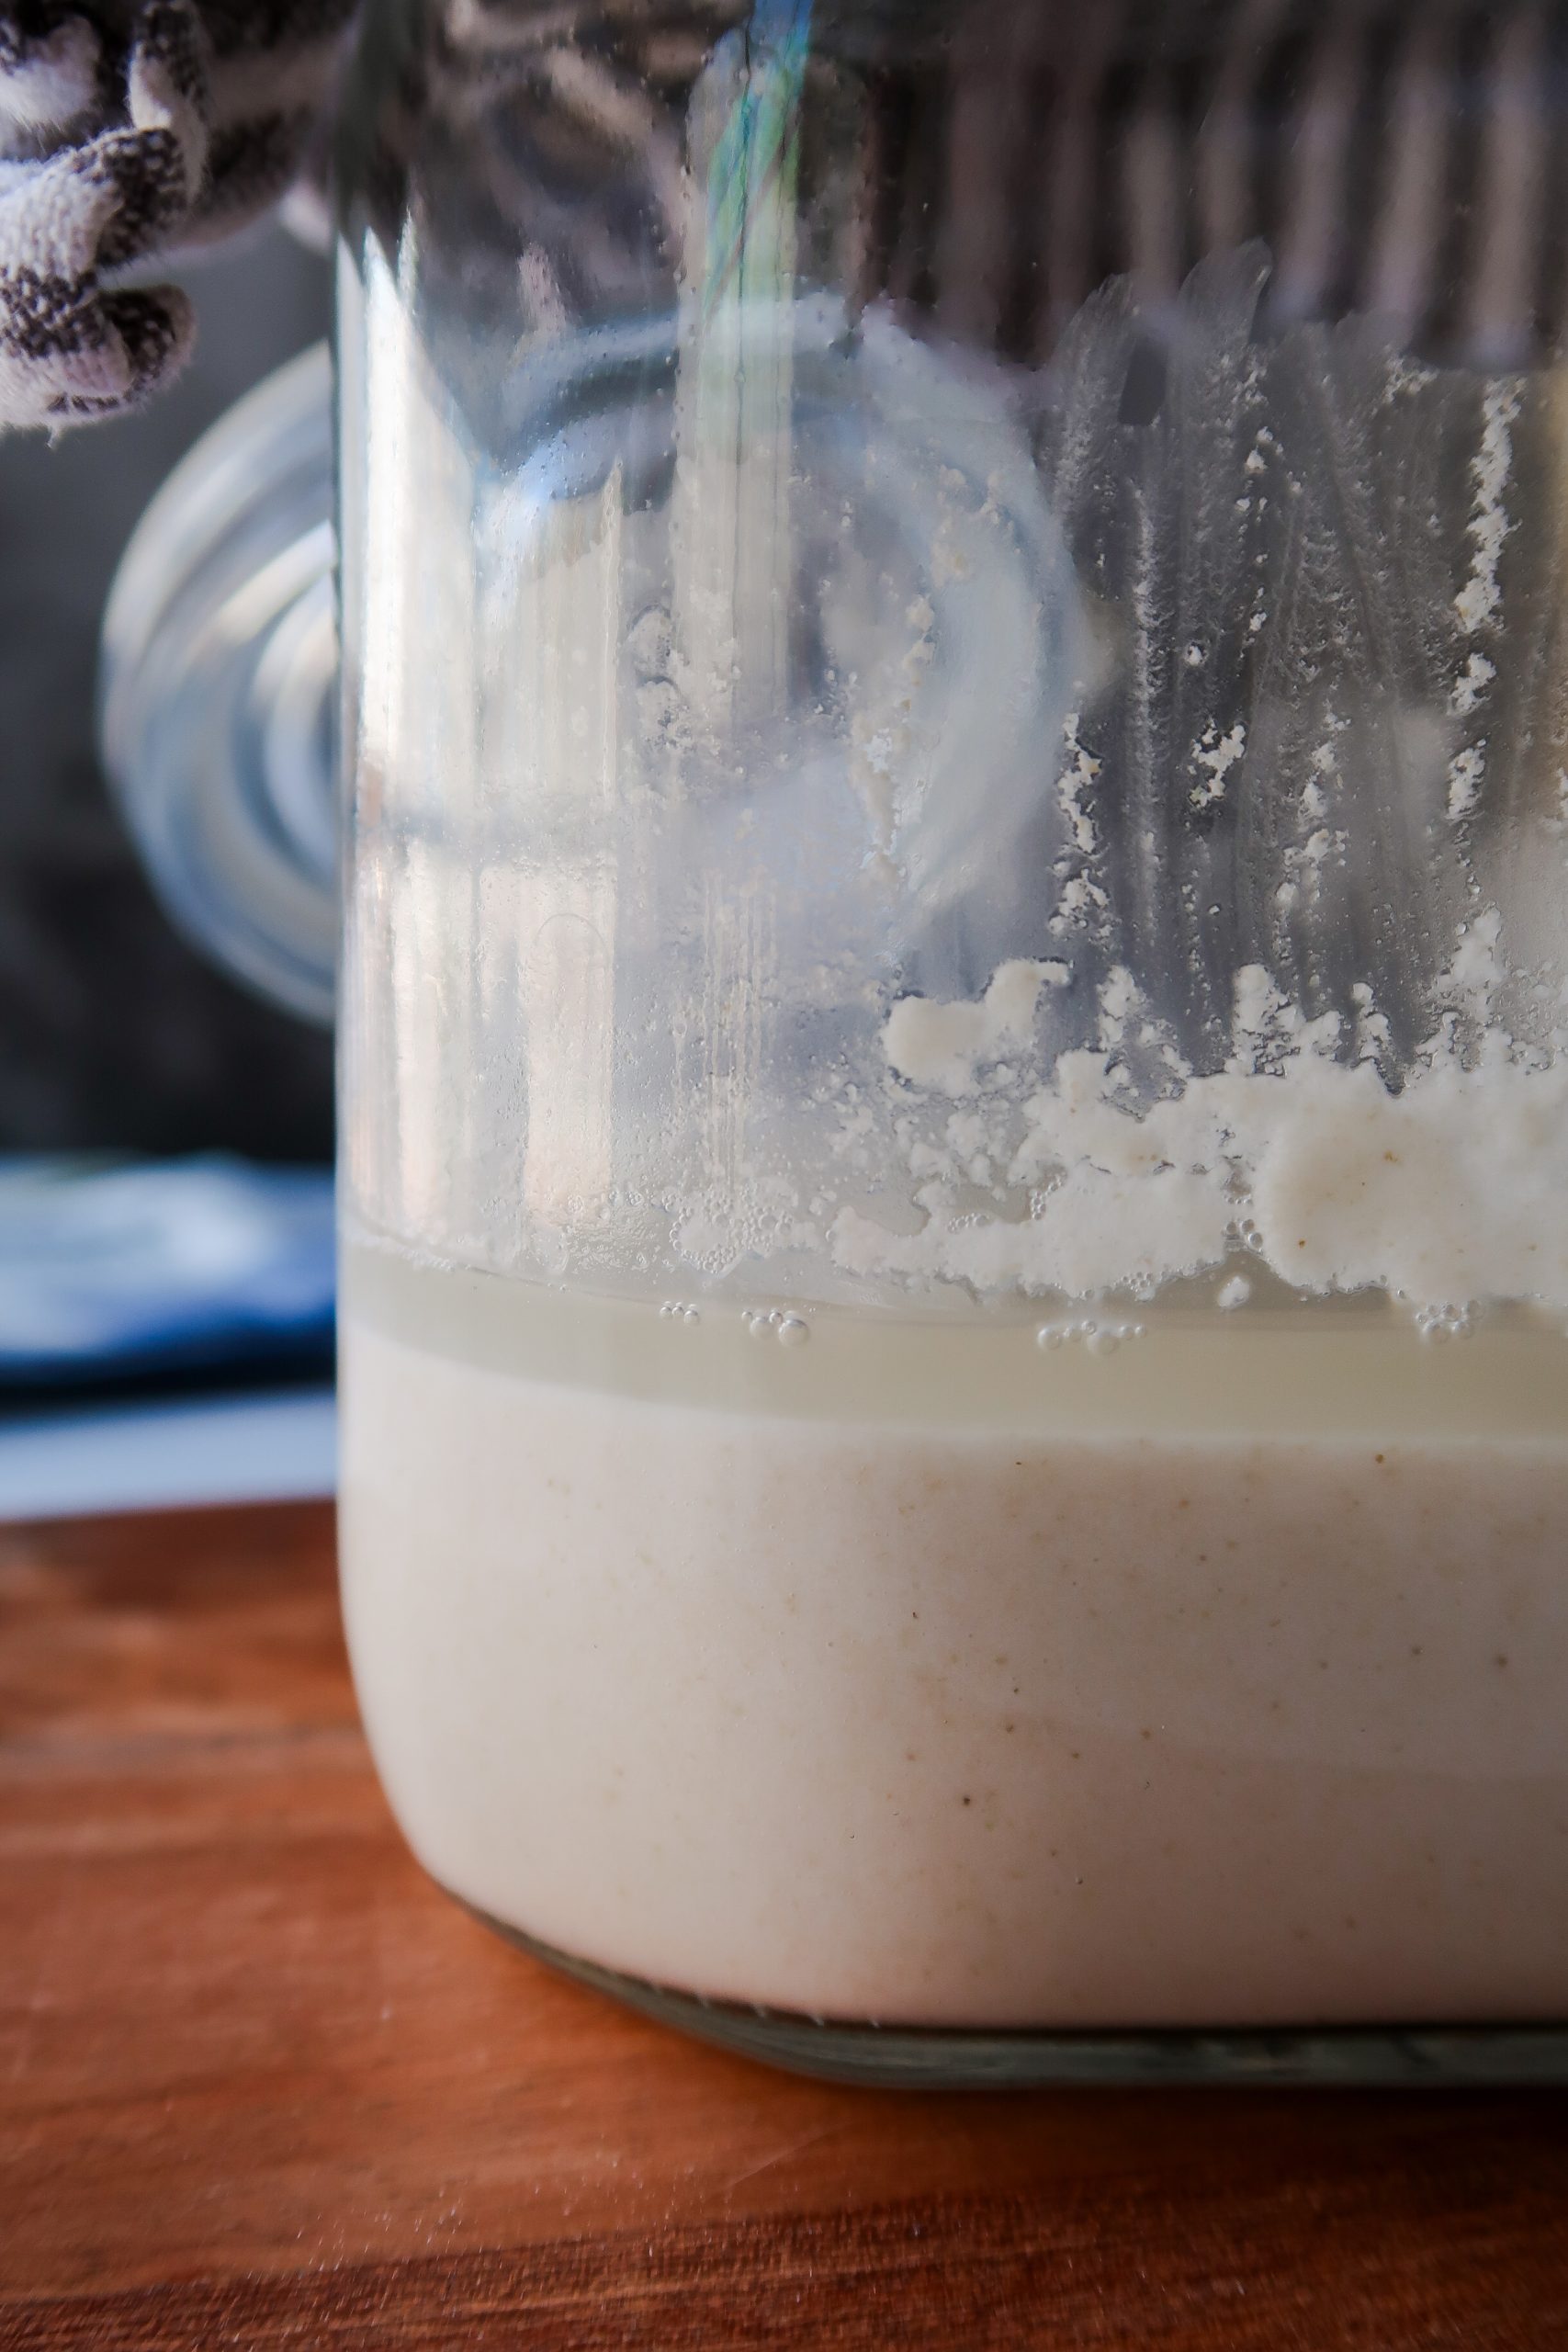
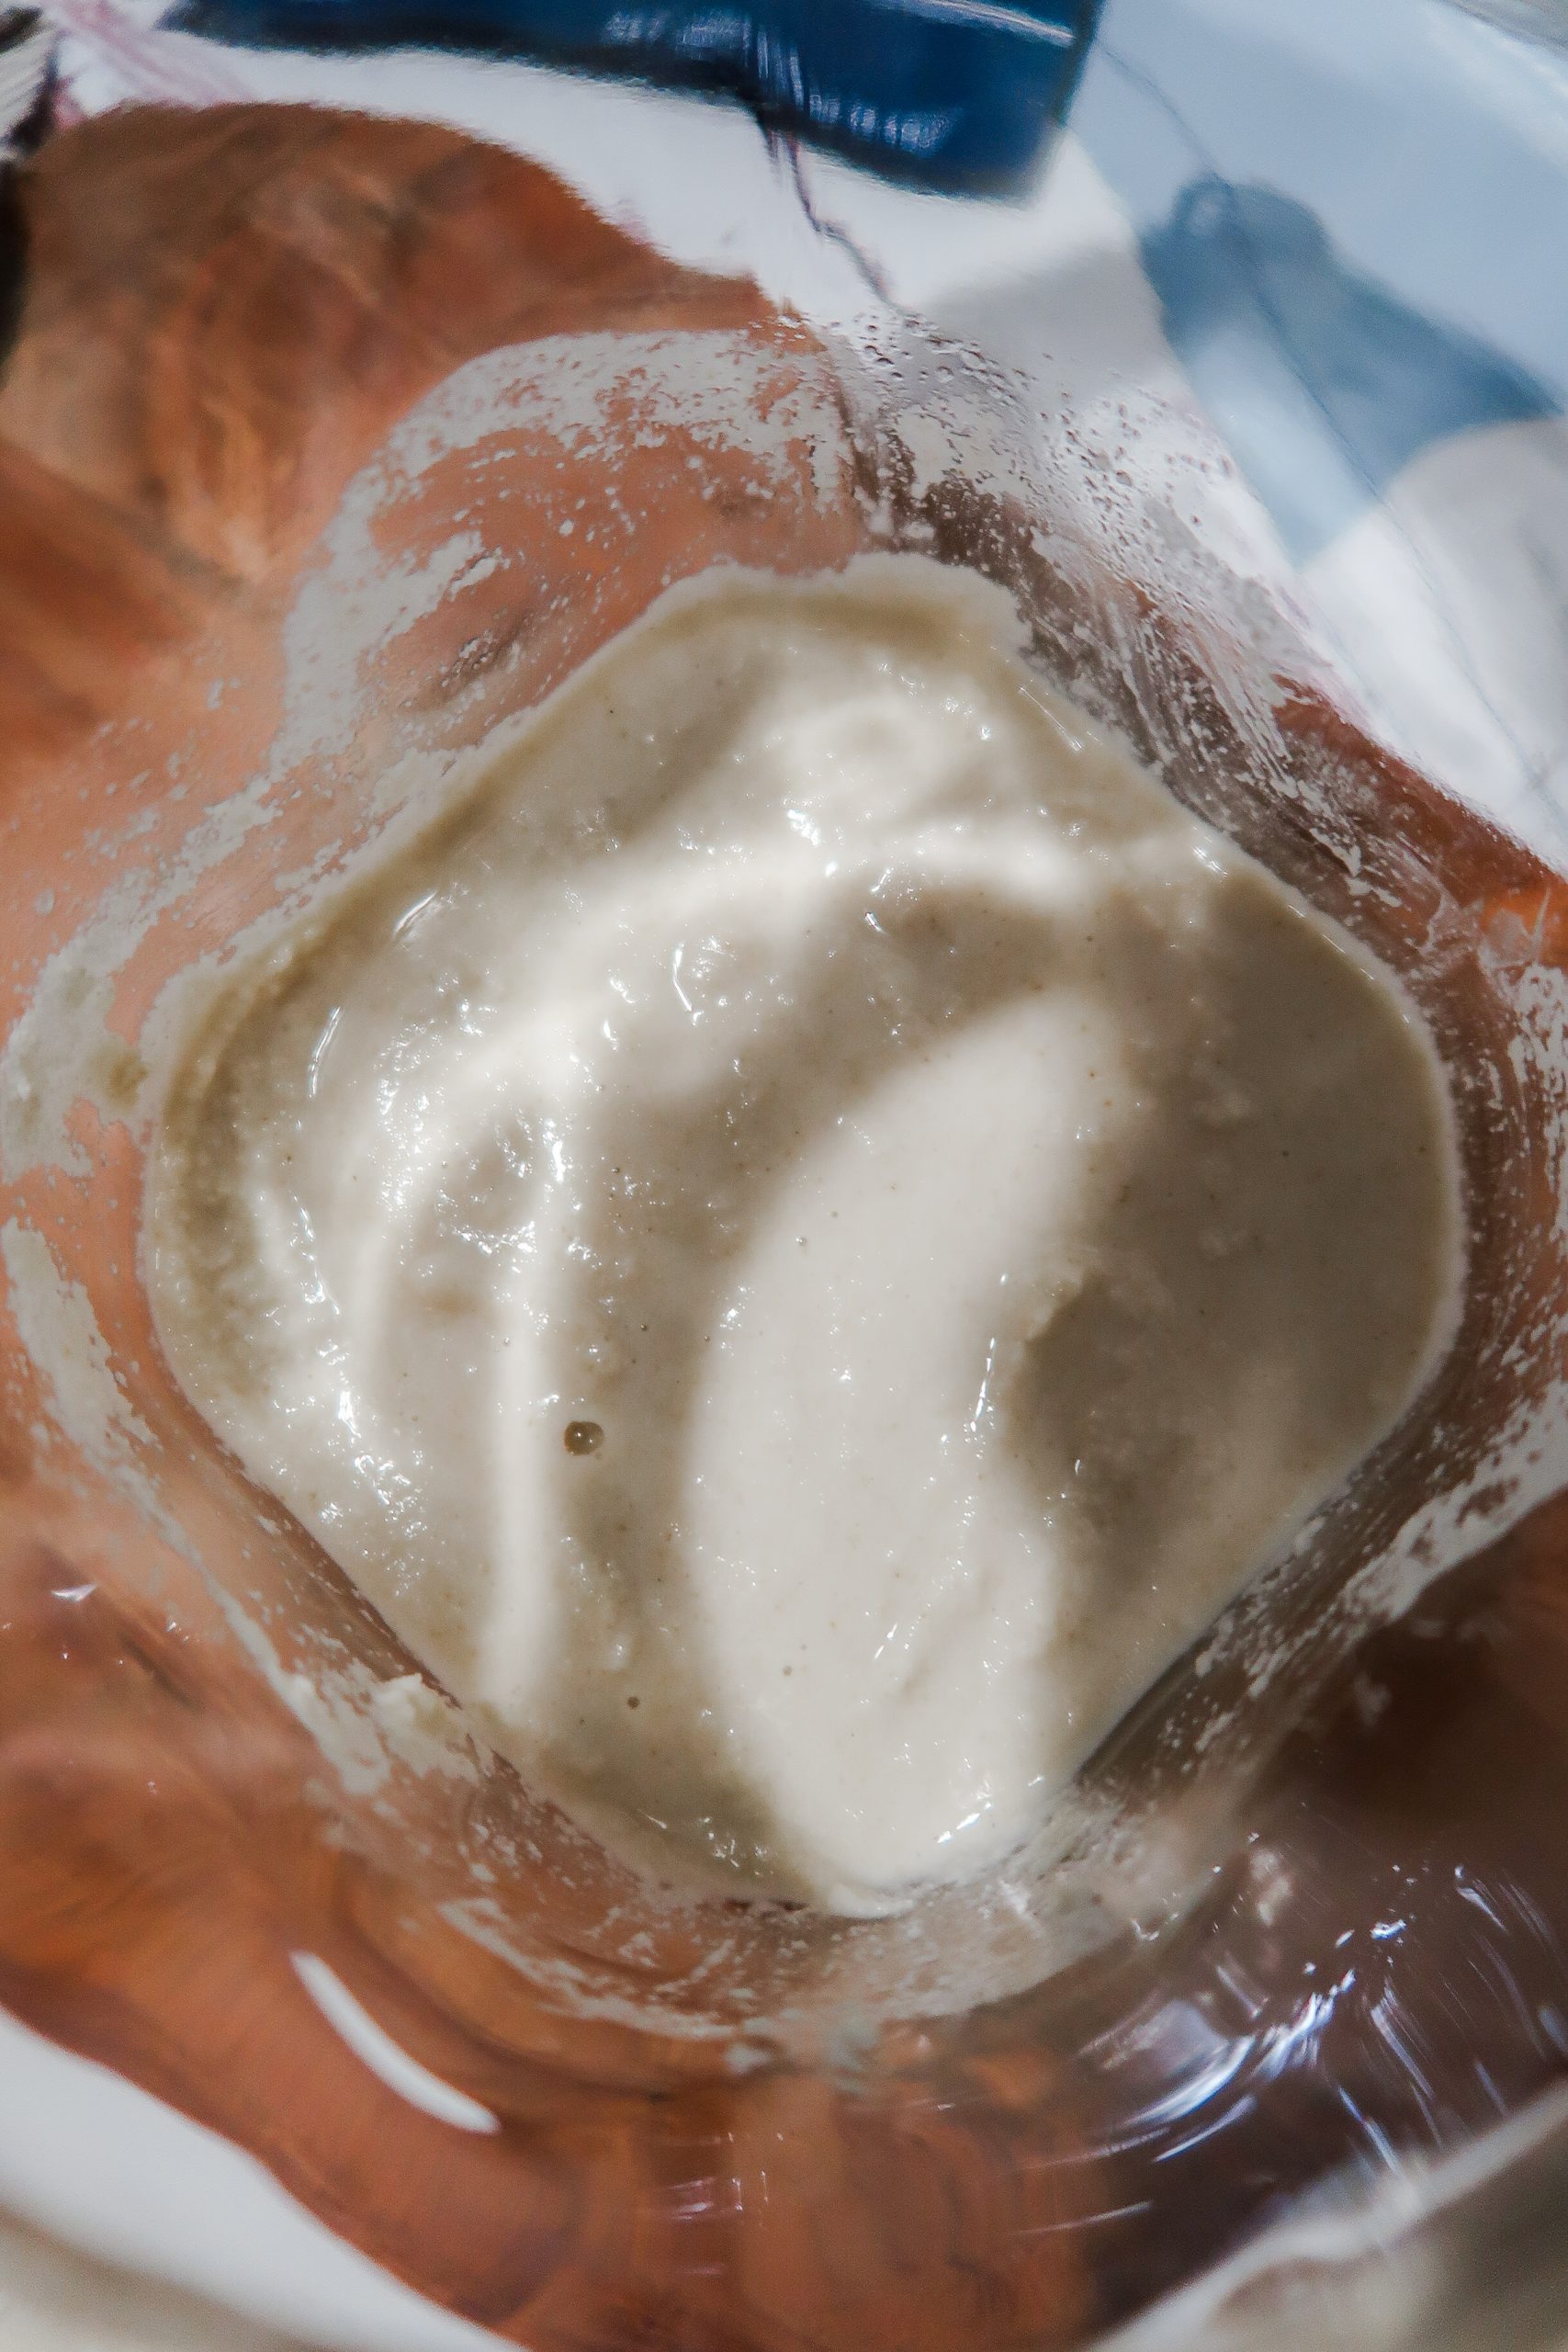
UPDATE: (8:00 AM - two hours later) There is now a good ½-inch layer of water separation on the top of the starter. I think my initial assumption was correct. The pancake consistency appears to be too much water. As an experiment, I'm going to take the weight of ½ cup flour and ½ cup water to find the difference in grams.
½ cup of brown rice flour weighed 70g, and ½ cup of water weighed 112g - not an equal ratio as it would seem to be.
I measured the weight of ⅓ cup of water, which came out to be just over 70g. Going forward, I will likely be switching to ½ cup of flour and ⅓ cup of water
Second Feeding:
The gluten free sourdough starter has completed its first 24-hours. Time for the first discard!
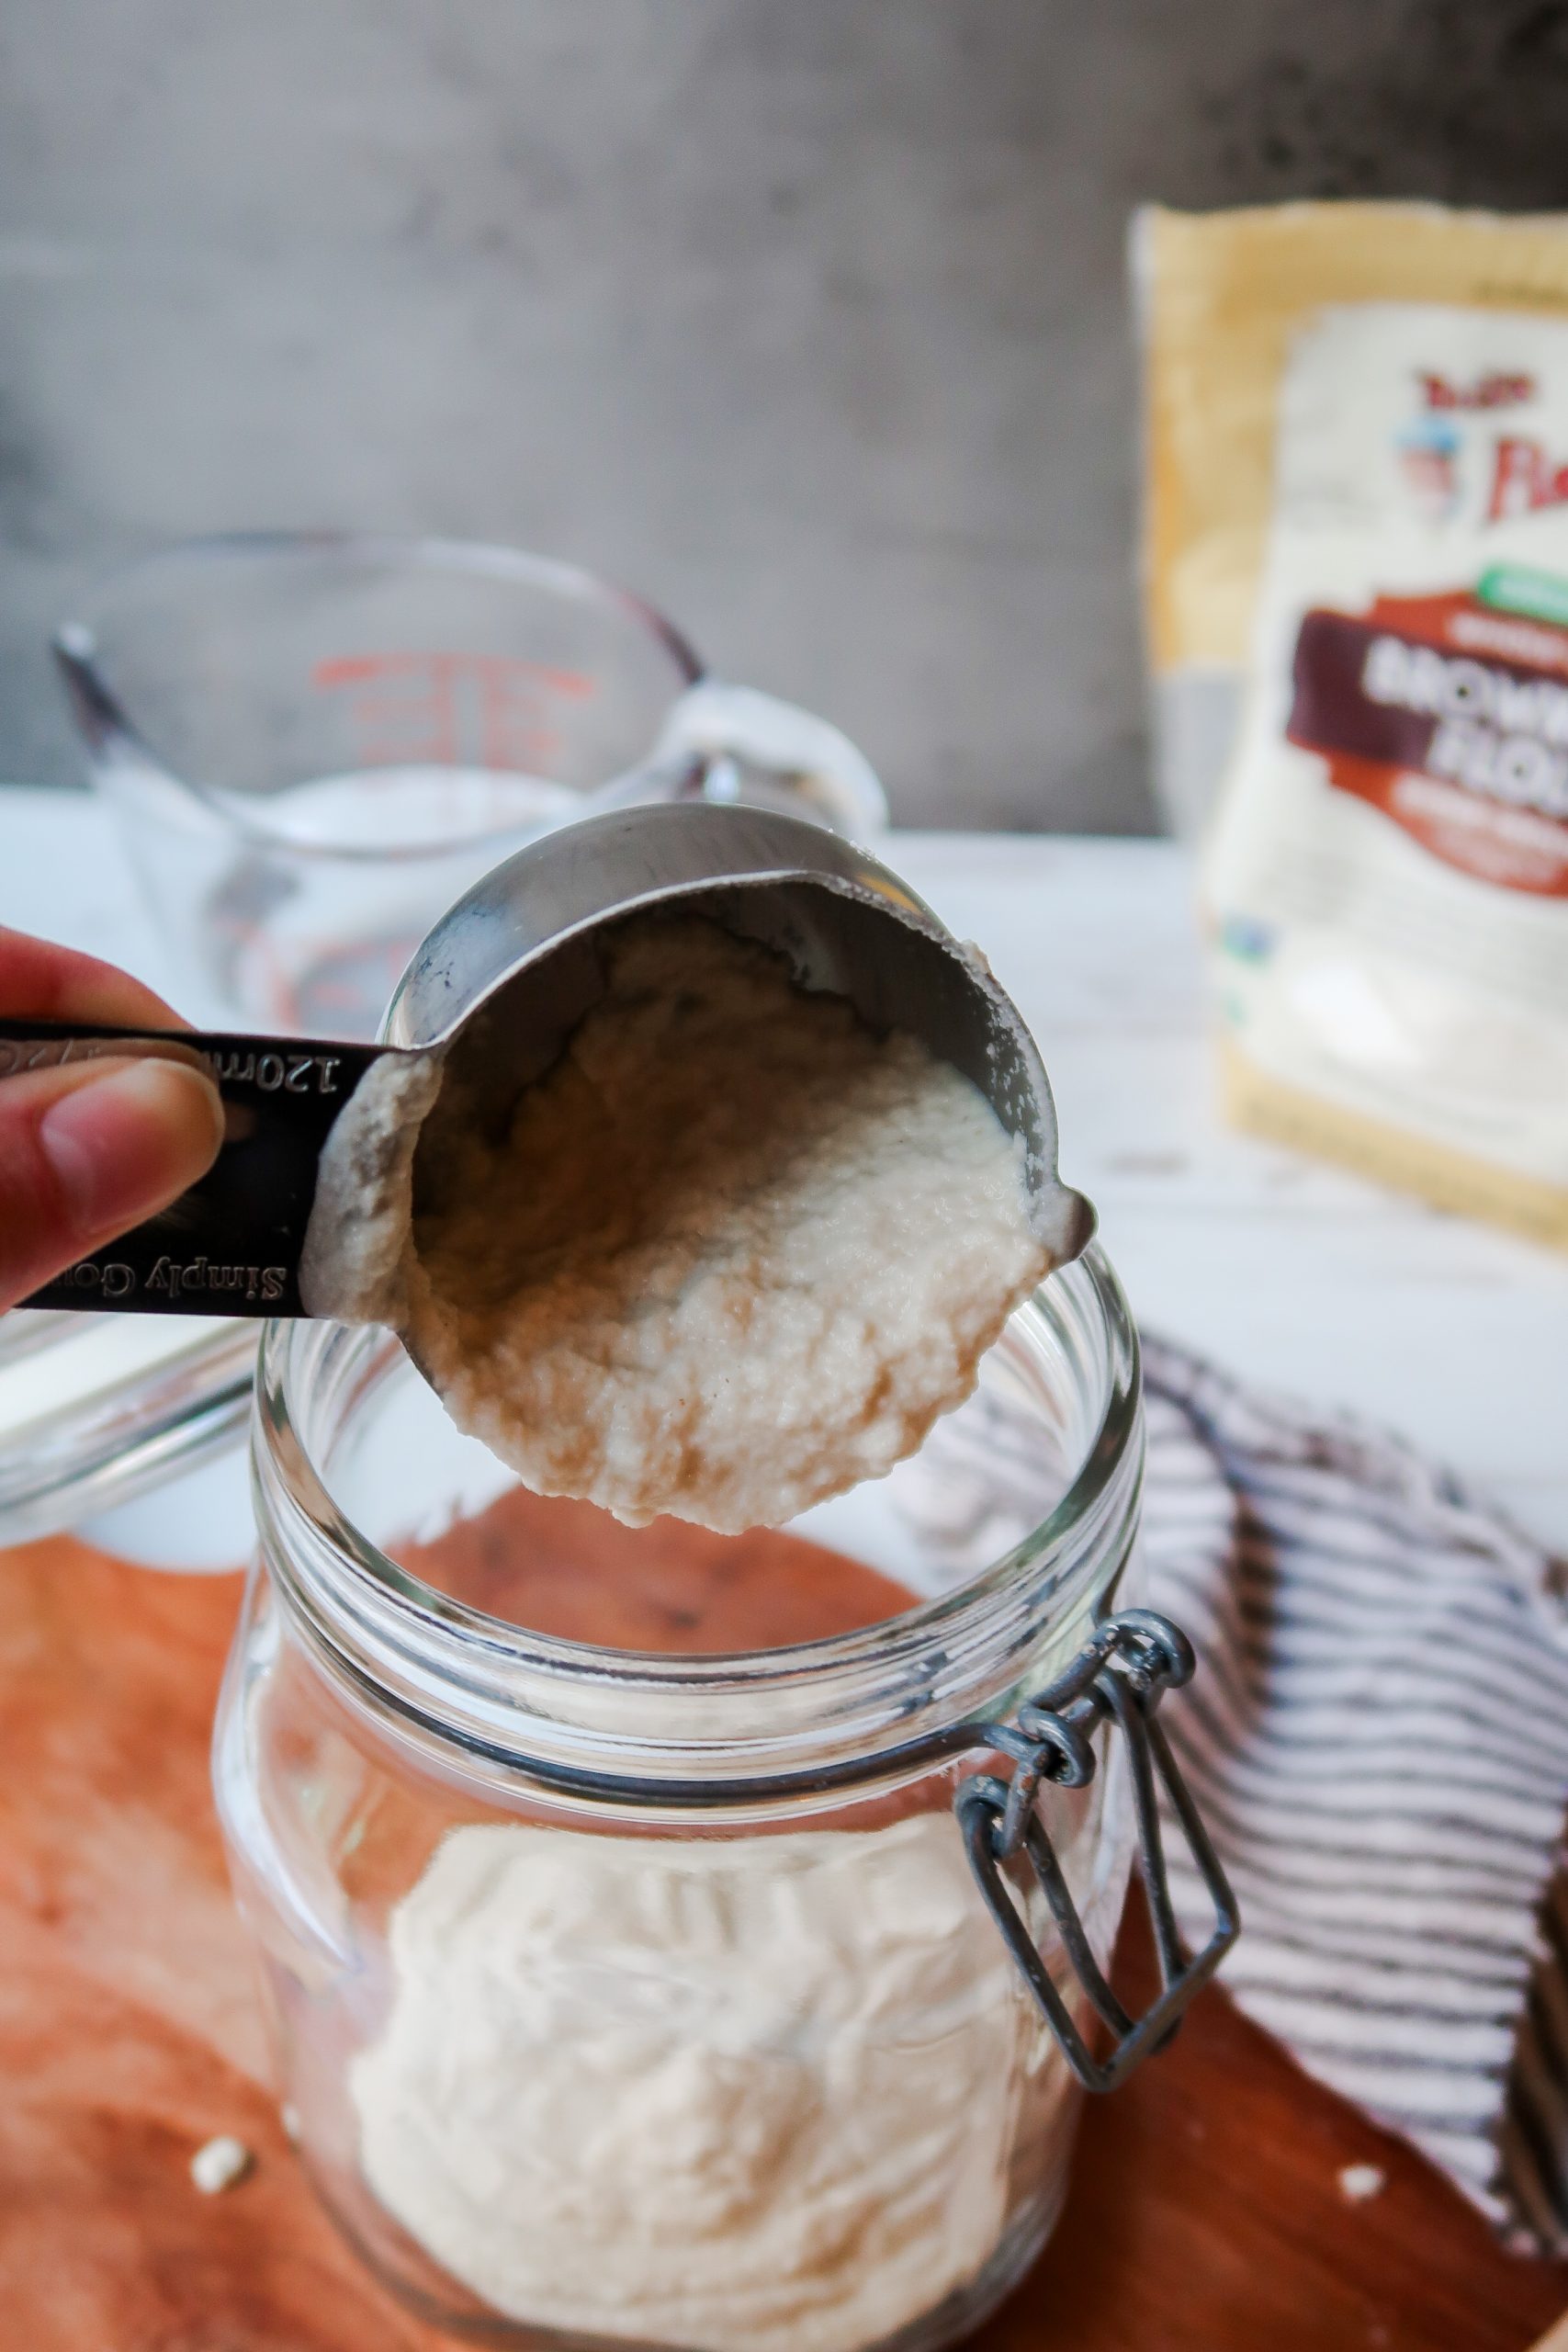
- Discard the starter down to ½ cup. I spooned ½ cup of the discard into a measuring cup and set it aside, then scraped out and threw out what was left in the jar, and then added the reserved ½ cup portion back to the jar.
- Feed ⅓ cup water and ½ cup flour. Note that I will be going rogue from here on out, feeding ⅓ cup of water instead of ½ cup due to severe water separation issues. To make this easily understandable, I will just be saying ⅓ cup from here on out - but know that the instructions call for ½.
- Stir thoroughly.
- Scrape down the sides of the jar.
- Cover and set aside.
Observations:
(I completed this step at 2 PM) Discarding was a little bit difficult to figure out how to perform without too much mess and cleanup. I recommend scooping the starter into a ½ cup measuring cup, setting aside to save, and then discarding everything else in the jar. This is a really good opportunity to clean the jar or switch to a new one. Spoon the ½ cup starter back into the jar, then feed as normal. I threw out the discard because there is currently no fermented or pleasant smell to indicate it's safe to use.
The ½ cup of reserved starter is still too watery, so it sort of watered down the new ratio. I think it's going to take a couple of feedings to correct the over hydration issue.
The instructions will be the same from here on out, every 4 to 8 hours for the next 3 to 7 days until the starter is bubbling and rising regularly after feeding.
Third Feeding:
- After another 4 to 8 hours, discard the starter down to ½ cup.
- Feed ⅓ cup water and ½ cup flour.
- Stir thoroughly.
- Scrape down the sides of the jar.
- Cover and set aside.
Day Three
Observations:
(6 AM) There is still water separation, but much less. I think after another 1 to 2 feedings, the starter will be at the right consistency. No bubbles. This is a great representation of why gluten-free starters perform best at an exact 1:1:1 ratio.
First Feeding:
- Discard the starter down to ½ cup.
- Feed ⅓ cup water and ½ cup flour.

- Stir thoroughly.
- Scrape down the sides of the jar.
- Cover and set aside.
I decided to clean the jar and switch to a new clean scrap of fabric at the time of discarding.
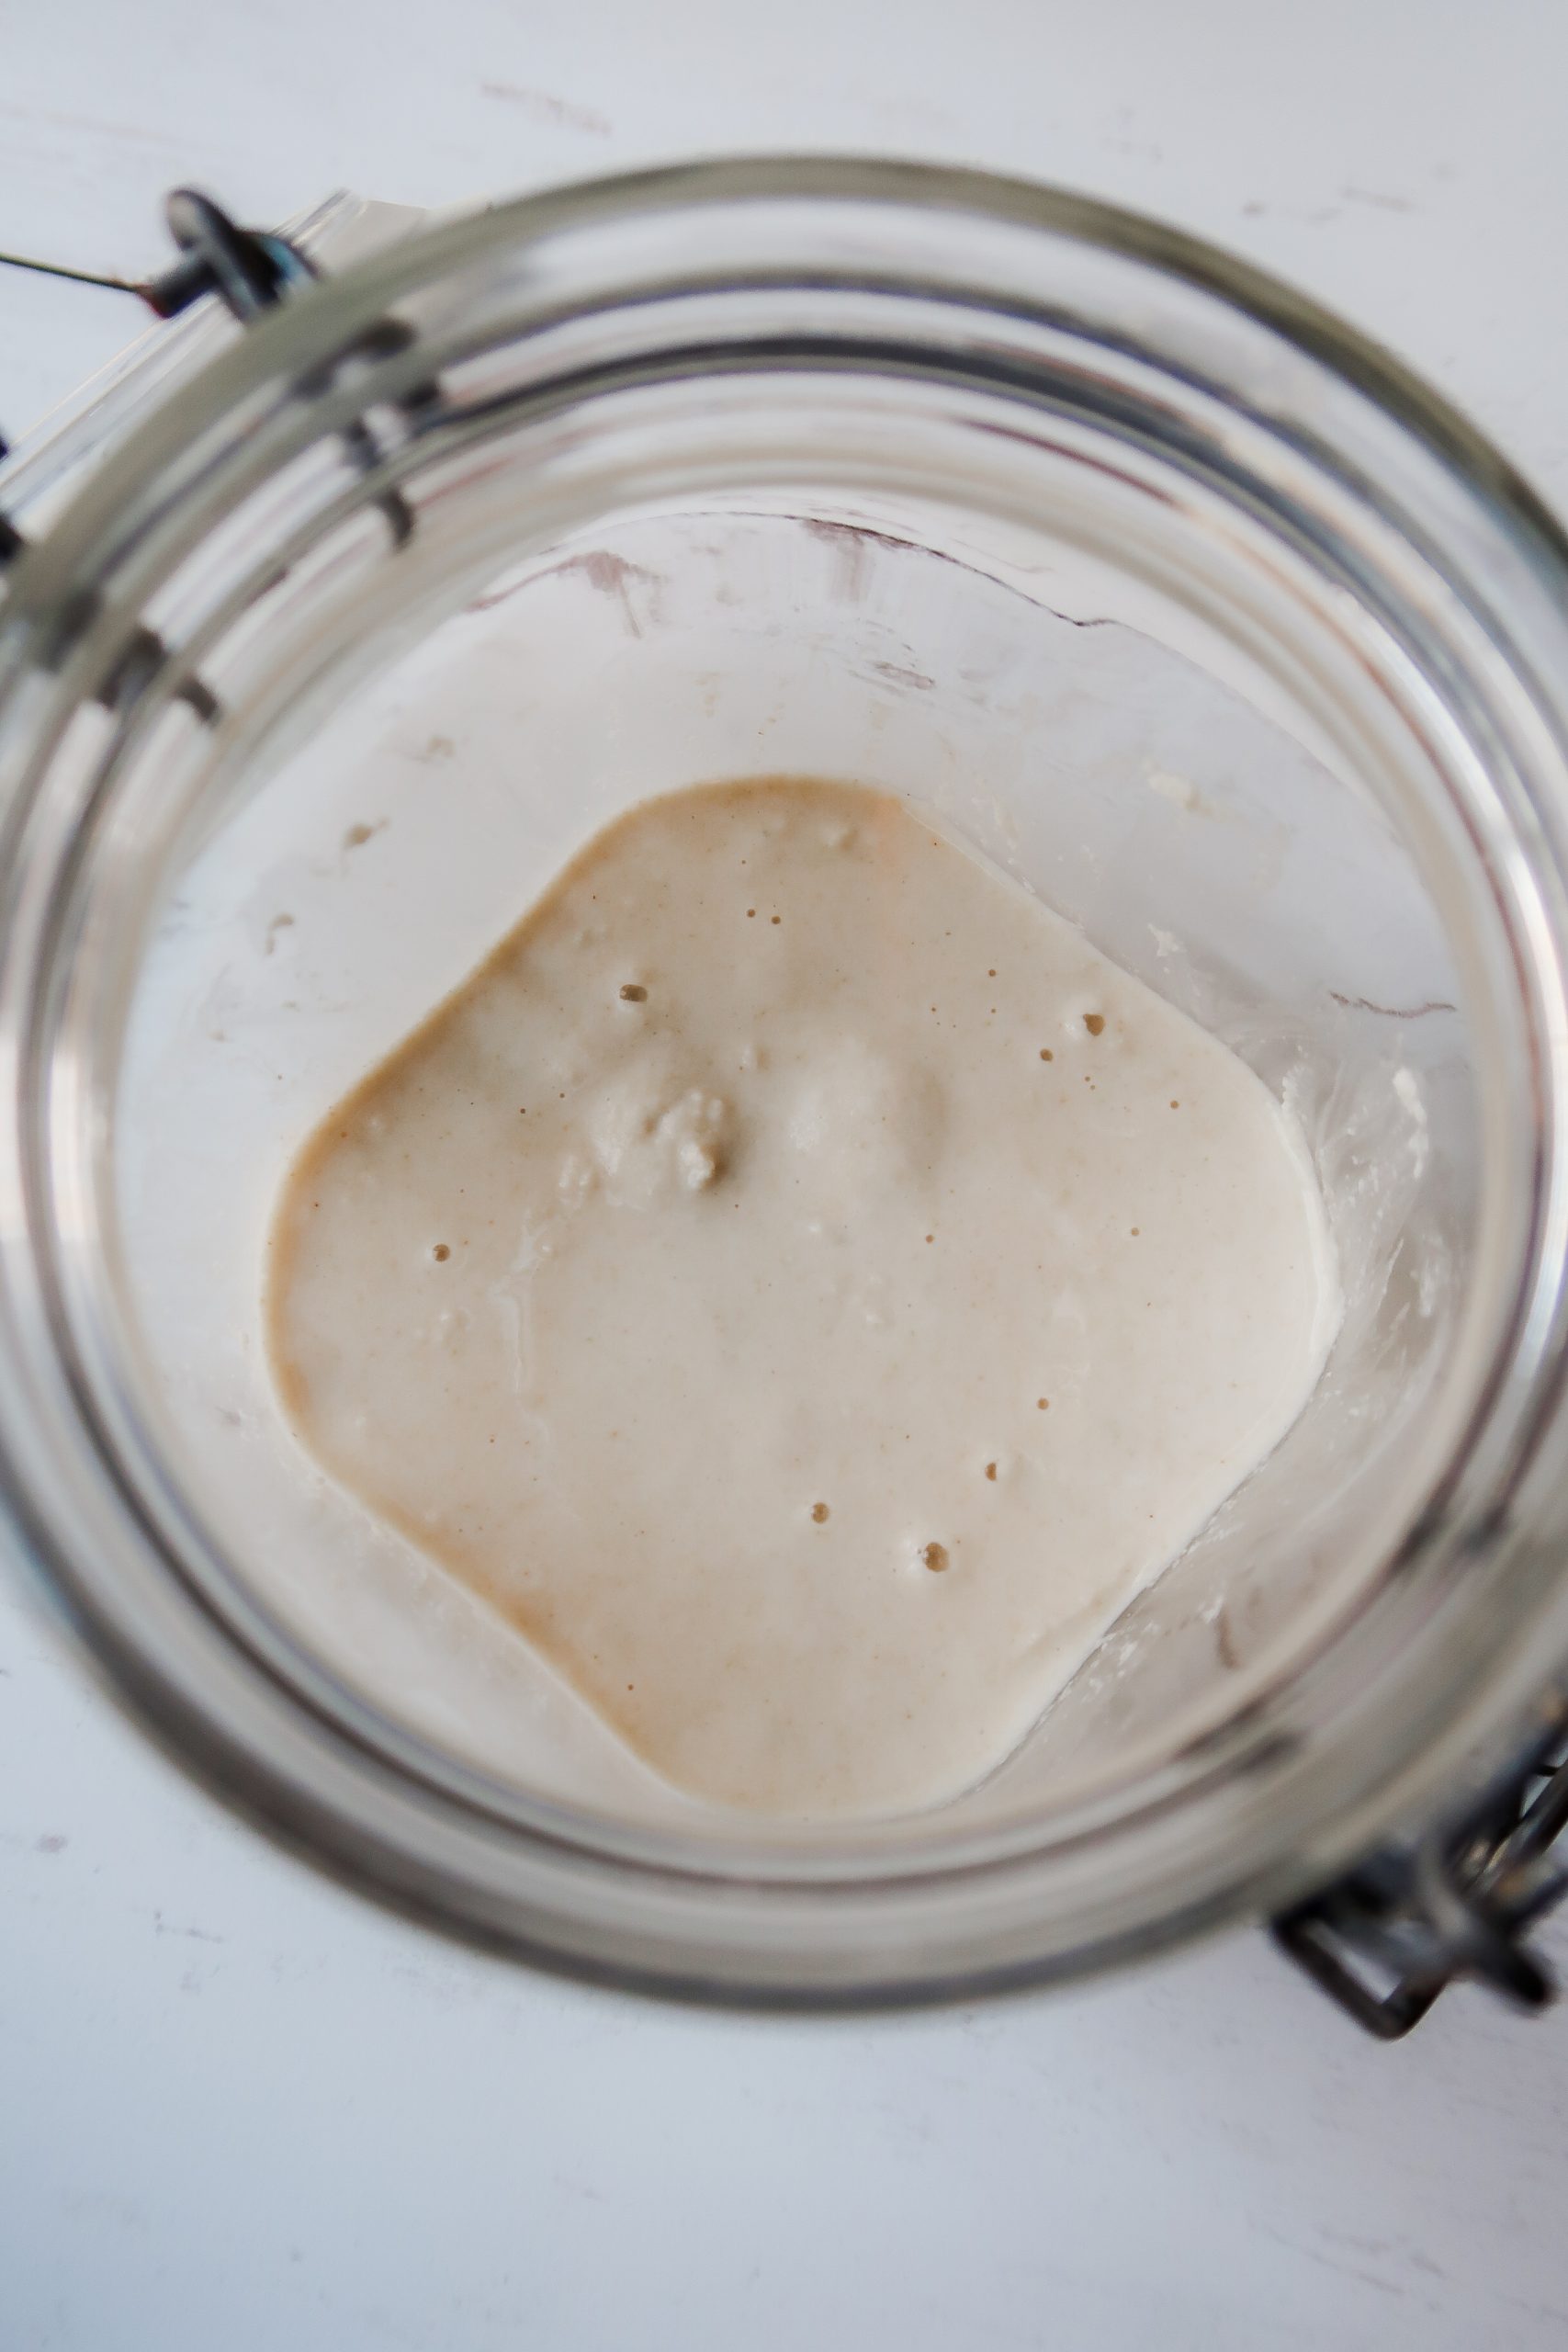
The consistency is a lot closer to what I'm used to. It's thick and pasty while stirred, but it settles to a nice flat top that almost appears to be a liquid. There are a few bubbles on the surface.
Second Feeding:
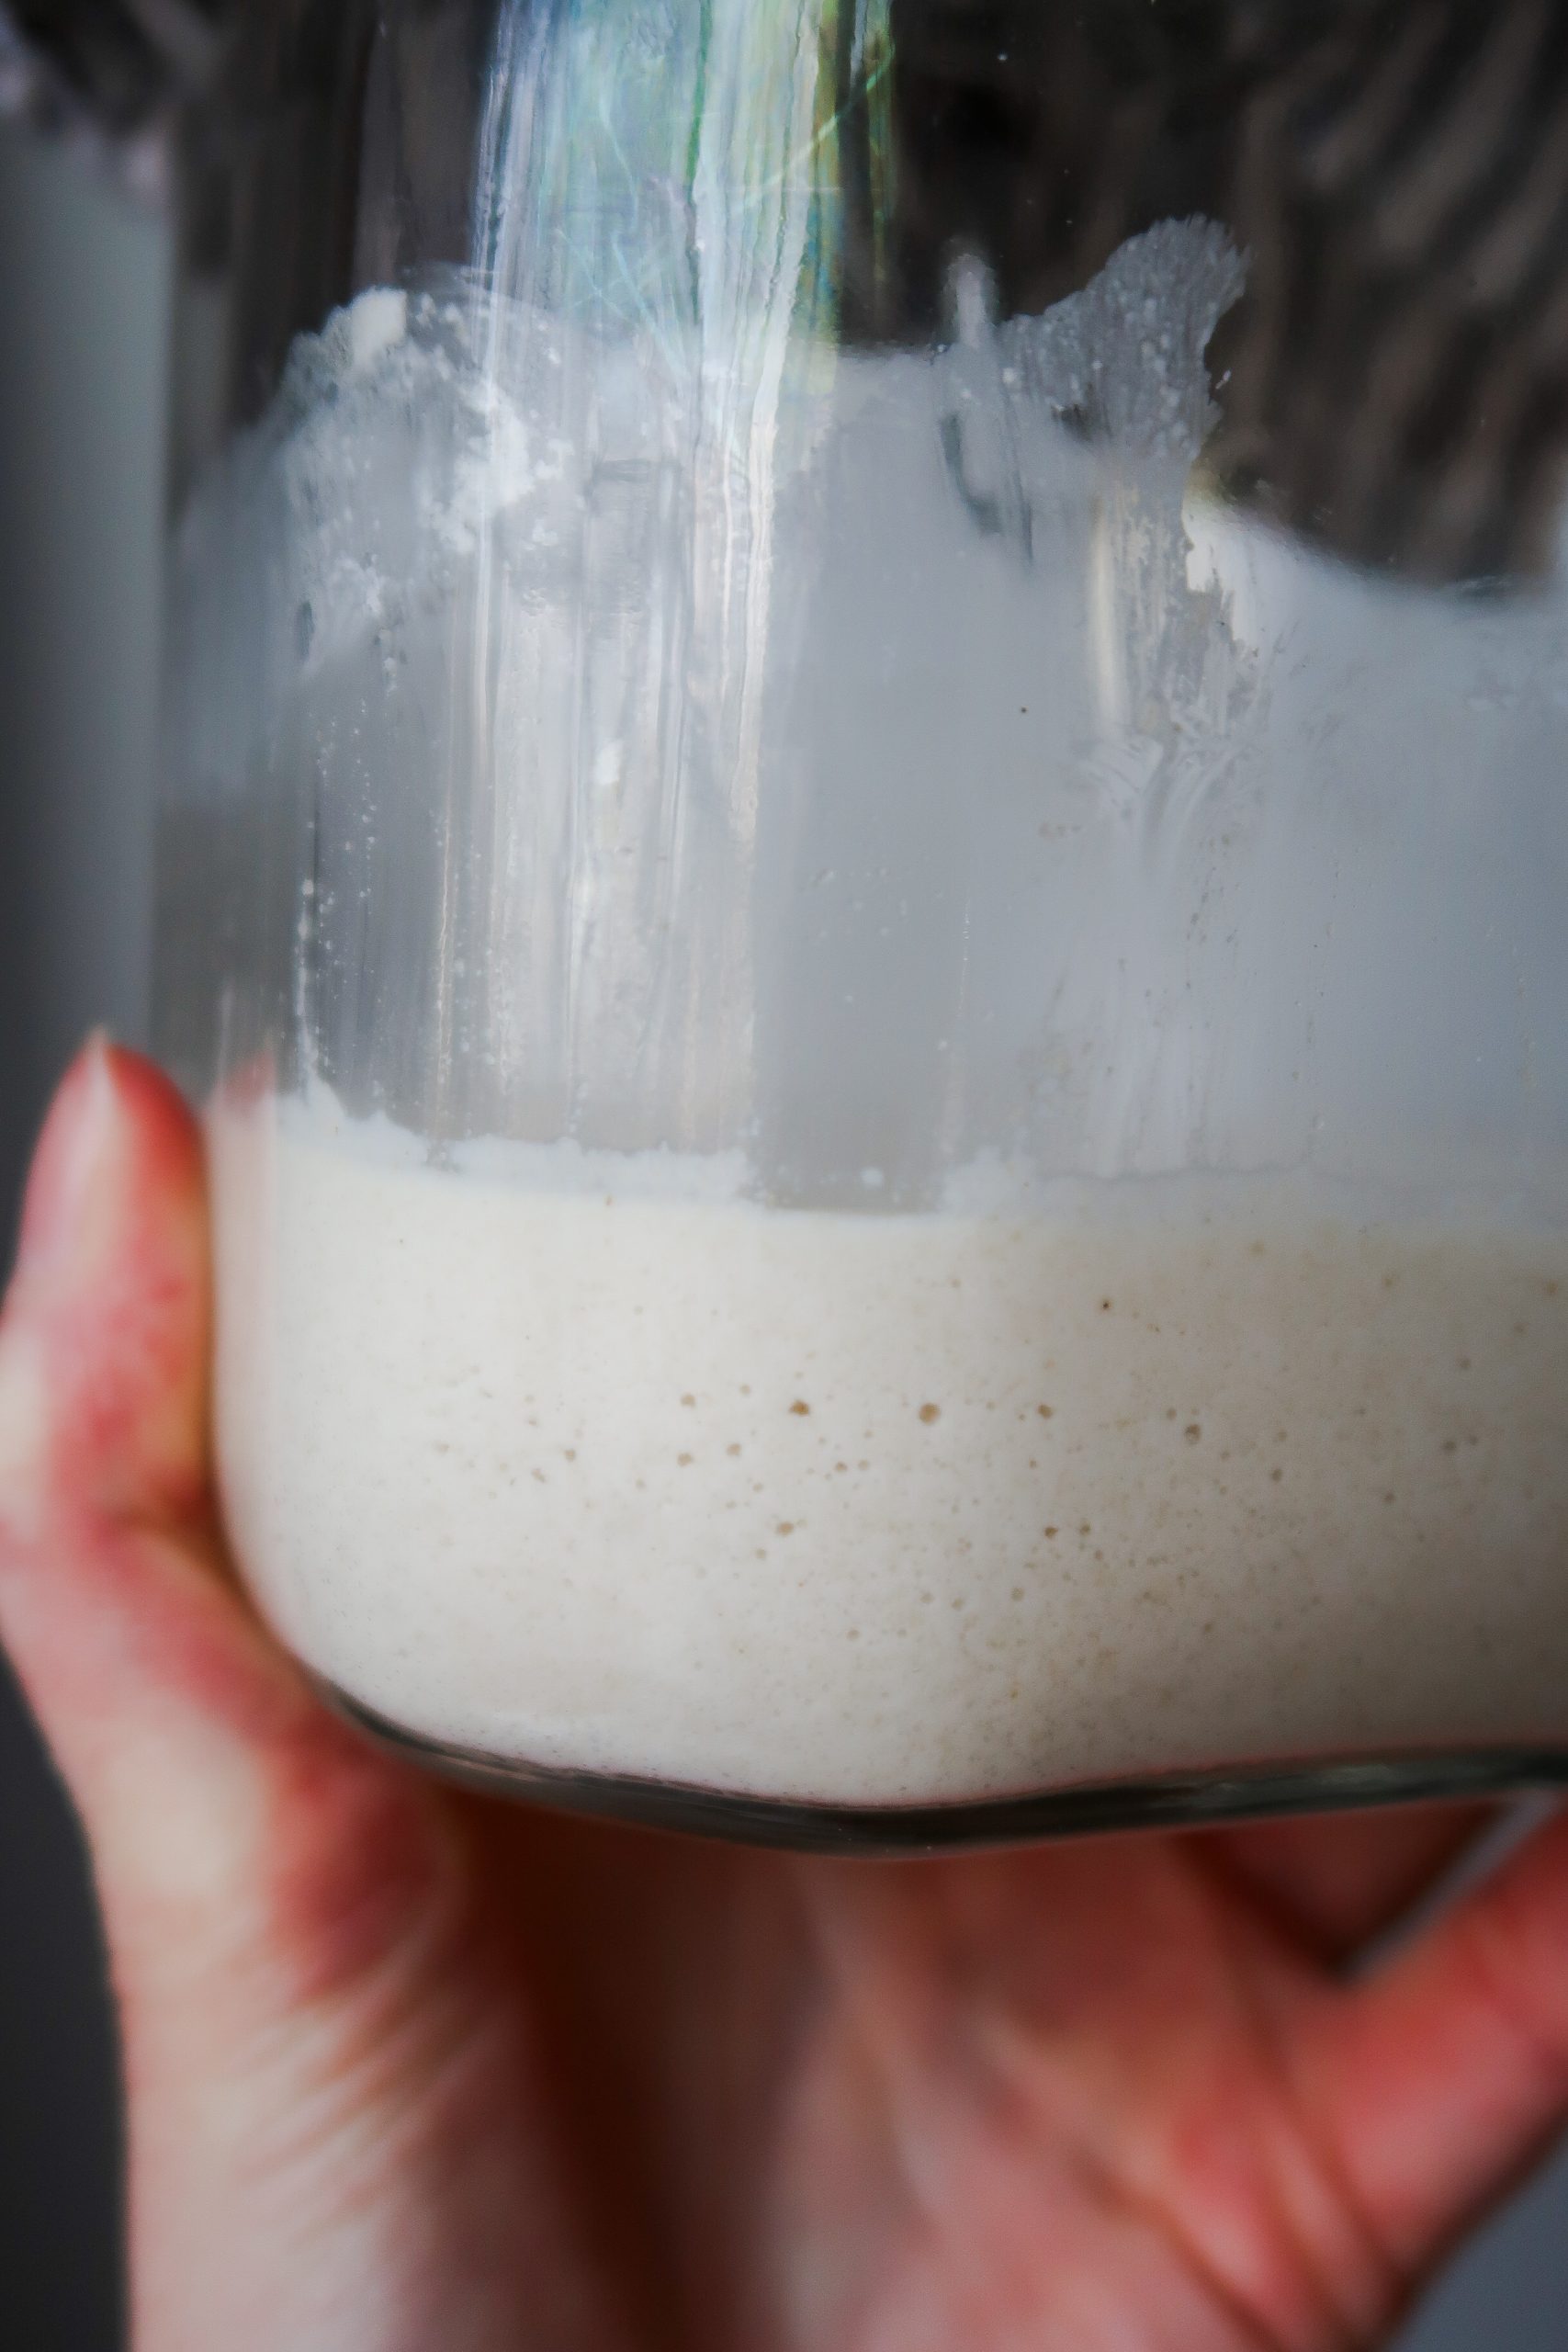
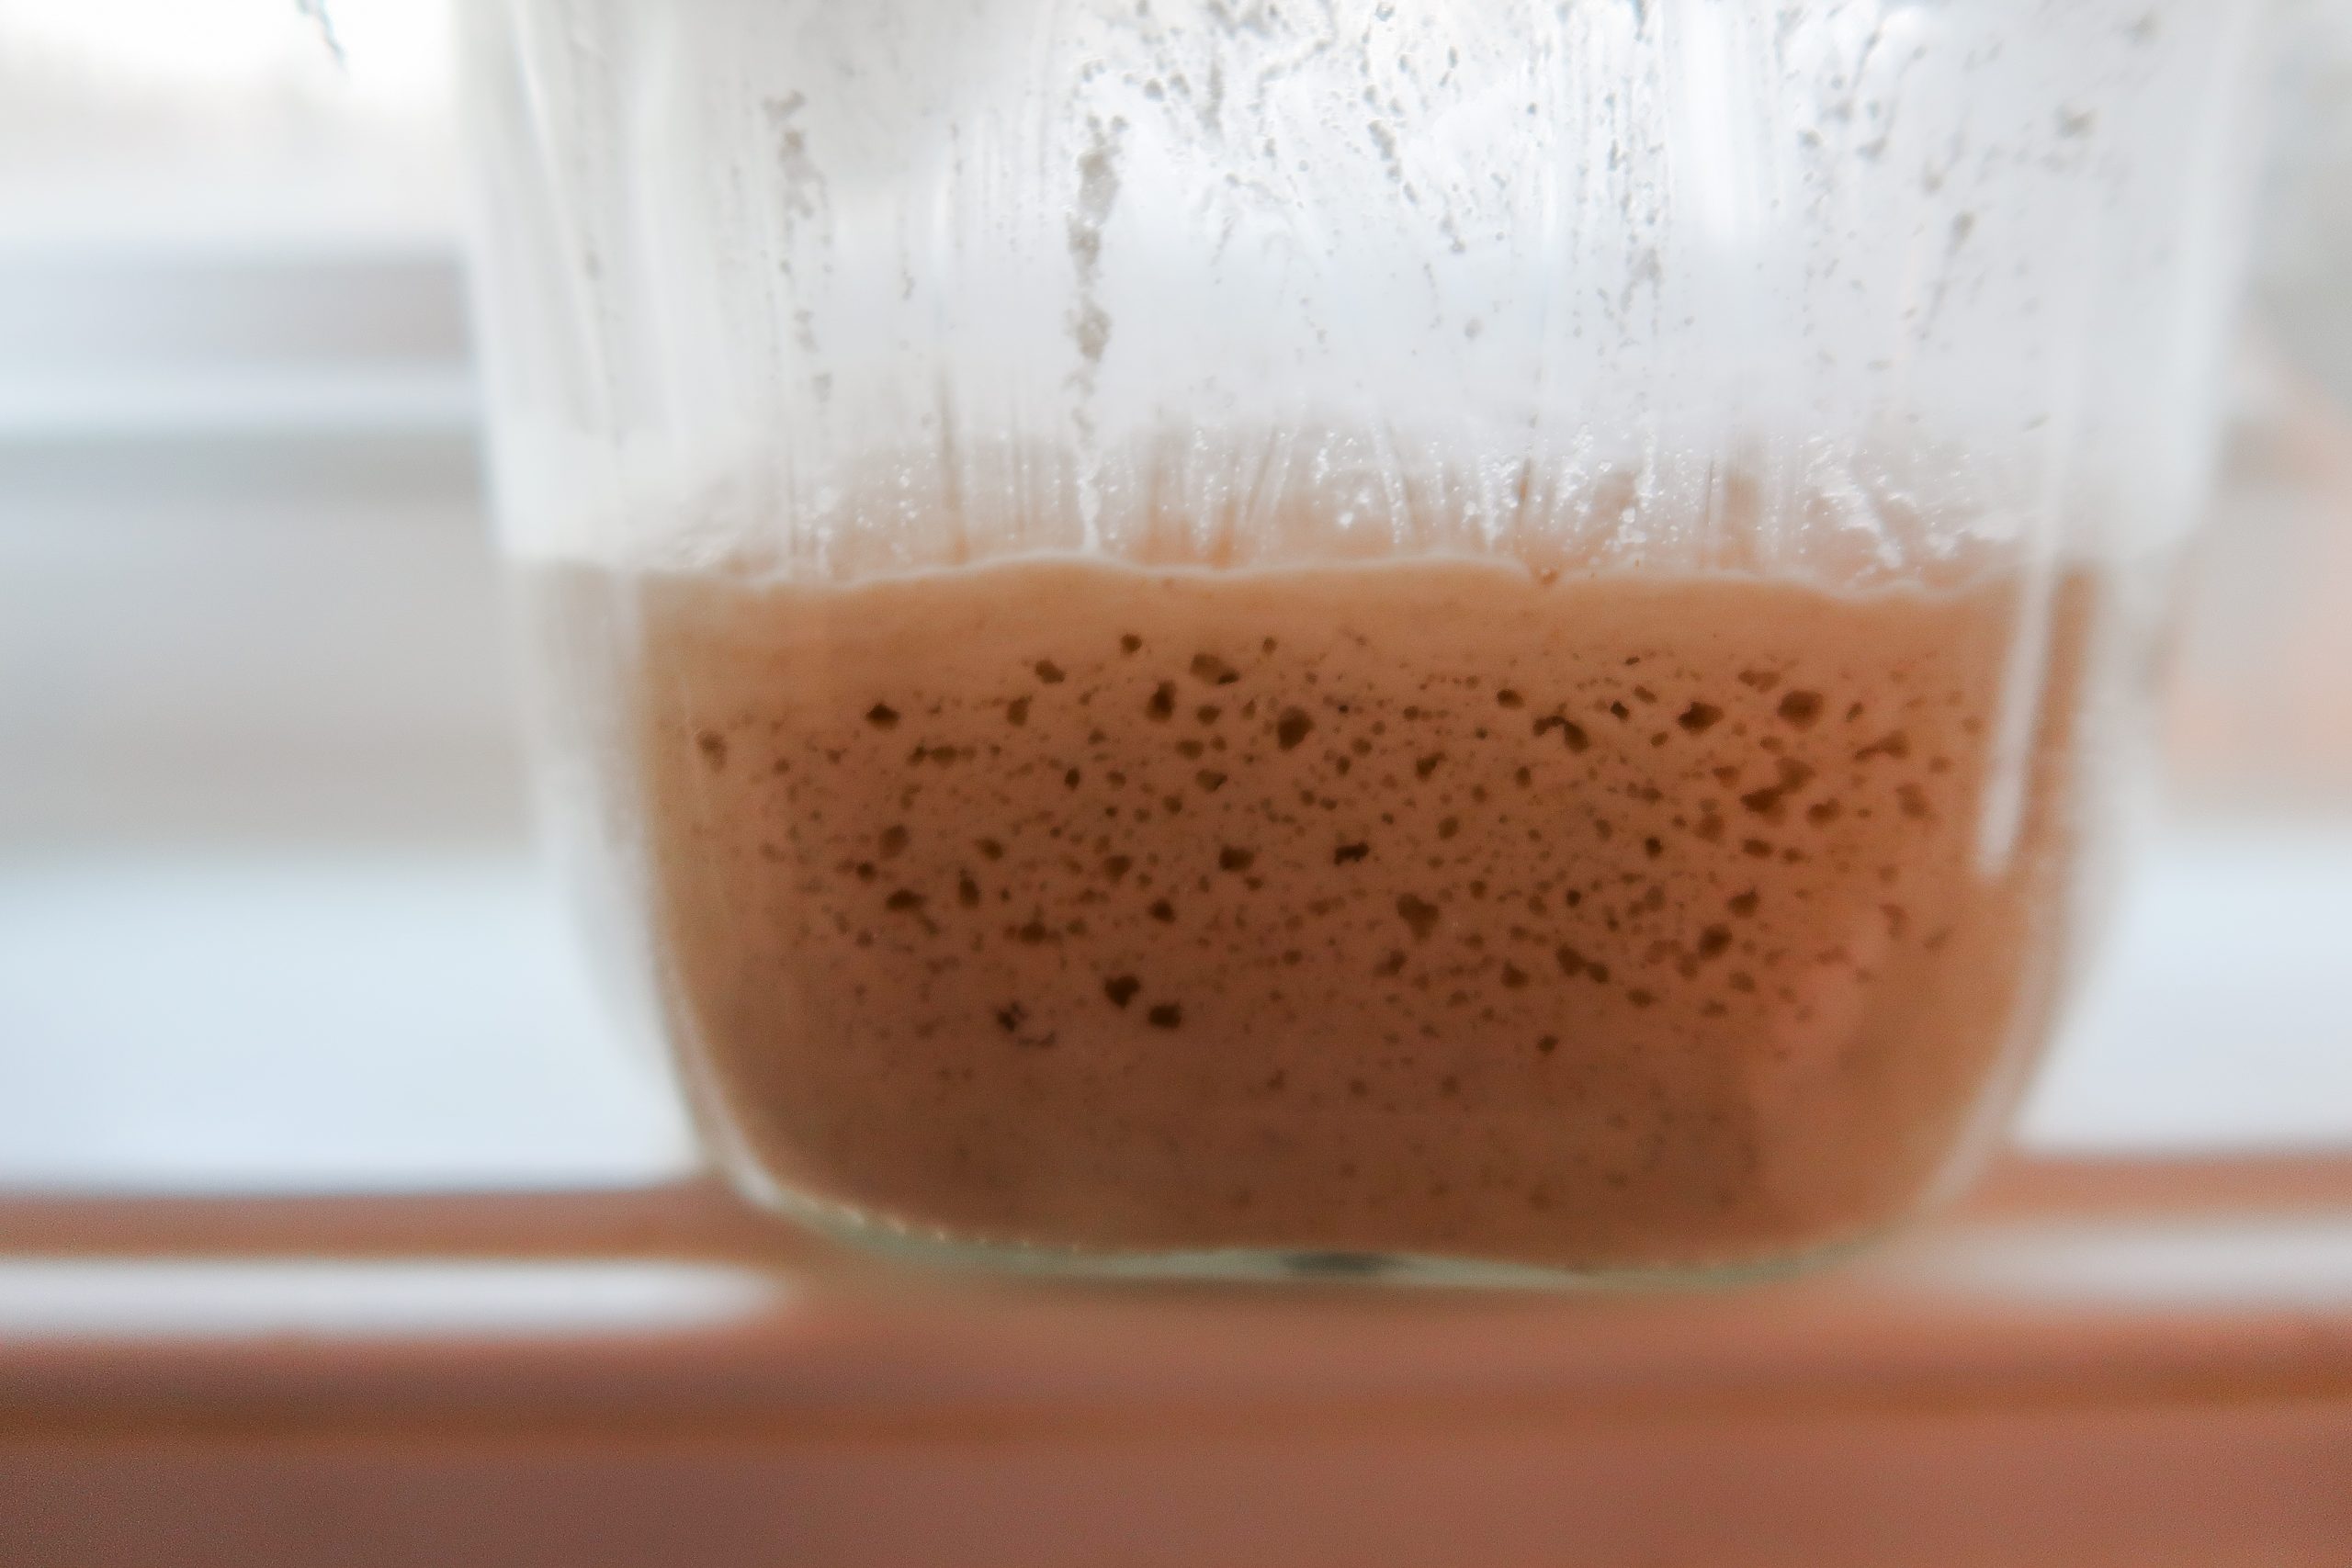
(3:00 PM) First signs of life! Little pinprick bubbles have appeared on all four sides of the jar, and no water separation. Success!
- Discard the starter down to ½ cup.
- Feed ⅓ cup of water and ½ cup of flour.
- Stir thoroughly.
- Scrape down the sides of the jar.
- Cover and set aside.
UPDATE: 8:00 PM The starter seems very happy right now with its first bubbles and slight doming, so I'm going to leave it alone and only do two feedings today. This is something I'm comfortable with, as my homemade brown rice sourdough starter is made with only two feedings a day, 12 hours apart.
Day Four
Observations:
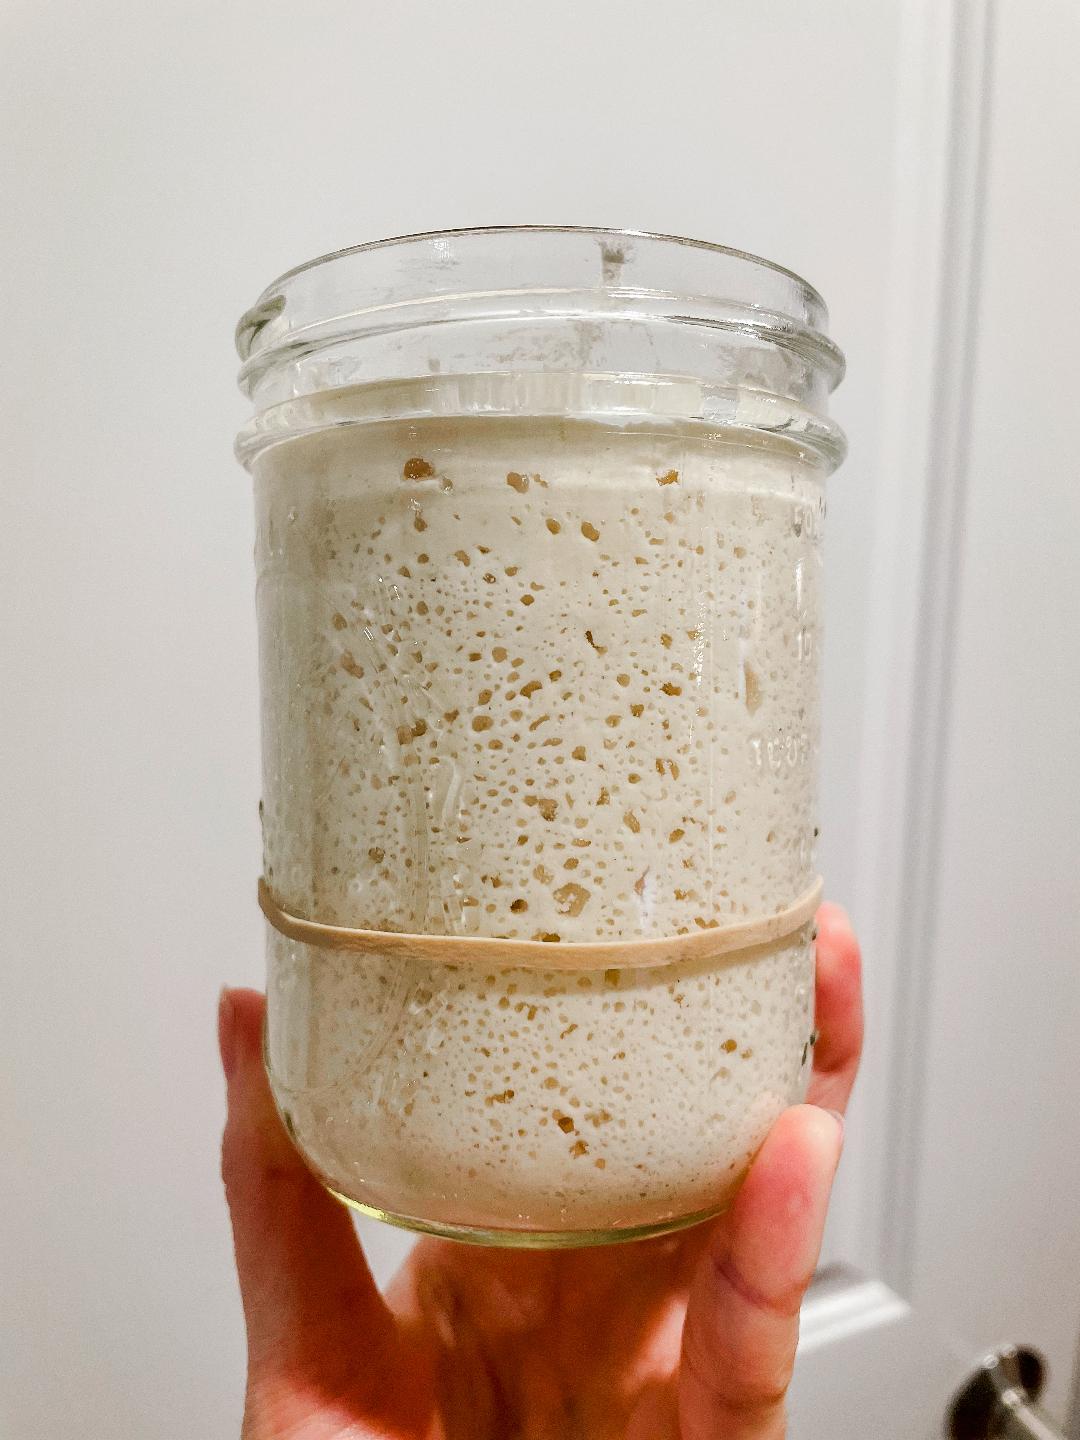
(7:00 AM) I woke up to a very happy starter! Tons of pinprick bubbles and there's even three or four large crater bubbles. The top is domed.
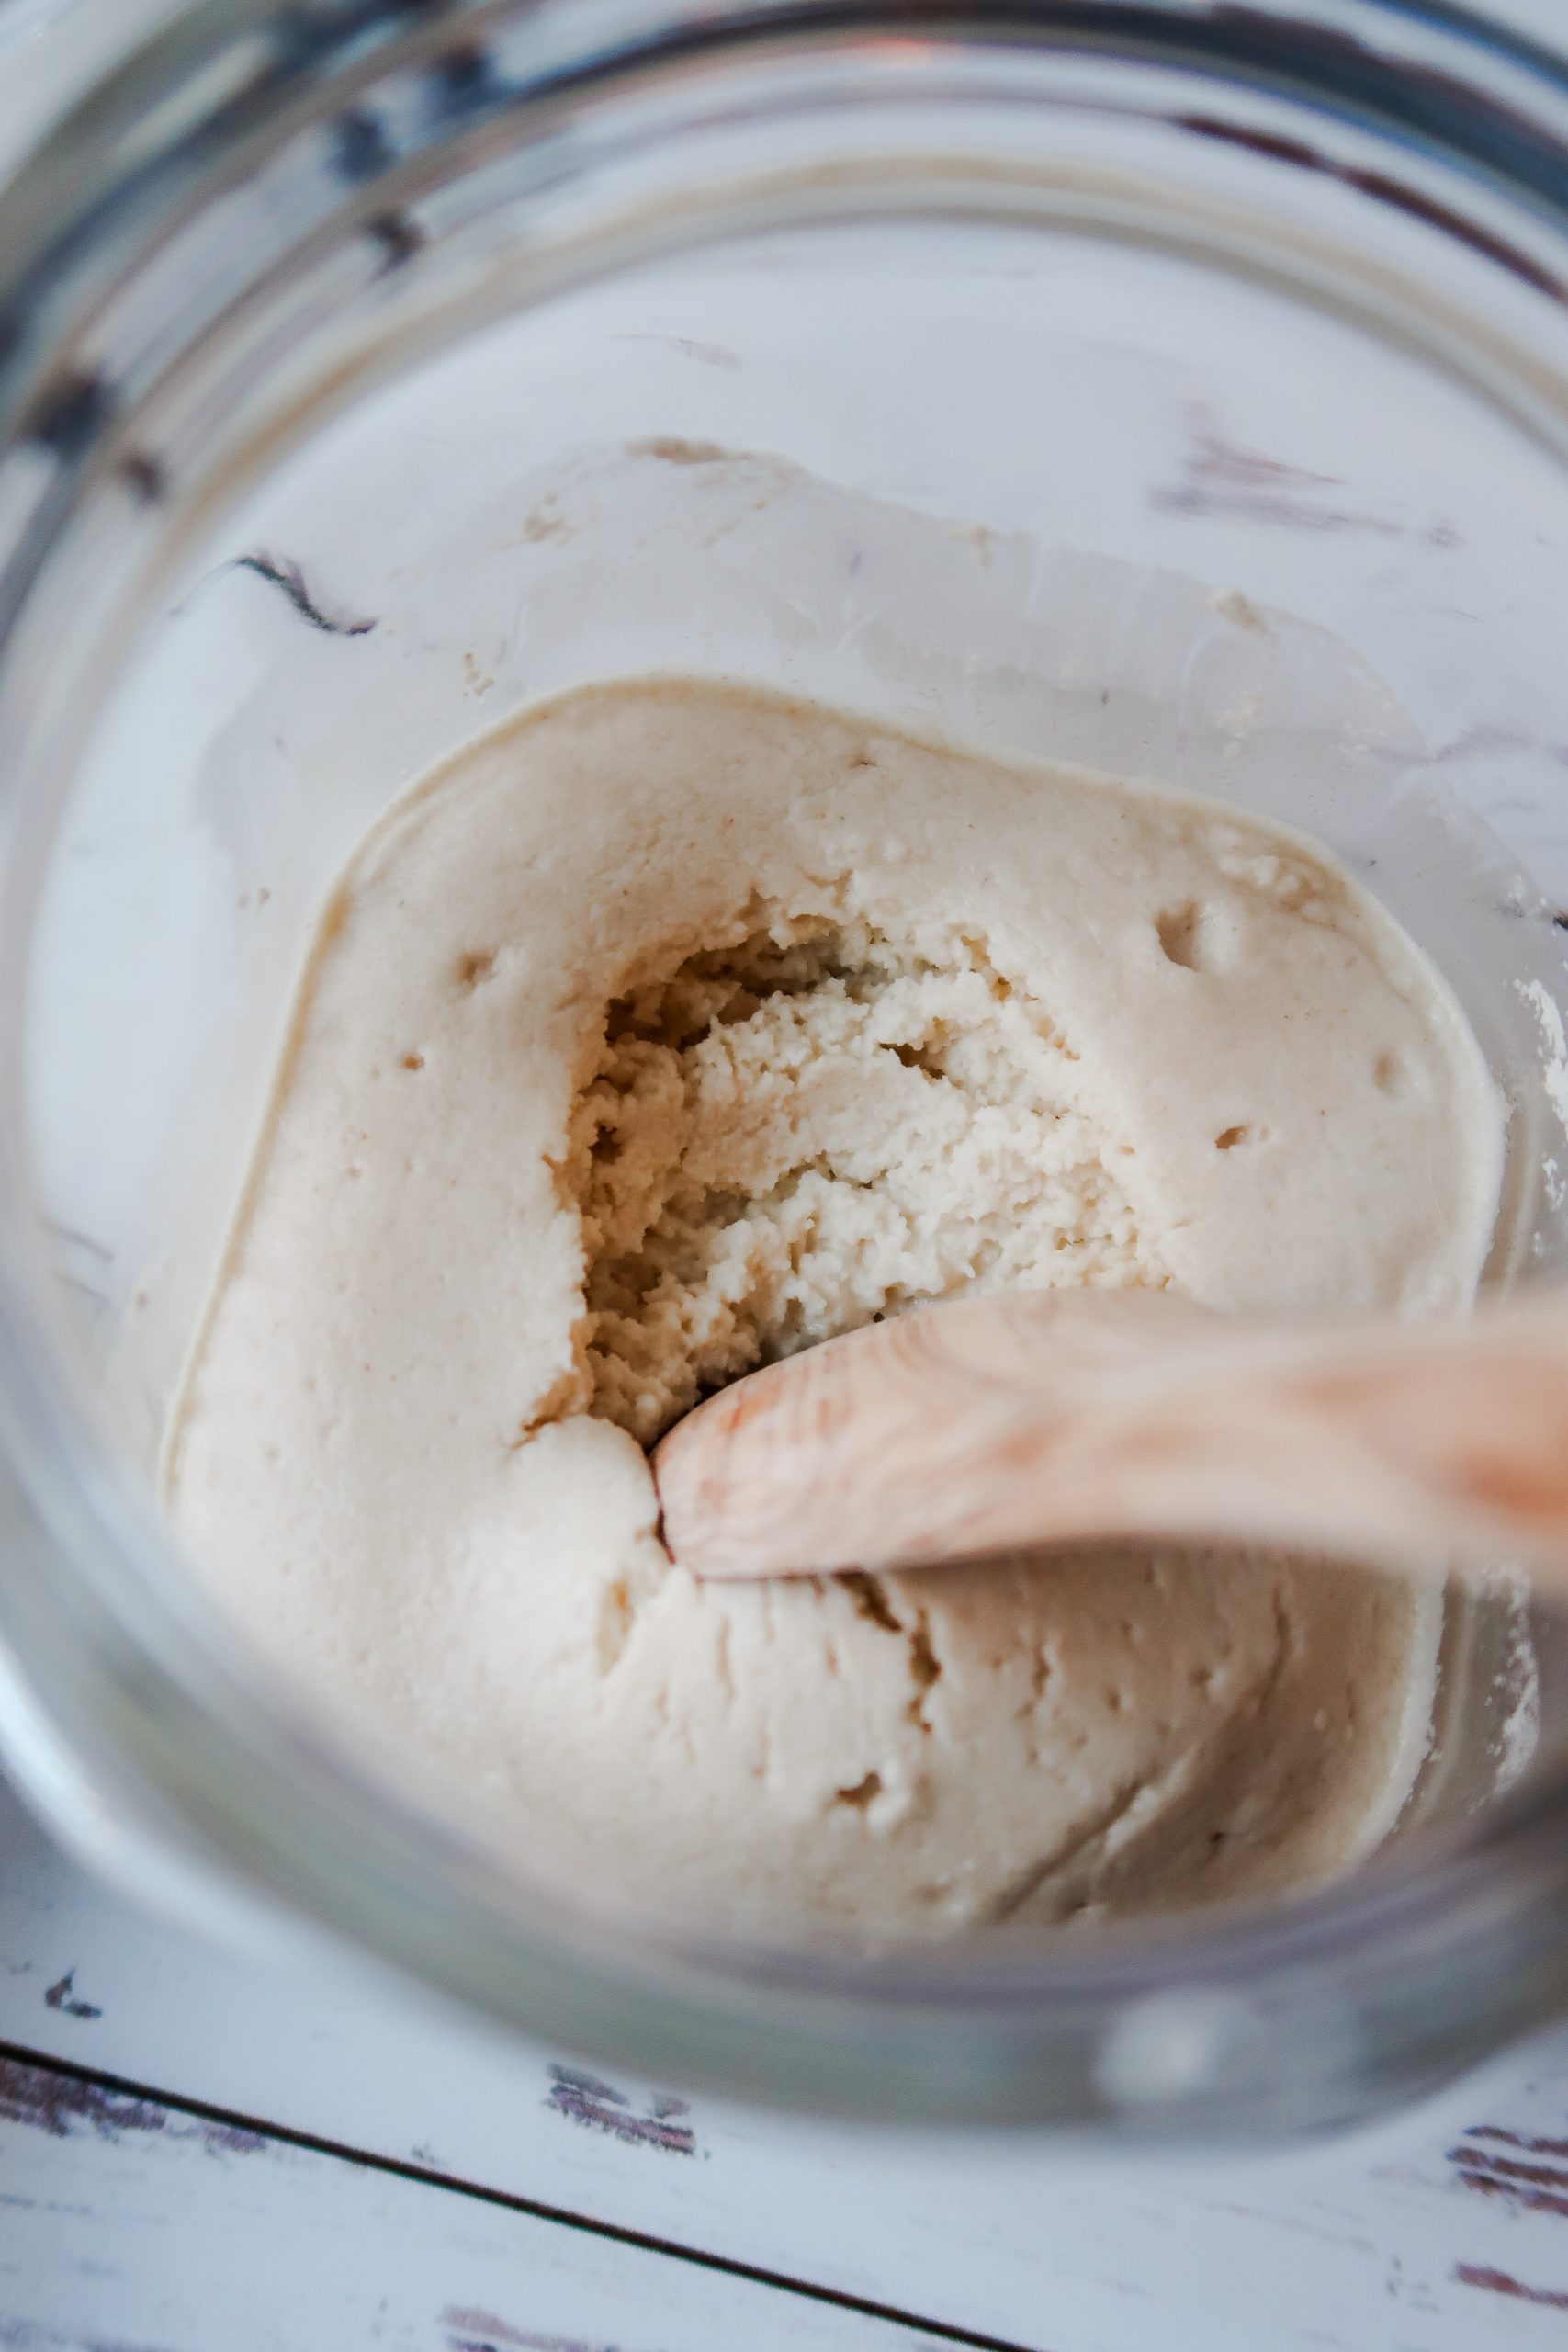
First Feeding:
- Discard down to ½ cup of starter.
- Feed ⅓ cup of water and ½ cup of flour.
- Stir thoroughly. Note: I always give the jar a wiggle to help it settle flat.
- Scrape down the sides of the jar.
- Cover and set aside.
UPDATE: (7:00 PM) It was super cold and windy outside today, so my house was a little drafty. The starter looks like it hasn't quite gone through the first feeding yet, as in there are minimal bubbles and no rise. It appears as if it's just starting to rise and become bubbly. I'm going to leave it as is overnight without a second feeding. Another moment of going rogue.
Day Five
Observations:
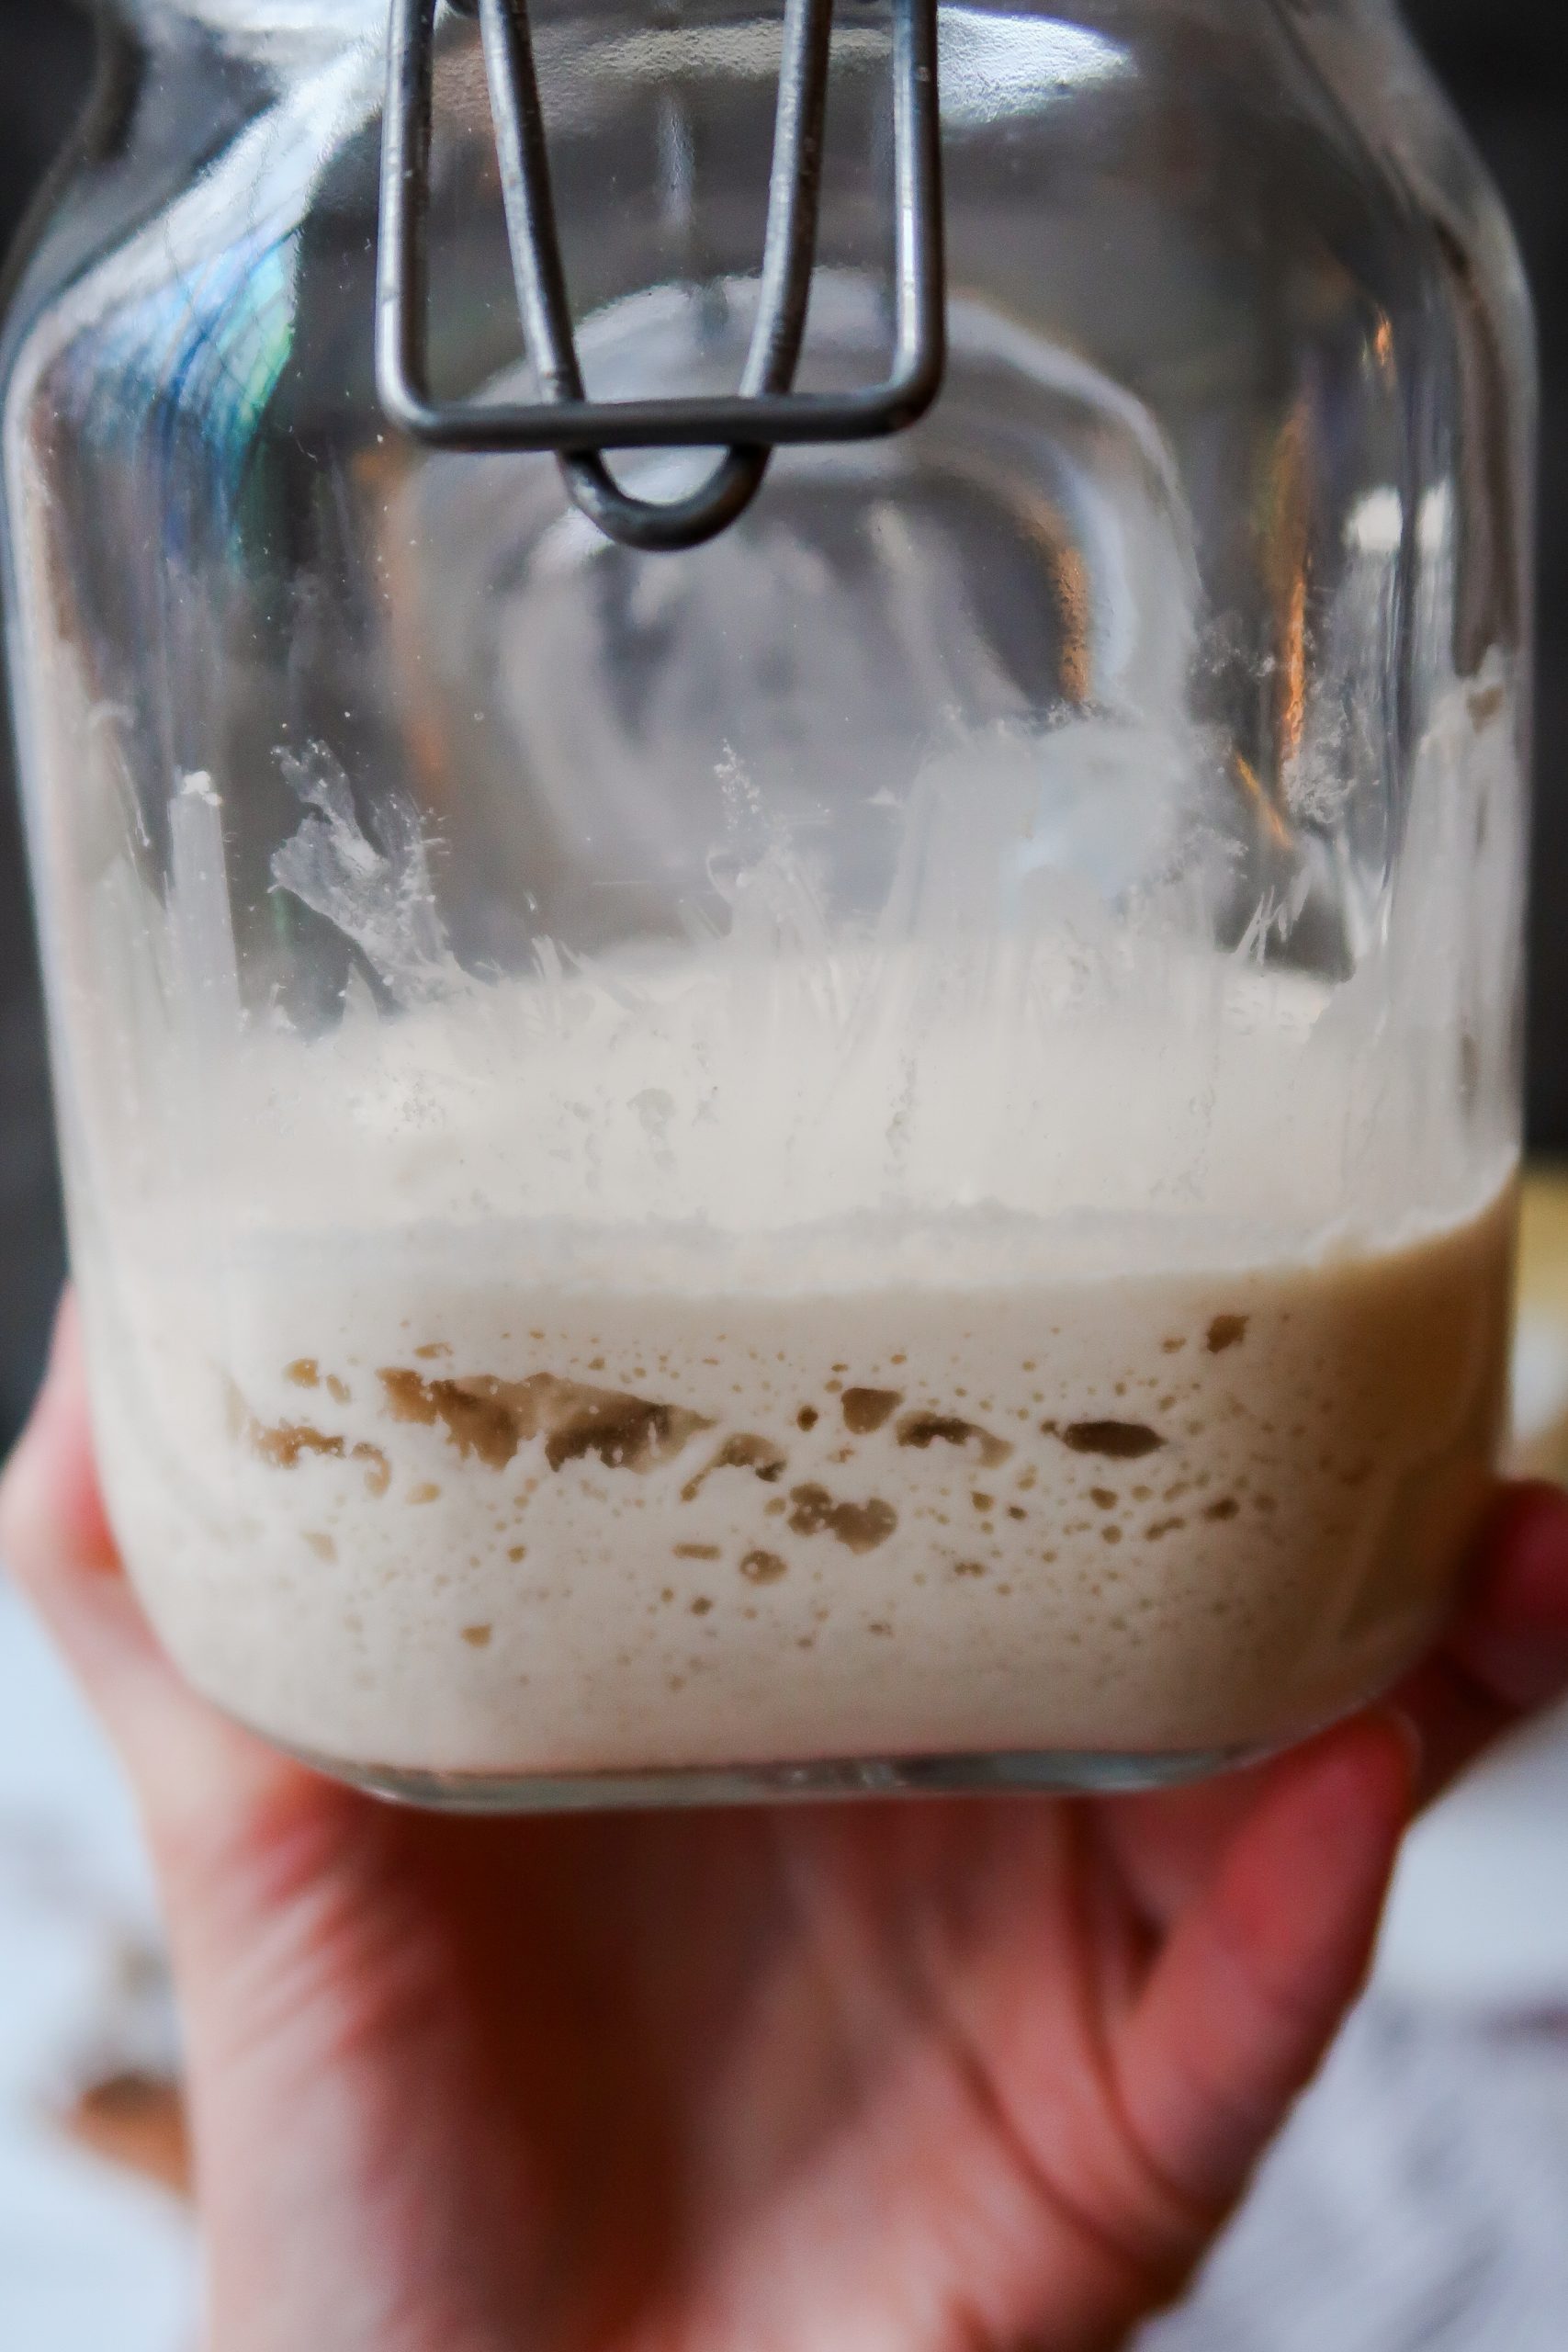
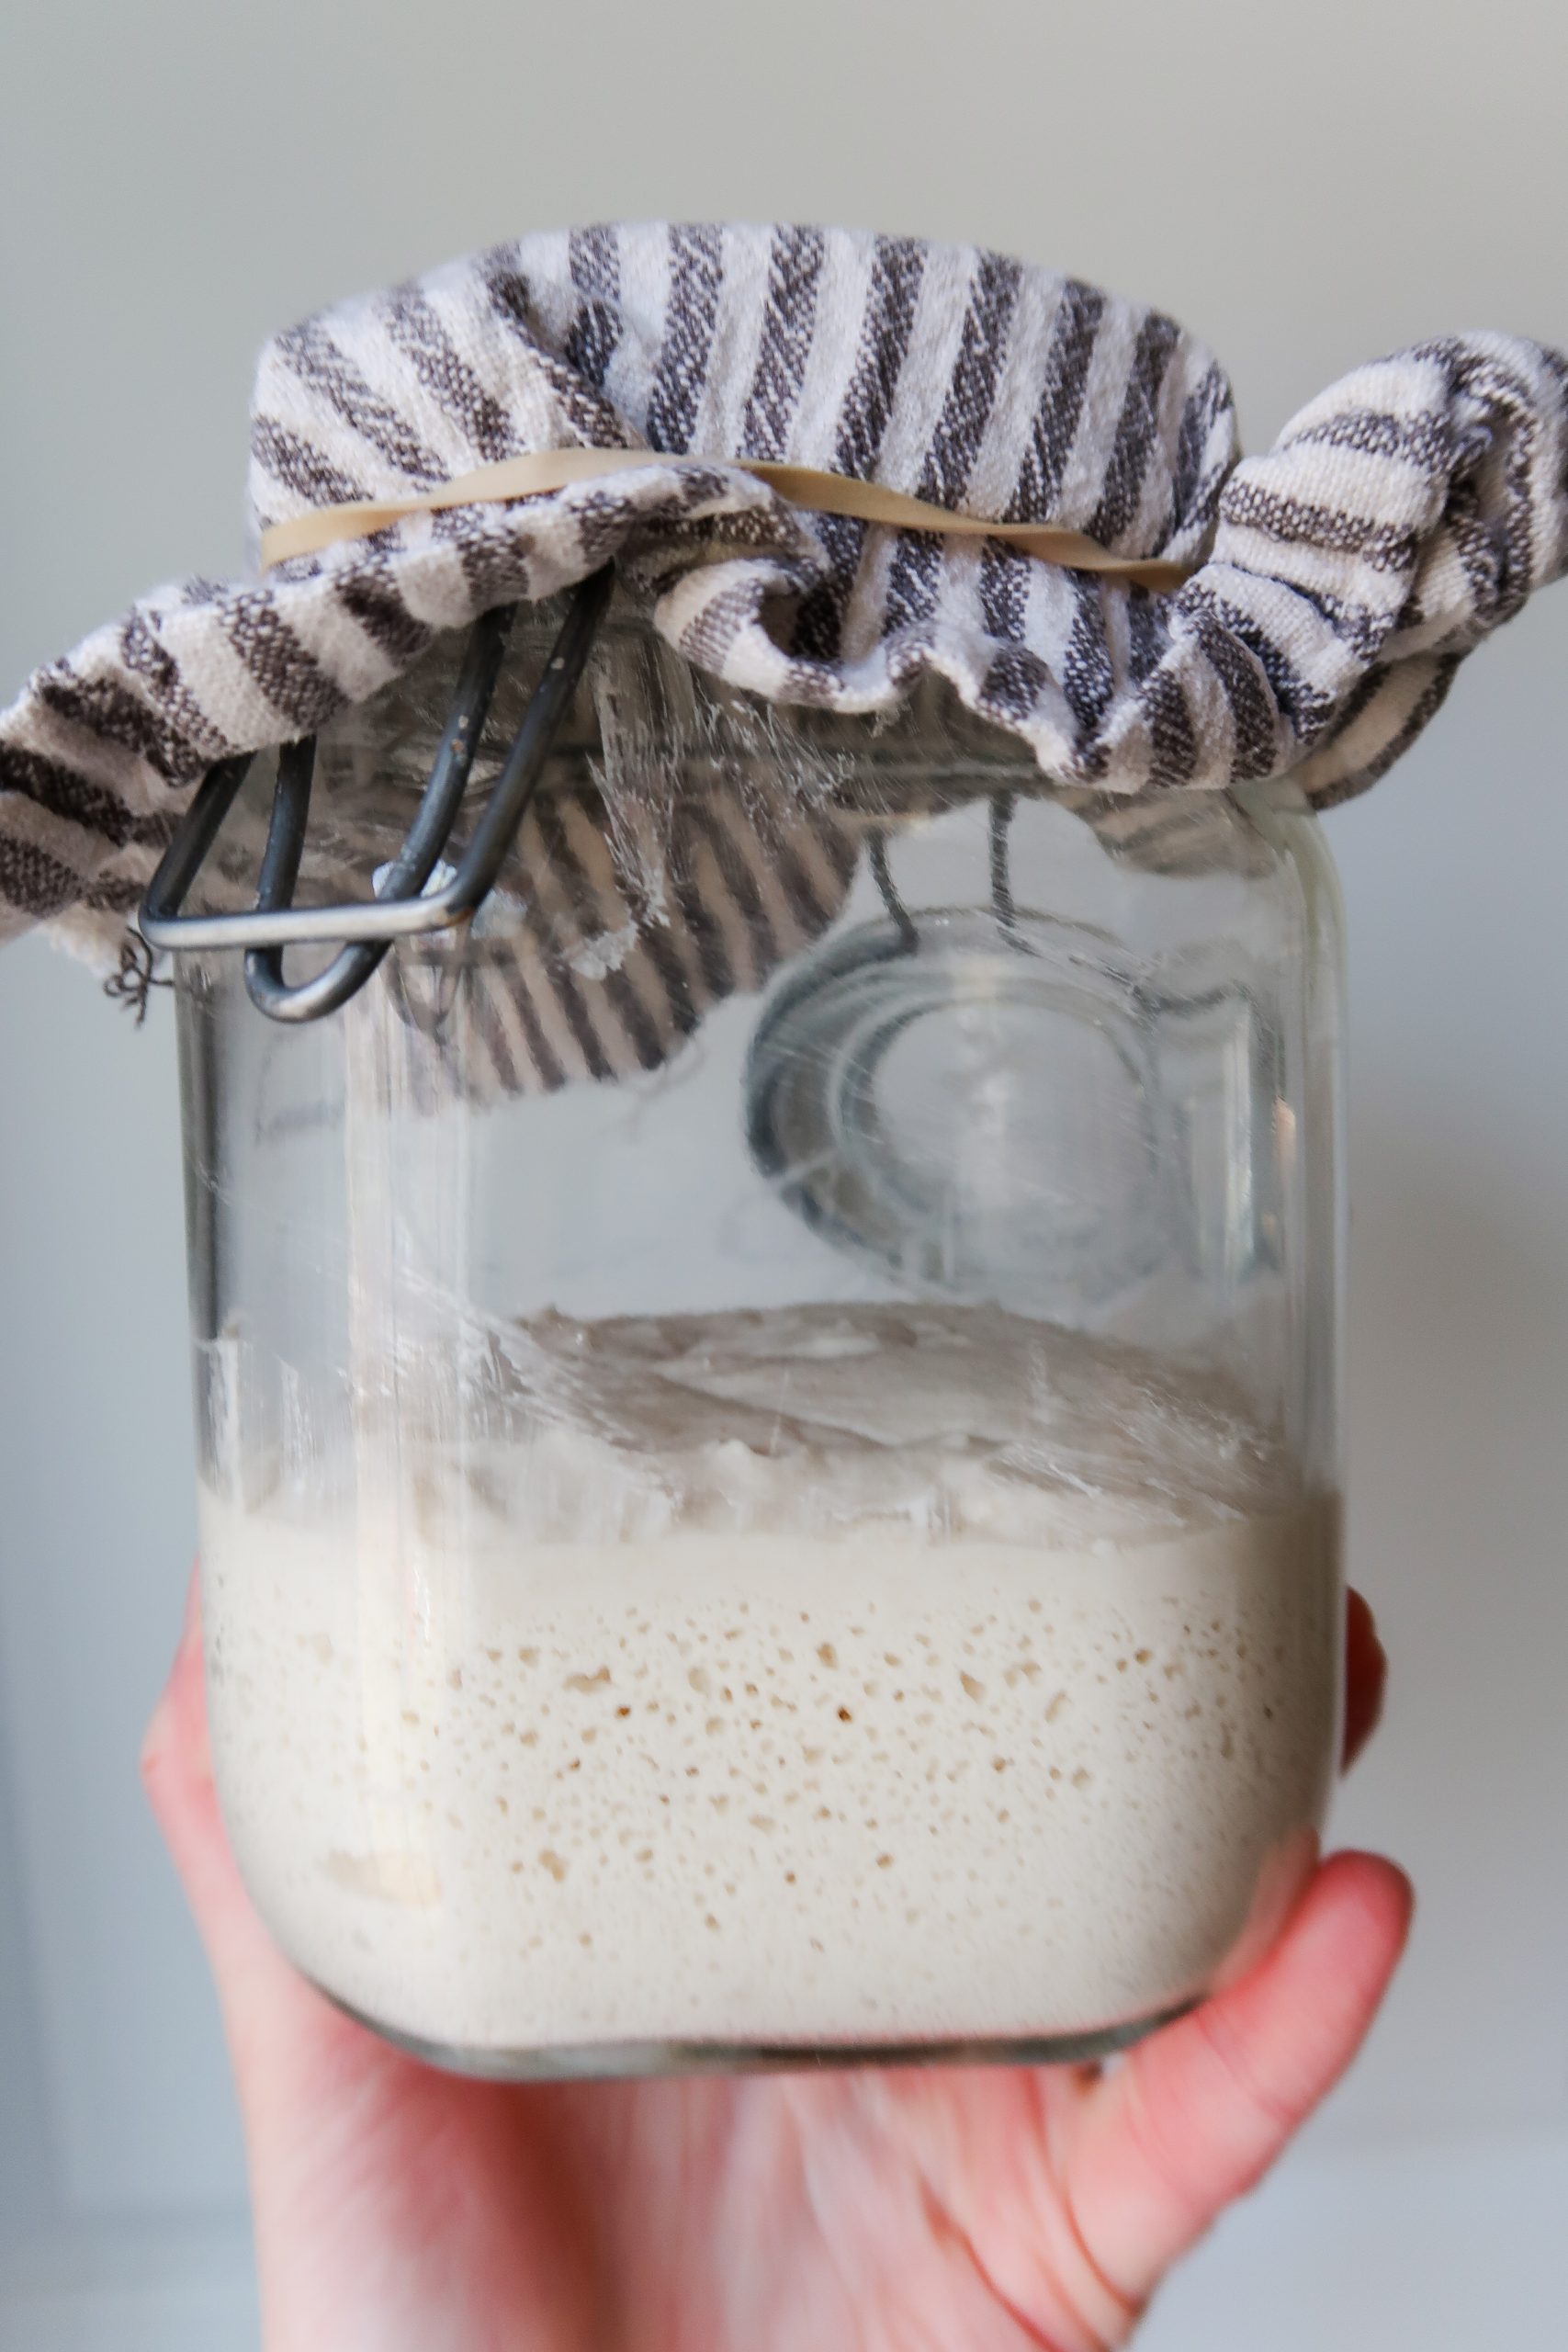
(7:00 AM) The starter looks fantastic! It rose overnight with small pinprick bubbles and a lot more larger bubbles than previously. It appears to have a fluffy, taller texture (indicating the rising activity), and the top is domed.
It smells acidic, quite a bit vinegary actually, so still not the yeasty smell I'm looking for. I'll continue to throw out the discard to be safe.
First Feeding:
- Discard down to ½ cup starter.
- Feed ⅓ cup of water and ½ cup of flour.
- Stir thoroughly.
- Scrape down the sides.
- Cover and set aside.
Second Feeding:
- Discard down to ½ cup starter.
- Feed ⅓ cup of water and ½ cup of flour.
- Stir thoroughly.
- Scrape down the sides.
- Cover and set aside.
Observations:
The starter is about the same as earlier. From here on out, I will be feeding twice a day instead of three times. It has been too much for me to keep up with, and the starter seems to be having great results even without it.
Day Six
Observations:
(7:00 AM) The starter was nice and bubbly when I woke up. No domed top this time - it looks like it fell overnight.
- Discard down to ½ cup starter.
- Feed ⅓ cup of water and ½ cup of flour.
- Stir thoroughly.
- Scrape down the sides.
- Cover and set aside.
The starter still predominately smells like brown rice flour (which is a little grassy smelling), and has no fermented or yeasty scents. For this reason, I'm still tossing the discard.
Second Feeding:
(7:00 PM)
- Discard down to ½ cup starter.
- Feed ⅓ cup of water and ½ cup of flour.
- Stir thoroughly.
- Scrape down the sides.
- Cover and set aside.
Day Seven
Observations:
(7:00 AM) The starter is really nice and bubbly this morning with a domed top.
- Discard down to ½ cup starter.
- Feed ⅓ cup of water and ½ cup of flour.
- Stir thoroughly.
- Scrape down the sides.
- Cover and set aside.
Day Eight
The starter has been alive for an entire week!
Observations:
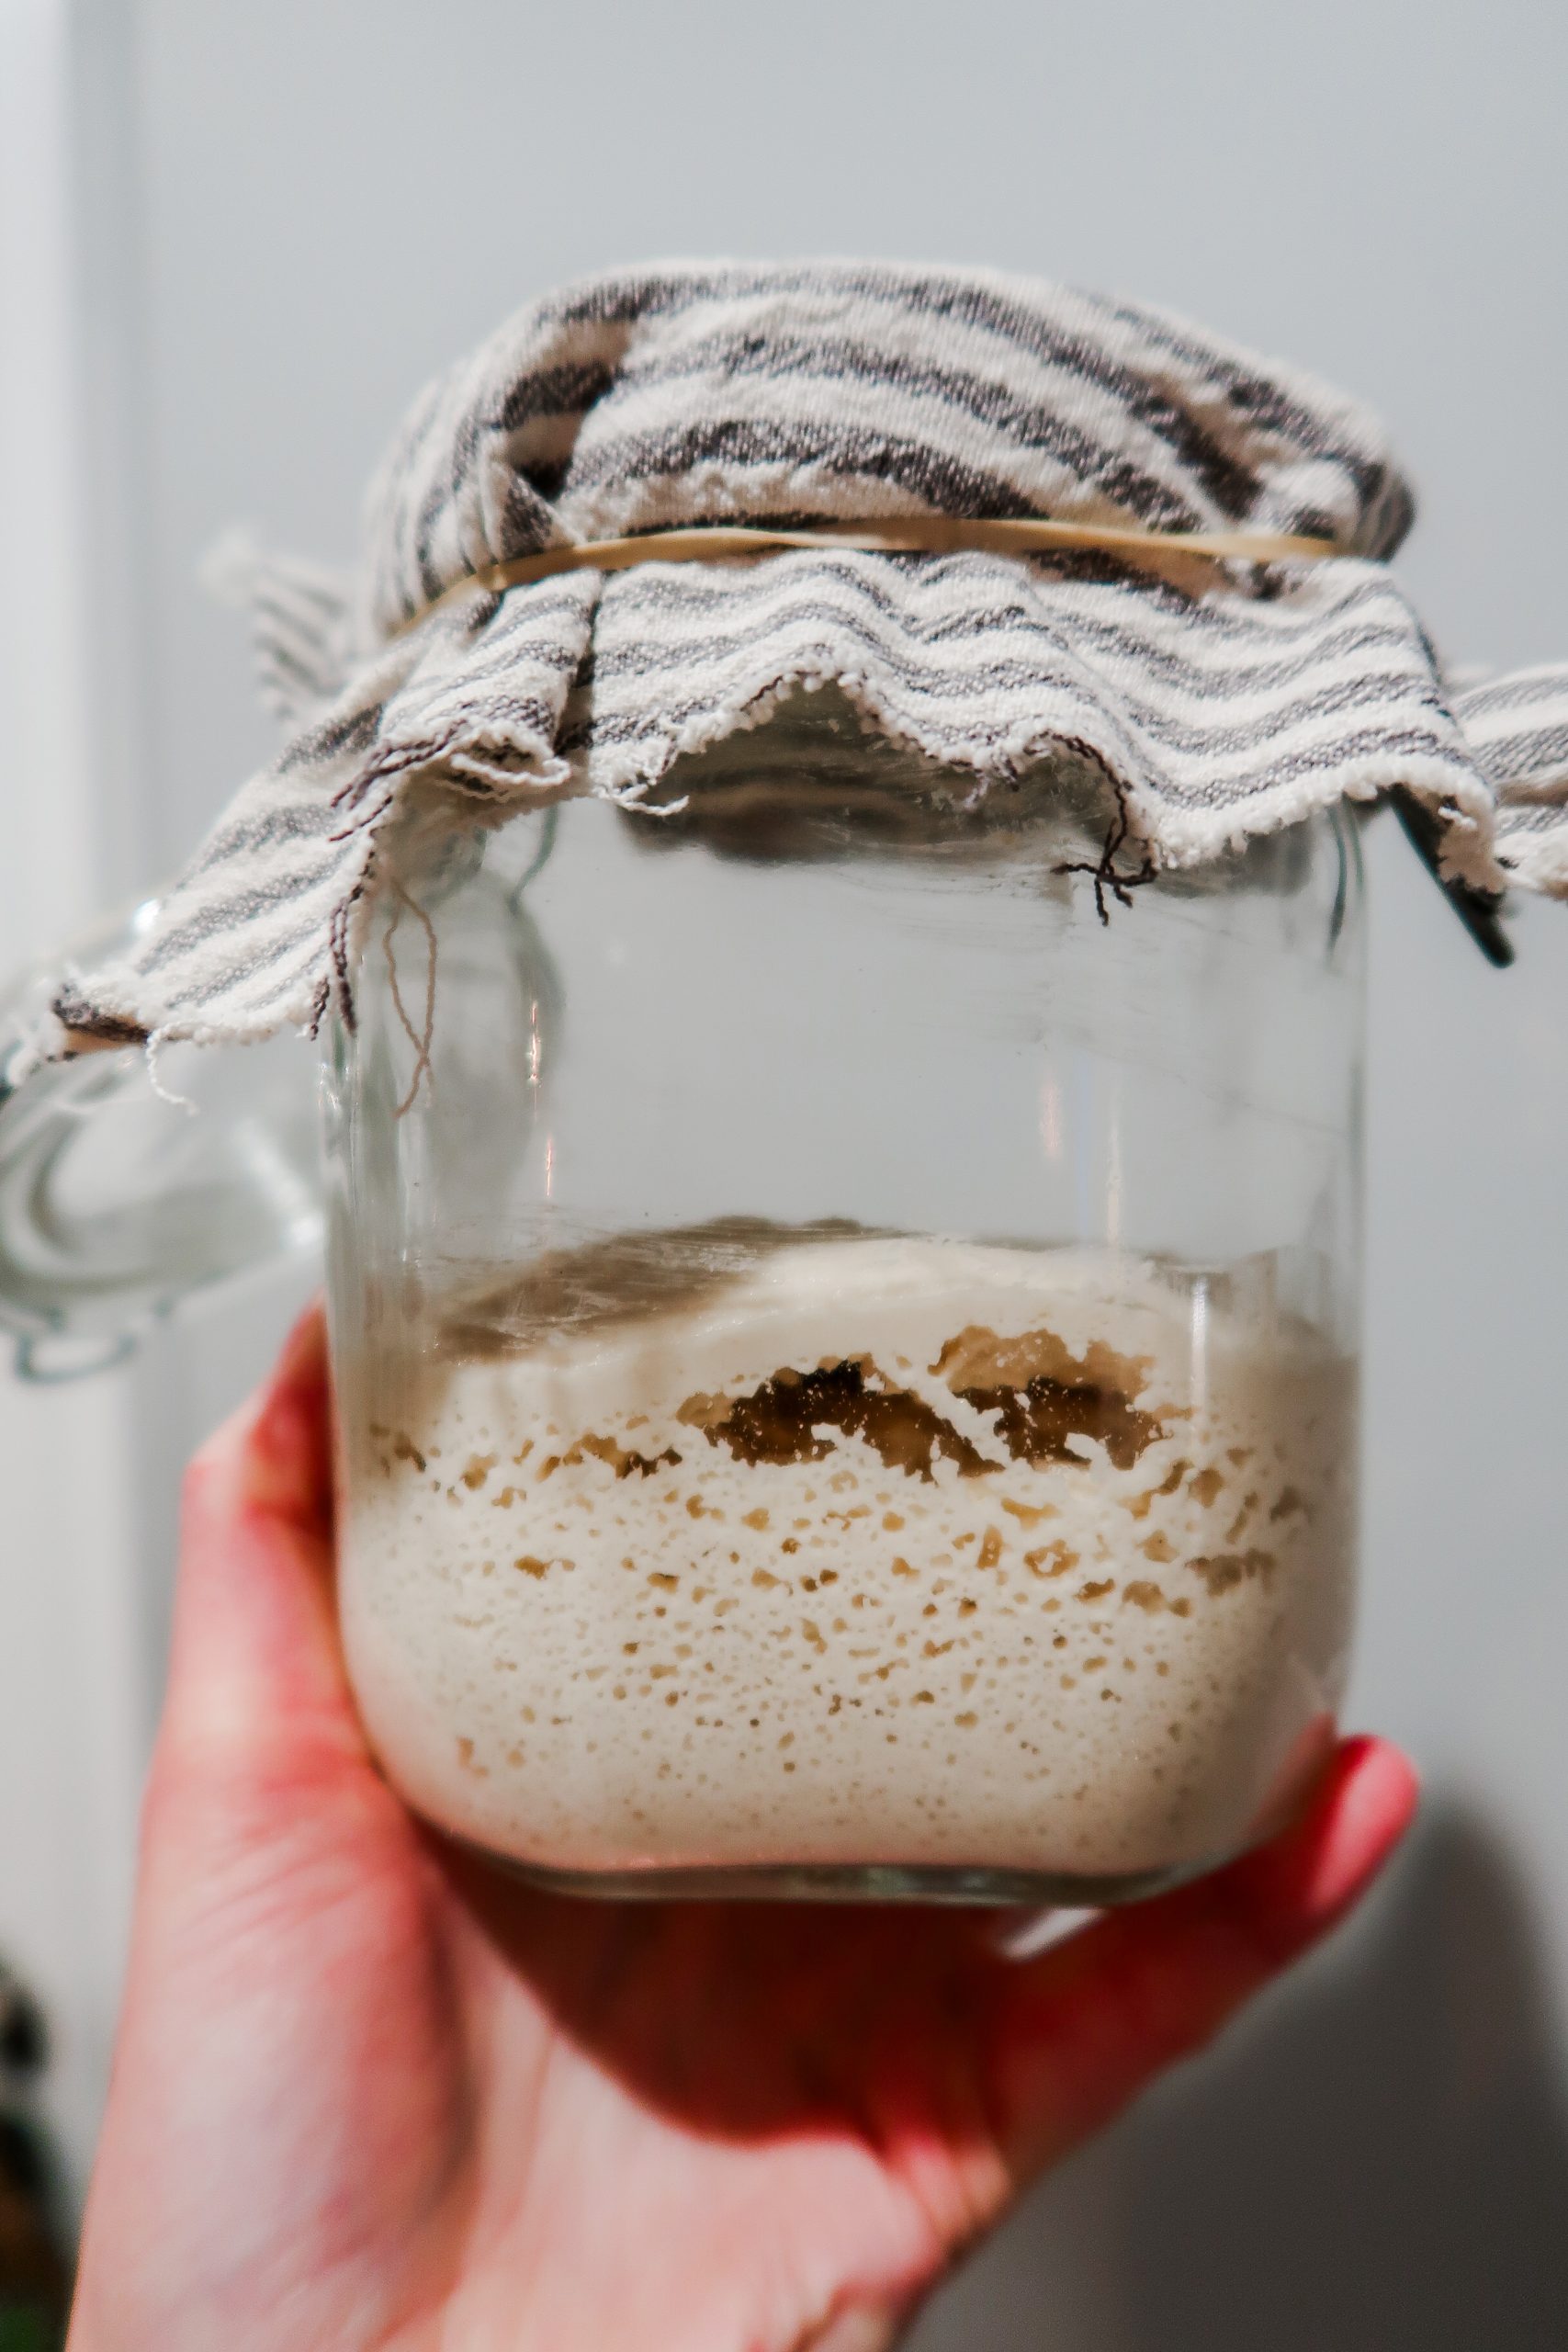
(7:00 AM) Woke up to a crazy huge crater bubble this morning! There was also doming of the top.
First Feeding:
- Discard down to ½ cup starter.
- Feed ⅓ cup of water and ½ cup of flour.
- Stir thoroughly.
- Scrape down the sides.
- Cover and set aside.
Observations:
The starter is smelling a little more yeasty.
Second Feeding:
(7:00 PM)
- Discard down to ½ cup starter.
- Feed ⅓ cup of water and ½ cup of flour.
- Stir thoroughly.
- Scrape down the sides.
- Cover and set aside.
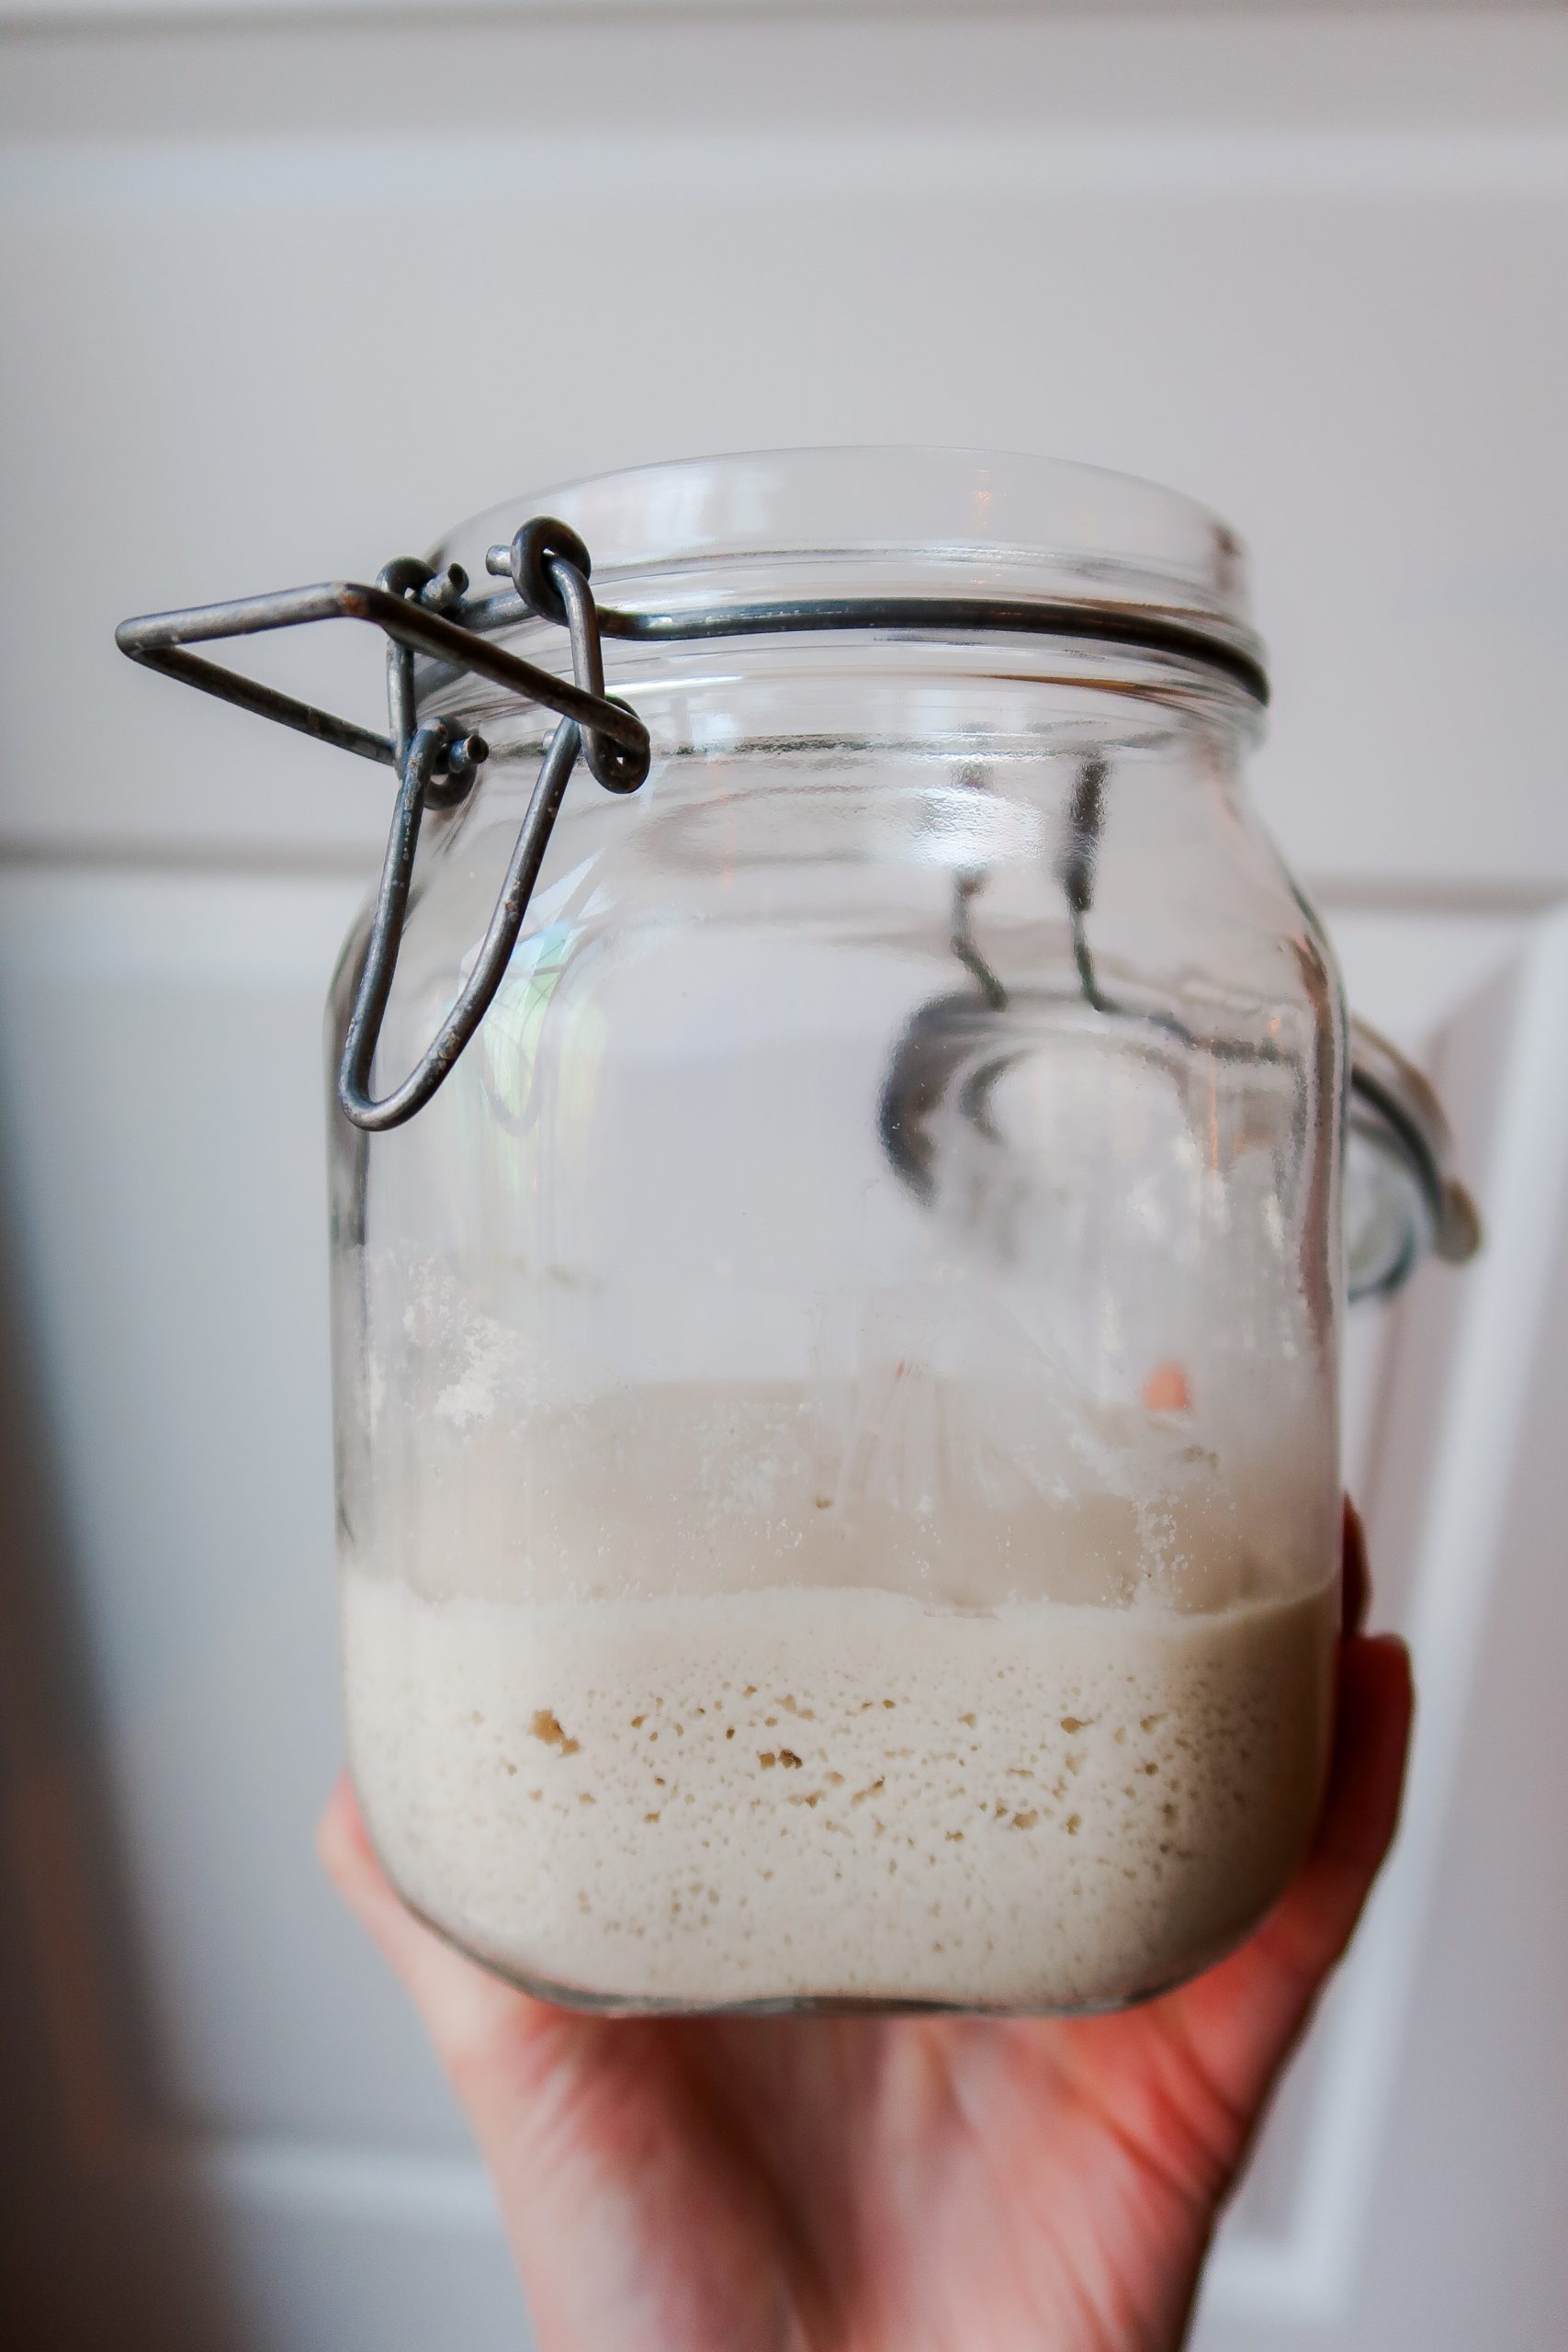
I switched the starter into a regular sized 16 oz mason jar to see how it performs. Sometimes I think wider jars cause less rise, or you just can't tell quite as well.
Day Nine
Observations:
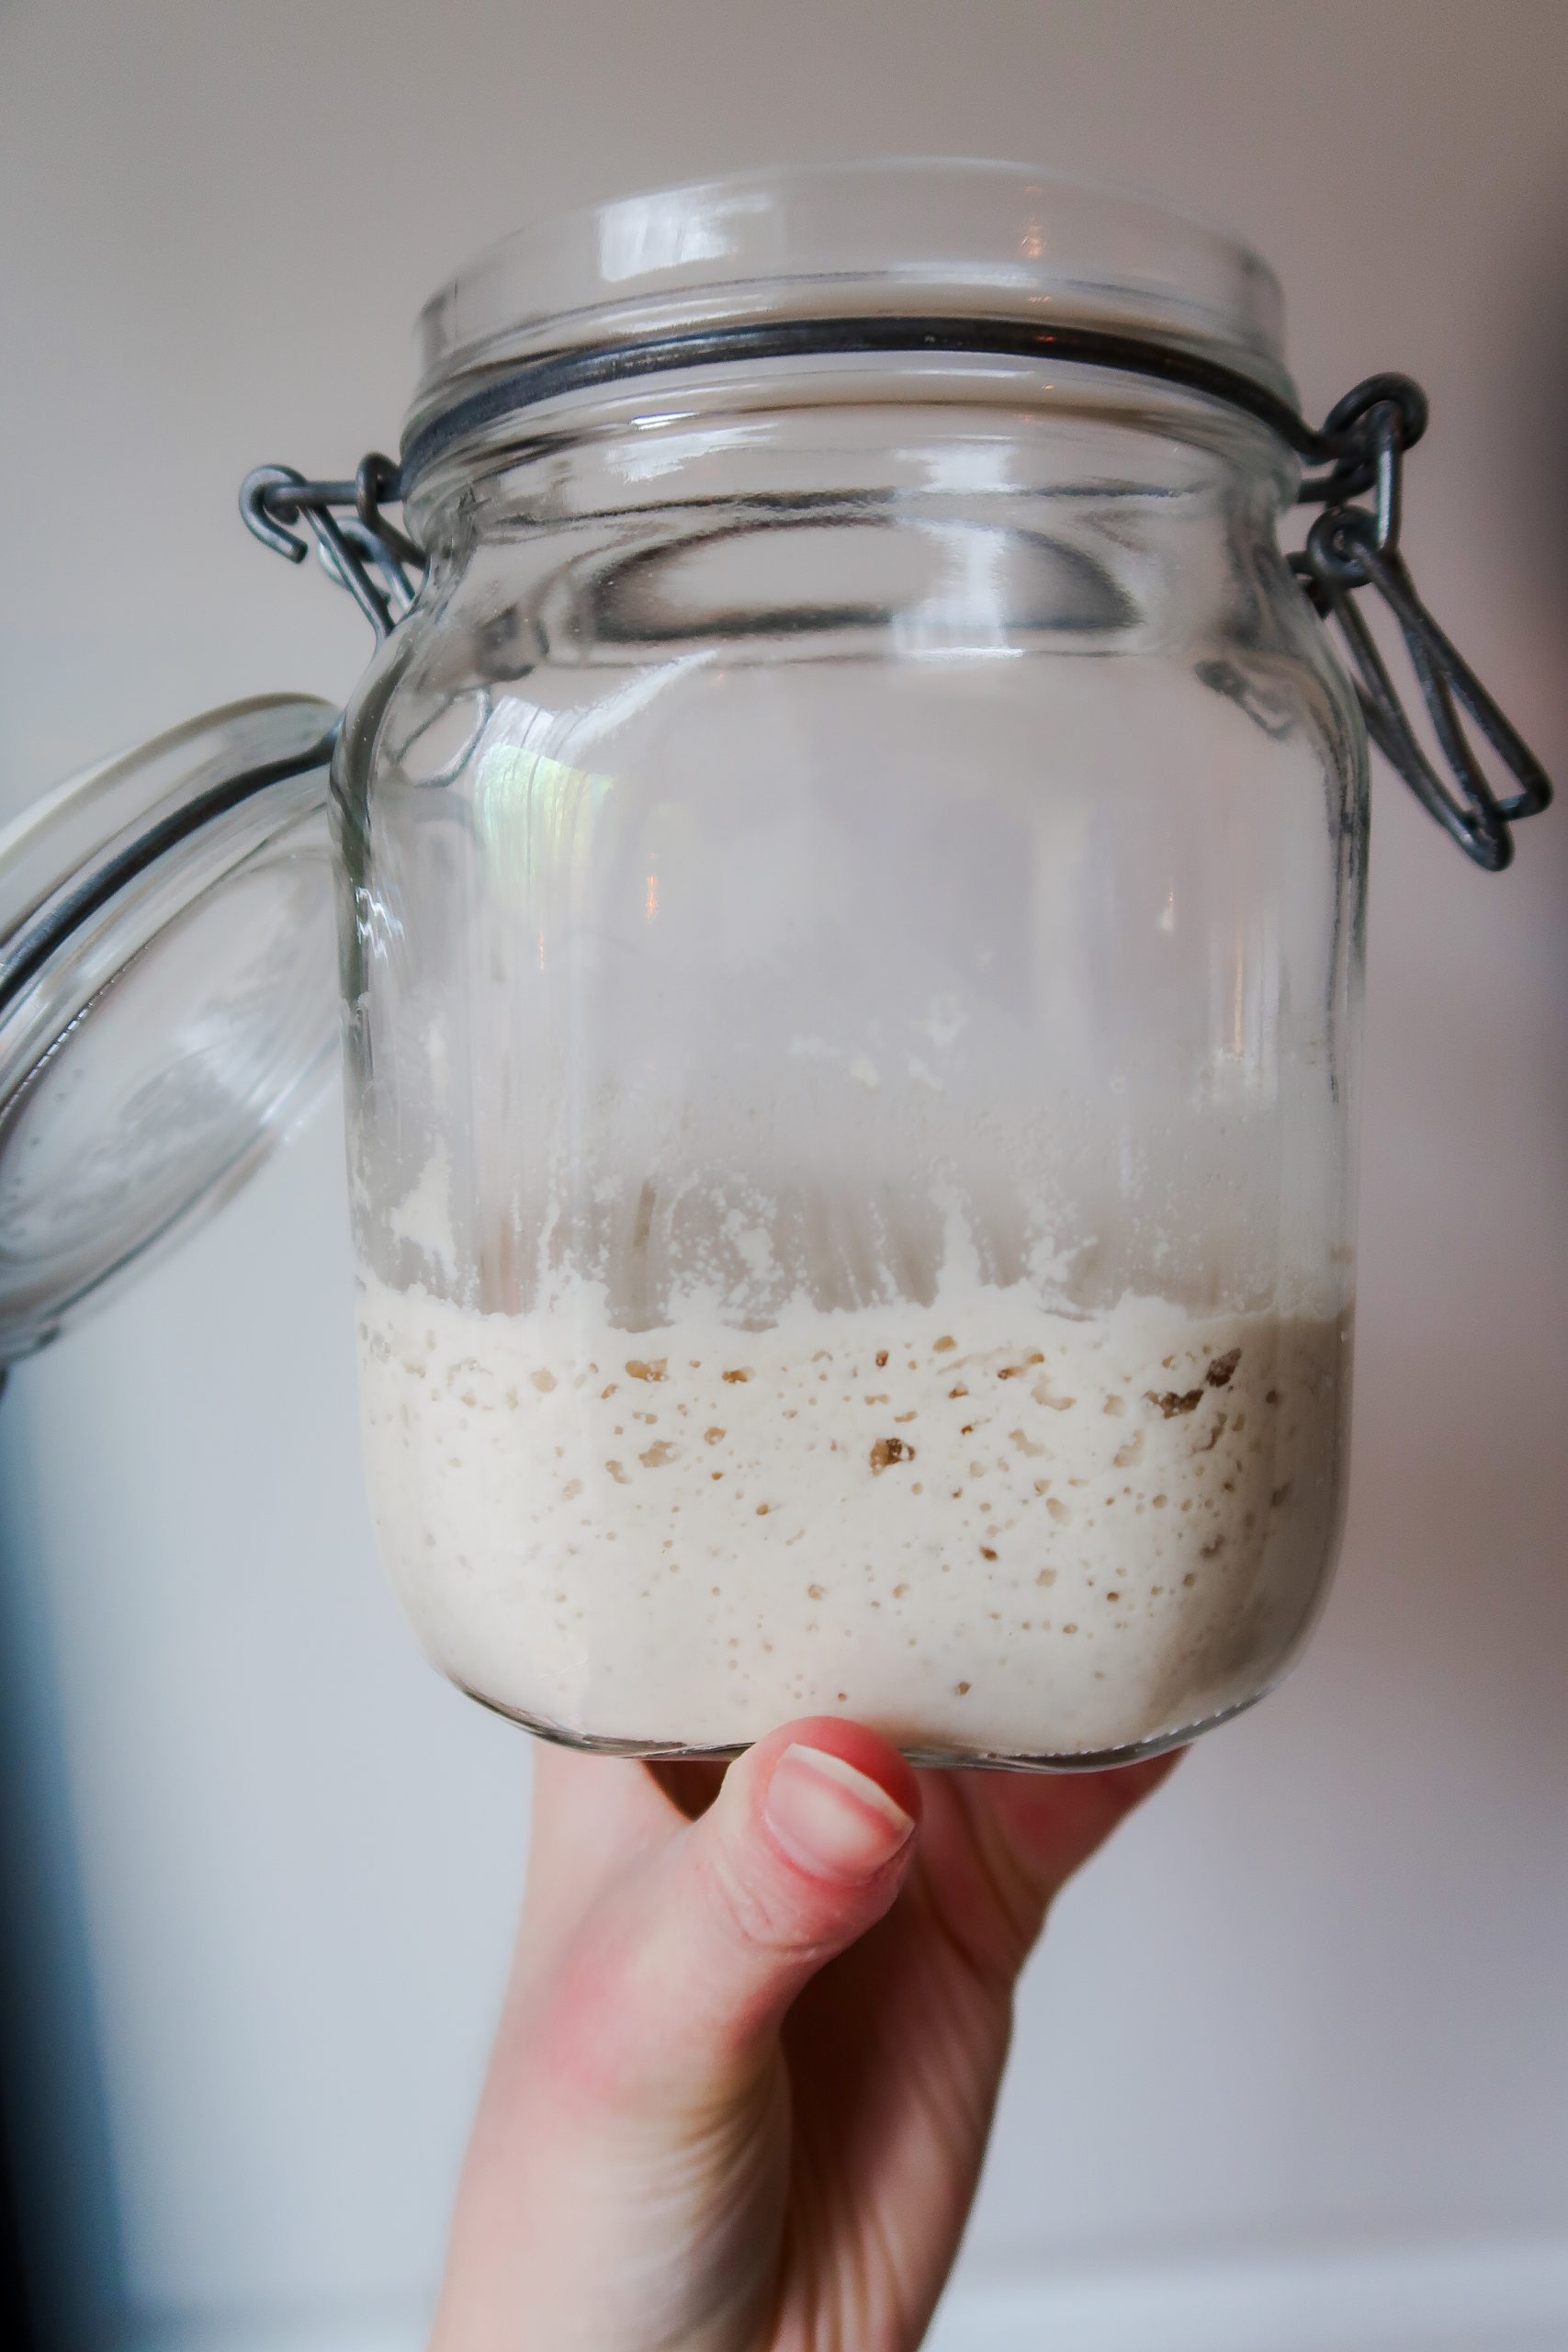
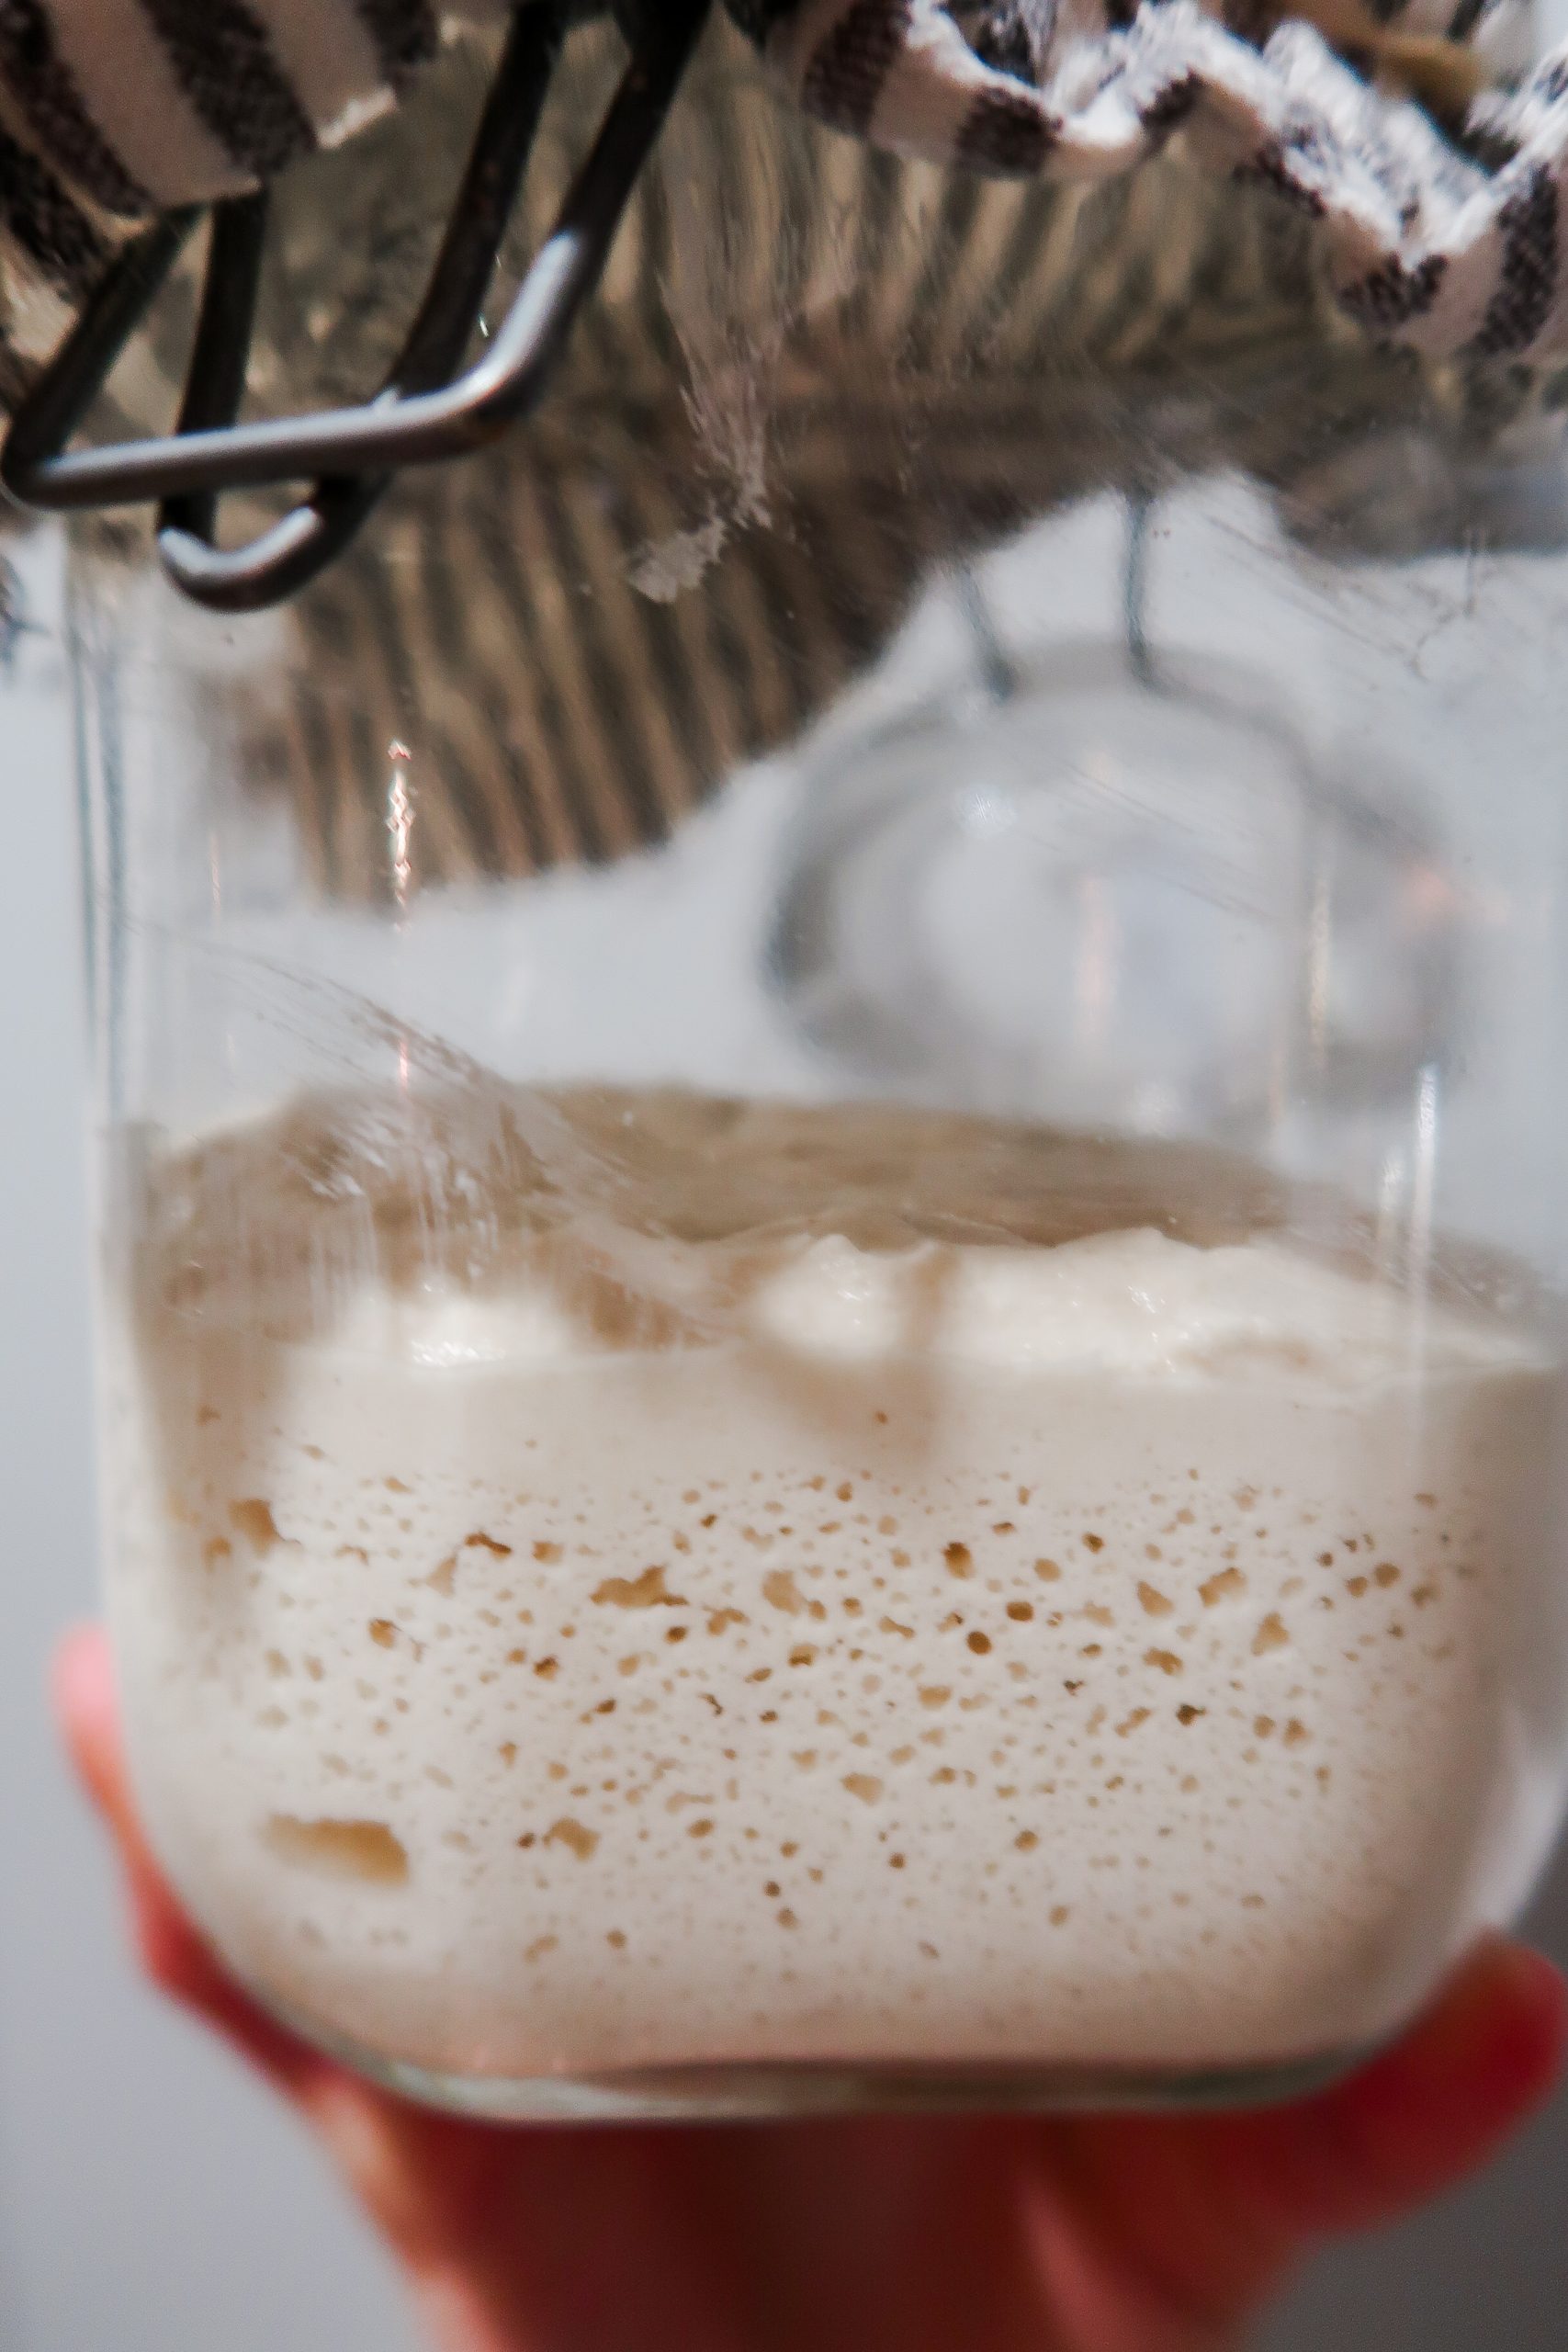
(7:00 AM) The starter looks amazing this morning! The smaller jar is definitely a much more aesthetic/satisfying result. You could have overflow problems with it, but mine rose perfectly to the top.
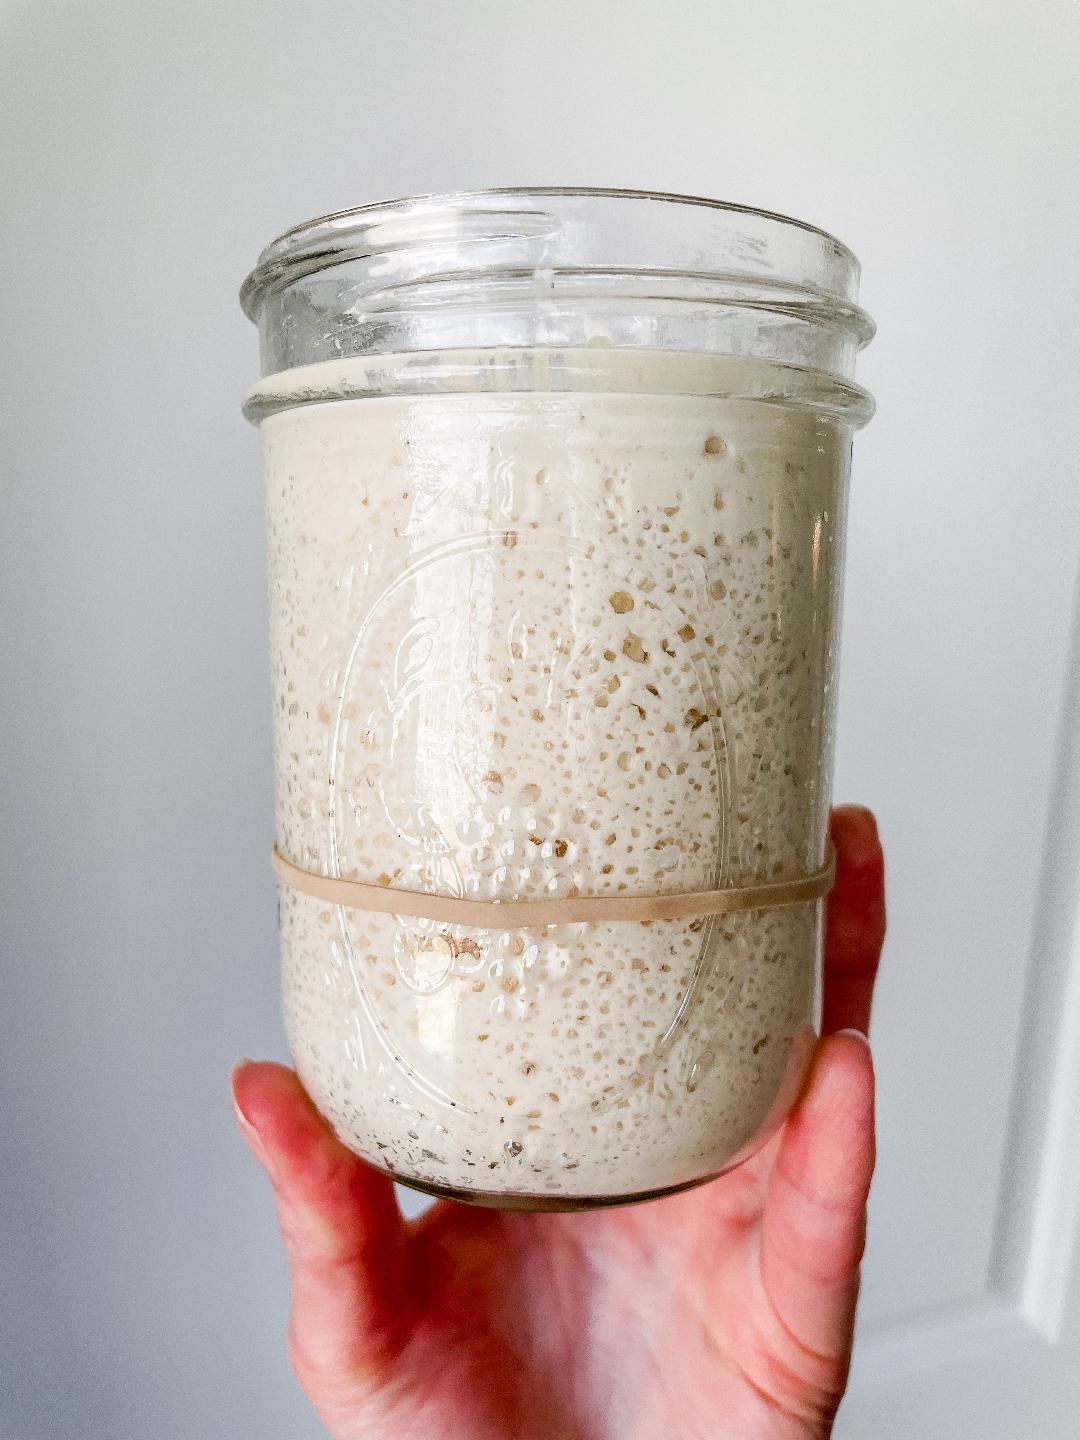
The starter is smelling much more pleasant, but still not quite there. This could be that it had slower progress since I cut the feeding from 3x to 2x a day. Overall, I'm happy with the consistency and progress. This is the last of my daily documentation.
Final Thoughts on the Cultures for Health Gluten Free Sourdough Starter
Pros:
- Dehydrated starter from a mother culture can be ready in 3-7 days vs 2 weeks when establishing your own. This means you can bake bread or discard recipes significantly sooner.
- Easy to follow instructions
- Affordable, effective product
Cons:
I don't know that I would necessarily define these as cons, but these are my thoughts:
- Instructions of using cup measurements instead of grams lead to water separation issues. I recommend altering the recipe from ½ cup of flour and ½ cup of water to ½ cup of flour and ⅓ cup of water to remedy the issue. This could also just have to due with differing climates, humidity levels, elevations, etc.
- There are no going forward instructions included. Obviously, feeding 3x a day for the rest of time is simply impossible. I recommend cutting the feeding to 2x a day, 12 hours apart. After the starter is 2 to 3 weeks old, you can start storing it in the refrigerator and feed 1-2x a week.
- There are no specific mentions as to when to keep the discard. Even though this starter comes from a mother, I would recommend tossing the discard until the starter has a pleasant, yeasty aroma to be safe.
Common Questions regarding the Cultures for Health Gluten Free Sourdough Starter:
- Why does the starter start out so small? Why do the feedings keep changing in the beginning?
I believe the reason the starter is so small in the beginning is so that we can grow it an equal rate. There is about a tablespoon of dehydrated starter culture in the included packet. The first feed is 1 tablespoon water + 1 tablespoon flour. This nurtures the mother in an equal ratio in order to rehydrate it and make active again. If we were to feed it ½ cup of flour and water from the get-go, it would smother the culture and be pretty weak/slow to start. The following feed, 2 tablespoon flour + 2 tablespoon water, further encourages its growth, strengthening the mother to begin growth in the newly added flour. After the starter grows in volume over the first day, it is then okay to begin feeding it a ½ cup ratio.
- Why does the Cultures for Health Gluten Free Sourdough Starter recipe call for feeding 3x a day?
I believe this is to kickstart the starter into growing rapidly, drastically cutting down the amount of days it takes to become ready to bake with. You could potentially begin baking in 3 to 7 days. Feeding often also discourages mold growth, since the starter is being disturbed so frequently.
Have you tried the Cultures for Health Gluten Free Sourdough Starter? Tell me about it in the comments below!
Use the code WONDERS15X on Cultures For Health's website to get 15% off! The gluten free sourdough starter is also available for purchase on Amazon here.


Leave a Reply