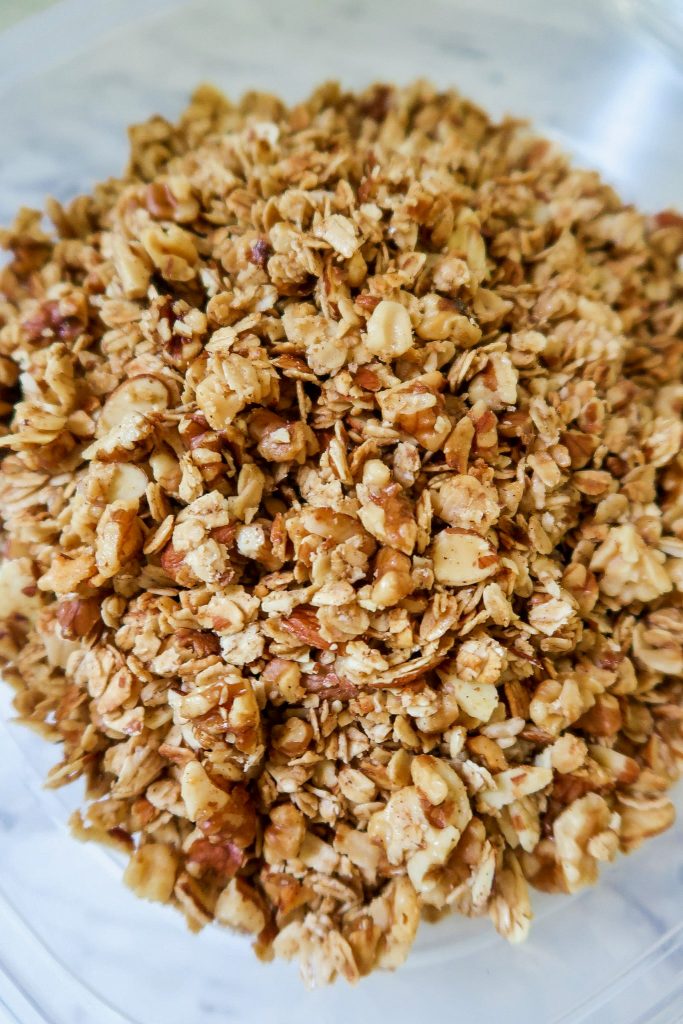
Homemade Granola is as simple and fast to make as it is delicious.
Its simple notes of honey, cinnamon, and vanilla make it a versatile staple to keep in your pantry at all times. One batch makes enough to last for 2-3 weeks and it will save you a ton of money compared to what you'll find in the store for a much smaller quantity. Things I've used it for? Topping yogurt, salads, and ice cream. I've even used it as a trail mix base.
Make this recipe gluten free by using certified gluten free oats.
Jump to Recipe
As an Amazon Associate, I earn from qualifying purchases. This post contains affiliate links for products I use and love. You can read my full disclosure here. All thoughts and opinions expressed are my own. Thank you for supporting Wonders of Cooking so that I can continue to provide you with free gluten-free recipes.
Looking For More Gluten Free Breakfast Recipes?
- Blueberry Muffin Almond Flour Mug Cake Recipe | Gluten Free
- Blueberry Oatmeal Bars - Easy Breakfast Bars Recipe
- Healthy Breakfast Bars - Peanut Butter and Strawberry Jam - Easy
- Pumpkin Muffins | Gluten Free Muffins with Cream Cheese Drizzle
- Lemon Poppy Seed Muffins with Glaze - Gluten Free
- Oatmeal Pancakes with Cinnamon and Vanilla - Fluffy, Gluten Free
- Amish Baked Oatmeal - Classic Vanilla Baked Oats, Gluten Free
- Easy Breakfast Casserole | Sausage, Egg, and Cheese
- Creamy Orange Smoothie | Easy Healthy Breakfast
- Five Ingredient Banana Oat Pancakes | Flourless, Dairy Free
My most favorite of uses for this granola? Using it in my Chick-fil-A Market Salad by far.
Note: When making this granola to top salads, I always cut down the amount of cinnamon. Otherwise, it would be too overpowering. If you'd like to use this granola for both yogurt and topping a salad, simply cut down the amount of cinnamon to what I recommend below and you will be able to use it for both just fine.

How To Make Homemade Granola:
- Preheat the oven to 300 F. Prepare two non-stick baking sheets, or one large baking sheet if you have it, with parchment paper. Do not grease, or else the granola will have an oily texture.
- In a large mixing bowl, add the gluten-free oats, cinnamon, chopped nuts, and a pinch of salt. Stir until well-combined.

- In a small mixing bowl, combine the honey, oil, and pure vanilla extract until smooth.

- Add the wet ingredients to the dry ingredients. Stir using a non-stick silicone spatula until the oats and nuts are well-coated.


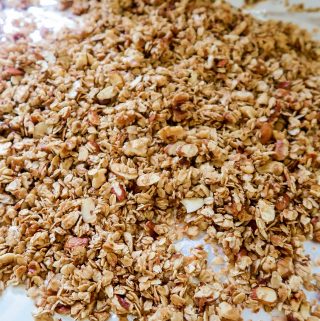
- Spread the granola mixture out on the prepared baking sheet(s).

- Bake for 10 minutes. Remove from the oven and stir using a non-stick silicone spatula.
- Place the cookie sheet back in the oven and bake for an additional 10 minutes. The oats should be slightly golden brown. If not, then you may bake for an additional 1-2 minutes.

How to Cool Homemade Granola:
- Lay out several overlapping sheets of aluminum foil, parchment paper, or a non-stick baking mat on your countertop.
- Immediately upon removing the granola from the oven, "scoop" out the granola and place it onto the prepared surface. Do not allow the granola to cool in the pan. As the honey cools, it will stick. Placing the granola onto a nonstick surface as it cools prevents this.

- Once the granola is completely cool, transfer the granola to an airtight container or jar. I use a spatula. Once I have the majority of the granola in the container, I like to carefully pick up the aluminum foil and fold it like a taco, and then I pour the remaining granola into my container.
This part can sound a little involved, but after your first time doing it you'll find it's no biggie. Homemade granola is worth it.
- Enjoy!
How to Store Homemade Granola:
Store this homemade granola in an airtight container or a glass jar with a tight-fitting lid for up to two to three weeks.
Keep the container in a cool, dry place, such as a pantry or cupboard. Avoid storing granola near heat sources like the stove or in direct sunlight, as heat can cause it to go stale faster.
Did You Make This Homemade Granola Recipe? Leave a 5-Star Rating Below!
Homemade Granola - Honey Nut Flavor
Your rating helps support the making of more tested, delicious gluten-free recipes.
Ingredients
Dry Ingredients:
- 4 cups certified gluten-free rolled oats
- 2 cups chopped walnuts or pecans
- 1 cup sliced almonds or whole
- ¼ teaspoon ground cinnamon (Important: If making for use as a salad topper, keep cinnamon as ¼ tsp. If making for just topping yogurt or other, increase cinnamon to 1 tsp.)
- pinch of salt
Wet Ingredients:
- ½ cup honey
- ⅓ cup vegetable oil or other neutral oil like coconut
- 1 teaspoon pure vanilla extract
Instructions
- Preheat the oven to 300 F. Prepare two non-stick baking sheets, or one large baking sheet if you have it, with parchment paper. Do not grease, or else the granola will have an oily texture.
- In a large mixing bowl, add the dry ingredients. Stir until well-combined.4 cups certified gluten-free rolled oats, 2 cups chopped walnuts or pecans, 1 cup sliced almonds, ¼ teaspoon ground cinnamon, pinch of salt
- In a small mixing bowl, combine the wet ingredients until smooth.½ cup honey, ⅓ cup vegetable oil, 1 teaspoon pure vanilla extract
- Add the wet ingredients to the dry ingredients. Stir using a non-stick silicone spatula until the oats and nuts are well-coated.
- Spread the granola mixture out on the prepared baking sheet(s).
- Bake for 10 minutes. Remove from the oven and stir using a non-stick silicone spatula.
- Place the cookie sheet back in the oven and bake for an additional 10 minutes. The oats should be slightly golden brown. If not, then you may bake for an additional 1-2 minutes.
- Lay out several overlapping sheets of aluminum foil, parchment paper, or a non-stick baking mat on your countertop.
- Immediately upon removing the granola from the oven, "scoop" out the granola and place it onto the prepared surface. Do not allow the granola to cool in the pan. As the honey cools, it will stick. Placing the granola onto a nonstick surface as it cools prevents this.
- Once the granola is completely cool, transfer the granola to an airtight container or jar. I use a spatula. Once I have the majority of the granola in the container, I like to carefully pick up the aluminum foil and fold it like a taco, and then I pour the remaining granola into my container.
- Enjoy!


Leave a Reply