Sticky wings (but made with baked chicken drumsticks) are truly finger-licking good.
This recipe is a longtime favorite in our house—easily top five—and it was born out of necessity as chicken wings became more expensive. Instead of paying $16+ for a pack of wings, we can get a dozen drumsticks for around $4, making this an affordable and satisfying alternative.
The drumsticks are lightly coated in flour, baked until golden and crisp, tossed in my homemade sticky finger sauce, then broiled until beautifully glazed. The sauce has a subtle Asian-inspired flavor while still being mild enough to pair perfectly with ranch and celery.

As an Amazon Associate, I earn from qualifying purchases. This post contains affiliate links for products I use and love. You can read my full disclosure here. All thoughts and opinions expressed are my own. Thank you for supporting Wonders of Cooking so that I can continue to provide you with free gluten-free recipes.
Looking For More Comfort Foods?
- Jalapeno Popper Chicken Roll-Up's - Gluten Free Fried Chicken
- Orange Chicken | Best Gluten Free Recipes
- Pineapple Pork Chops with Easy Glaze for Pork Chops
- Teriyaki Salmon - Gluten Free - The BEST Homemade Teriyaki Sauce!
- Honey Glazed Pork Chops | Best Gluten Free Recipes
- Orange Rosemary Pork Marinade | Pork Tenderloin Recipe
- Best Chicken Stir Fry with Broccoli, Mushrooms, and Water Chestnuts
- Grilled Chicken Tenders - Easy Marinade, Go-To Weeknight Recipe
- Spinach Stuffed Chicken Breast | Easy One Pan Dinner

What Makes Homemade Sticky Finger Sauce So Good?
This sauce is sweet, sticky, and has a subtle heat that you can easily adjust to your liking.
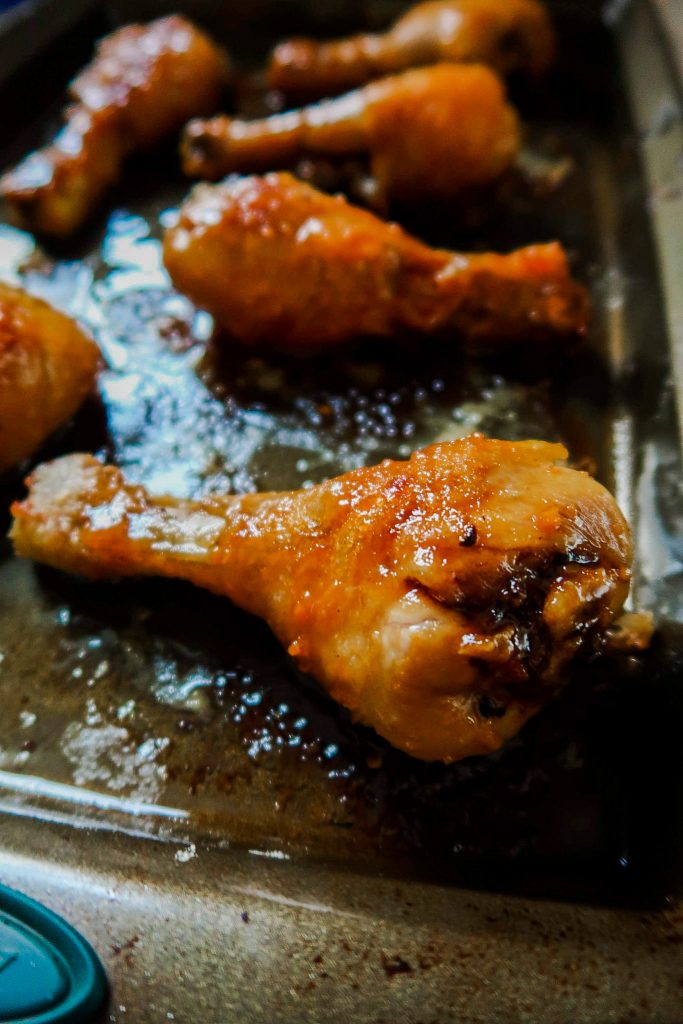
The honey is what creates the perfect glaze, giving the wings or drumsticks that signature sticky, finger-licking finish. As it cooks, the honey thickens and caramelizes, clinging to the chicken, creating that glossy, irresistible coating. It’s what turns the sauce from simply flavorful into that classic, crave-worthy sticky wing experience.
Once you try it, you’ll want to put it on everything.
Ingredients for Sticky Chicken Drumsticks:
- Honey. This is the base of the sauce that makes it both sweet and sticky.
- Soy Sauce or tamari. Creates depth of flavor and umami, balances out the sweetness a touch, and darkens the color. If making GF, be sure to use gluten-free soy sauce. I use the brand San-J Tamari. I get a big bottle of it from Thrive Market (Get 40% off your first order) for half the price of what my local grocery store sells it for.
- Minced Garlic. This adds a savory component to the sauce and helps make it addicting. I prefer to use jarred minced garlic to eliminate any bitterness coming from fresh, but that's just me.
- Ground Ginger. Adds depth of flavor without overpowering the sauce. Ground ginger is mild, but it enhances the sweetness and gently intensifies the hint of heat in the recipe.
- Light Brown Sugar. Adds sweetness, a touch of molasses flavor, and helps the sauce get thick and sticky.
- Crushed Red Pepper Chili Flakes. This is where the slight heat comes from in this recipe. I prefer to do just a few dashes and keep it very mild, but you can add in what you know you like to make it hotter.
- Organic Cornstarch + Water. This is essential for the sauce to thicken and become sticky enough to coat the chicken.
How to Make Homemade Sticky Finger Sauce For Sticky Wings:

- Combine all ingredients listed above in a small mixing bowl. Whisk until well-incorporated, especially the honey.
- Pour mixture into a medium-sized saucepan and place over medium heat. Stir frequently while waiting for the mixture to begin to steam. Once it turns into a simmer, stir constantly. The mixture will become thick before your eyes. Allow to simmer for 1-3 minutes, making sure the heat isn't set too high, or else the honey could crystallize.

- Remove from heat and set aside until it's time to coat the wings.

How to Make Sticky Wings but with Baked Chicken Drumsticks:
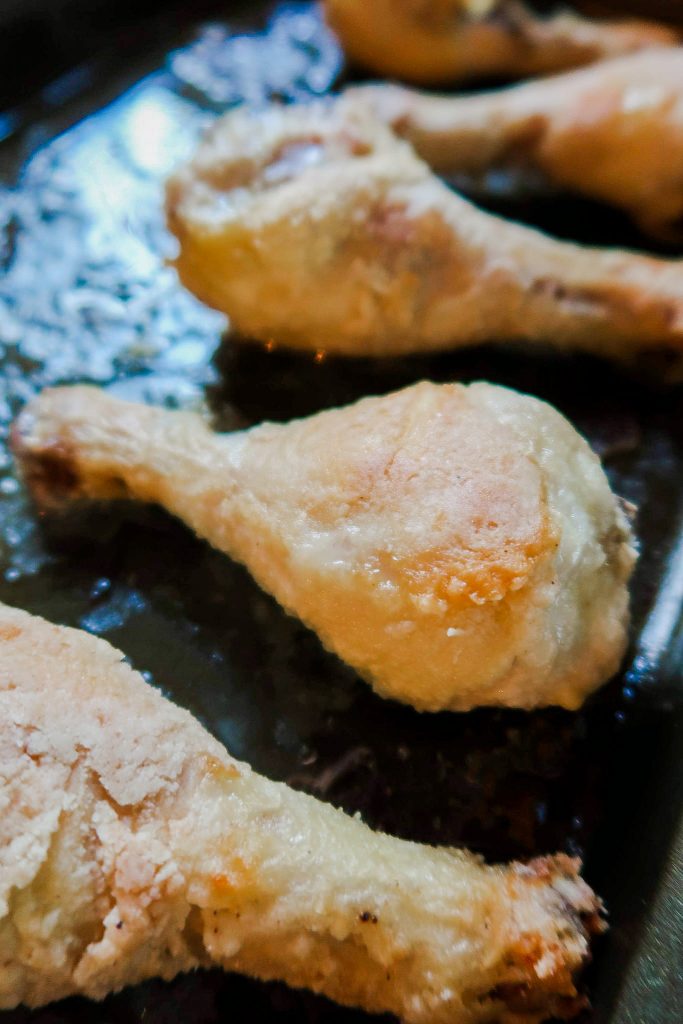
In this recipe, I choose to "lazy fry" my chicken drumsticks by coating them in flour, laying them on a cookie sheet with oil, and baking them. That's because I prefer more of a wet wing for this recipe. Just note that they will not get hardly as golden brown or crispy as in traditional frying.
If you would like crispy and golden fried drumsticks for this recipe; coat them in seasoned flour, then fry in a pan or fryer on both sides until golden and the internal temperature of the chicken is at least 155-160. From there, you can toss the chicken in the sauce and then broil on Low in the oven for 5-8 minutes until the sauce is glazed and the chicken reads 165 F.
I also use Gluten-Free All-Purpose Flour, but you can sub for regular flour.
- Preheat oven to 425 F.
- Roll chicken drumsticks in flour until evenly coated on all sides. I season my flour with salt and pepper. Just keep in mind you won't need too much salt because of the soy sauce in the sticky finger sauce.


- Pour 2 tbsp. of canola oil onto a non-stick cookie sheet. Move the pan around to spread out the oil.
- Lay floured chicken drumsticks on the pan. I alternate the direction of the chicken legs so that more will fit. Roll the drumsticks around until the oil coats the flour on every side. While I use 6 drumsticks here, this recipe is for 12.
- Bake for 30 minutes, flipping halfway through. Additionally, you may need to use the Broiler on Low for 3-5 minutes on each side to encourage further browning. Once the chicken's internal temperature reads at-least 160 F, remove from oven.
- Use tongs to transfer chicken drumsticks into a large mixing bowl. Pour half or ¾ of the sauce overtop of the chicken. Shake the bowl or use the tongs to toss the chicken, rolling them each around several times to be well-coated. The sauce will be thick at this point, but not as sticky as it will become.
- Lay the chicken drumsticks back out on the cookie sheet. If you had some sticking occur, you may want to use a clean cookie sheet. If any drumsticks are light on the sauce, baste with some extra. Then, set back in the oven under Low Broil for 5-8 minutes, until glazed and sticky and the chicken reads 165 F.

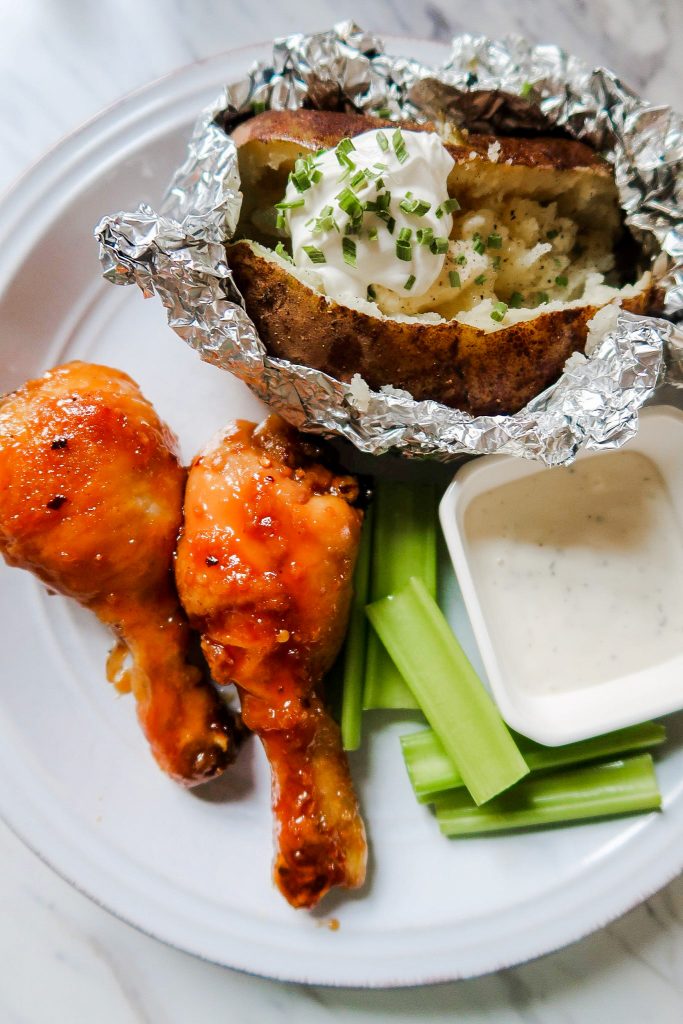
- Serve with celery, ranch, a baked potato, or your choice of typical wing sides. Serve any extra unused sticky sauce along with the wings, or refrigerate and use it within 3 days.

Sticky Chicken Drumsticks Notes:
- You can use my Homemade Sticky Finger Sauce for so many things. Use it on all forms of chicken and pork, or even on tofu. You could make boneless chicken bites and serve it with rice. This sauce would be so good with rice! Think similar to Orange Chicken.
- Serve this at Super Bowl parties, football or sports gatherings, or any family gathering really. This recipe is meant to be an inexpensive replacement for wings, but it's really become its entirely own craveable thing too.
Did You Make Sticky Wings But With Chicken Drumsticks? Leave a 5-Star Rating Below!

Sticky Wings But With Baked Chicken Drumsticks
Your rating helps support the making of more tested, delicious gluten-free recipes.
Equipment
Ingredients
For the Baked Chicken Drumsticks/"Lazy Fried":
- 12 chicken drumsticks patted dry
- ½ cup high quality gluten-free all purpose flour you can sub for regular flour if not GF
- salt and pepper to taste
- 2-3 tablespoon neutral oil for lazy frying in the oven
Homemade Sticky Finger Sauce:
- 1 cup honey
- ½ cup reduced sodium soy sauce or tamari I used San-J
- ¼ cup light brown sugar
- 1 tablespoon minced garlic
- 1 teaspoon ground ginger
- a couple of dashes of crushed red pepper chili flakes
- ¾ cup filtered water
- 3 tablespoon cornstarch
Instructions
- Preheat the oven to 425 F.
- Place the flour in a sealable container and season with salt and pepper to taste. Add the chicken drumsticks and roll to coat evenly on all sides, or secure the lid and shake until fully coated.½ cup high quality gluten-free all purpose flour, salt and pepper to taste, 12 chicken drumsticks
- Pour the oil onto a nonstick baking sheet, tilting the pan to evenly coat the surface.2-3 tablespoon neutral oil
- Arrange the floured drumsticks on the pan, alternating their direction to fit more evenly. Roll them in the oil until coated on all sides.
- Bake for 30 minutes, flipping the drumsticks halfway through. You may need to broil on low for 3–5 minutes per side to encourage extra browning.
To Make the Sticky Finger Sauce:
- Meanwhile, in a small mixing bowl, combine all the sauce ingredients and whisk until smooth and well combined.1 cup honey, ½ cup reduced sodium soy sauce or tamari, ¼ cup light brown sugar, 1 tablespoon minced garlic, 1 teaspoon ground ginger, a couple of dashes of crushed red pepper chili flakes, ¾ cup filtered water, 3 tablespoon cornstarch
- Pour the sauce mixture into a medium saucepan and place over medium heat. Stir frequently as it begins to steam.
- Bring the sauce to a simmer, stirring constantly for 1 to 3 minutes. It will thicken quickly, so keep the heat medium-low to prevent the honey from crystallizing.
- Remove the sauce from heat and set aside until ready to use.
- Once the chicken reaches an internal temperature of at least 160°F, remove it from the oven.
- Use tongs to transfer the drumsticks into a large mixing bowl. Pour half to three-quarters of the sauce over the chicken. Toss the drumsticks in the bowl, turning each several times with tongs until well coated. The sauce will be thick but not yet as sticky as it will become.
- Arrange the coated drumsticks back on the baking sheet. If any sticking occurred, consider using a clean sheet. Baste any drumsticks with extra sauce if needed. Broil on low for 6 to 8 minutes, until the glaze is sticky and the chicken reaches an internal temperature of 165°F.
- Serve the drumsticks with celery, ranch, a baked potato, or your favorite wing sides. Serve any leftover sticky sauce alongside the chicken, or store it in the fridge and use within 5 days.


Leave a Reply